How to sew pockets for a crib
 Every mother carefully prepares for the arrival of her baby. She tries to arrange the room and crib for him as comfortably as possible. It should be convenient for the mother herself. All necessary things should be kept at hand.
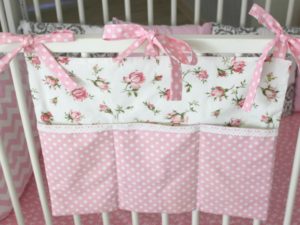
There are pockets for a baby crib specifically for this purpose. You can create a unique organizer for powder, diapers and rattles with your own hands.
We will tell you how to sew pockets for a baby crib with your own hands.
The content of the article
What you need to make pockets
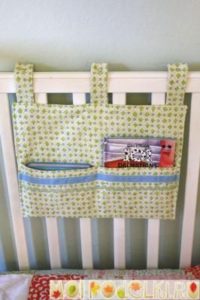
The first thing you need to do is decide on the color and choose the fabric for the future organizer. This may not be one piece, but several different materials.
The colors of both the pockets themselves and the base of the crib accessory may also be different.
Advice. It is better to choose natural cotton fabric.
And also you will need:
- padding polyester or any dense fabric for filling;
- lace;
- fabric for ties (you can use various decorative ribbons);
- threads;
- pins;
- needles;
- measuring tape;
- scissors;
- chalk.
How to sew pockets
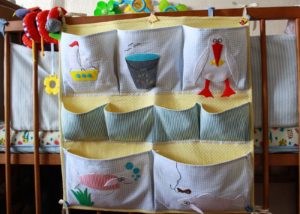
Everything is very simple, even a novice housewife can handle the job. Our step-by-step instructions suggest taking just 5 steps, and your baby will have a beautiful attribute.
Taking measurements
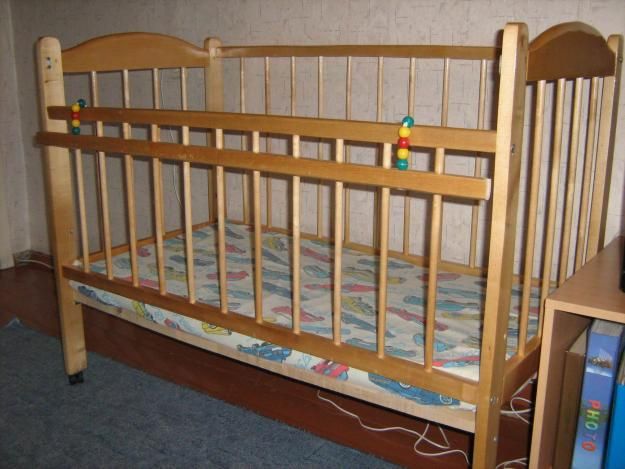
Most often, the organizer is hung on the side wall of the crib. This is what needs to be measured.If the crib is standard, then its width is 60 cm. Now we measure the height. In order for the wall to be completely closed, we take a height of 60 cm (less is possible).
Uncover
Cut out three squares measuring 60*60 cm from the selected material: two squares of multi-colored fabric and one of padding polyester.
For the pockets themselves we take two strips. One 70*22 cm is for the top row, the second 66*22 cm is for the bottom row. You can sew decorative braid along the edges or take white fabric and sew it on, folding the edges.
Pocket location
On the square for the front side of the product we place strips for pockets and sew them on. Along their lower edge on both sides we make one large gather so that the compartment is wider during use.
We separate the pockets from each other by stitching. We sew lace along the edge of the entire square, gathering it into a fold.
Sewing the organizer
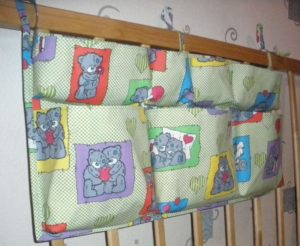
We place two squares with their front sides facing each other and connect them with a stitch on three sides. Turn the product inside out and iron it.
Ties
Take 3 strips of fabric measuring 70*10 cm, fold them in half lengthwise and iron them. We sew the edges, bending them inward. We bend the resulting ties into a loop and connect them to the organizer itself. The product is ready.
Useful tips
The organizer will be very convenient to use if you create it according to your wishes. Because Before sewing the elements of the product together, secure them with pins. Evaluate the result according to your taste.


