DIY crib bumpers for newborns
Sides are a very important and necessary component of a baby's crib. On sale you can find a large number of interesting shapes and colors of this product. However, you can sew more original and exclusive things with your own hands.
The content of the article
How to make sides for a crib with your own hands
The baby's crib must be protected with special bumpers. These products look like a kind of soft pads that are attached to the head of the crib and its sides. They perform many functions, protecting children from injuries, bruises, as well as drafts and other surprises. Making a border yourself is very simple, even if you have absolutely no experience in sewing. Crib bumpers can be an excellent and valuable gift for the birth of a baby.
We decide on the type, style, size
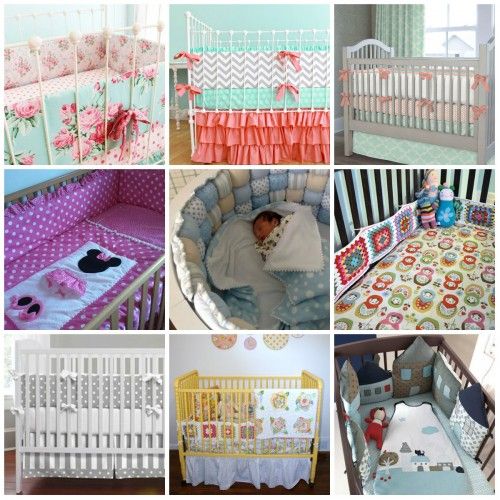
First, you need to decide on the design features of the product and understand the complexity of its tailoring. There is a wide variety of their types and forms. Each of them has its own pros and cons. Thus, the covers can be high, completely isolating the baby from the outside world, and low, only partially covering the bars of the crib. There are sides with replaceable covers in the form of pillowcases.The advantage of such a set is the possibility of frequent change and washing.
The following main types of sides are distinguished:
- a solid side that runs along the entire perimeter of the crib;
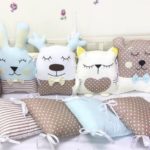
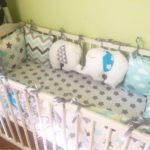
- pads in the form of pillows attached to the crib with ties;
- classic version, consisting of four covers for all sides of the crib.
ATTENTION! An interesting option are products with pockets on the outside of the crib. Their contents will always arouse the keen interest of the child.
Choosing fabric and filling
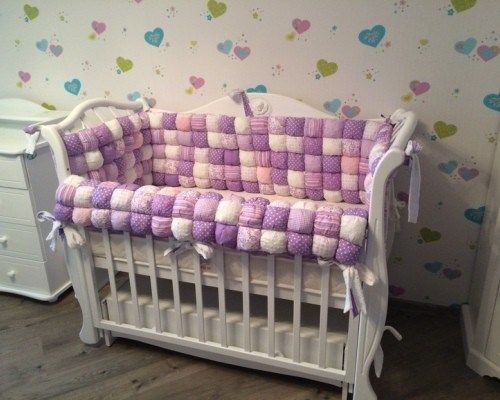
Choosing suitable materials for sewing children's clothes is a very important undertaking. It is best to use cotton fabrics. These are natural and hypoallergenic materials that are very pleasant to the touch, as well as easy to wash and iron. Most often, craftswomen choose calico, satin or flannel. Particular attention should be paid to the density of the fabric: it should not be very thin so that the filler does not show through. Various materials can be used as filler. The following types are most in demand:
- Foam rubber is a microfiller and requires special recommendations when washing, because... holds water well and dries for a long time.
- Holofiber is excellent for dense and voluminous overlays. It is non-toxic, dries quickly and regains its shape.
- Holcon is an artificial filler and is used mainly for flat and soft products. It also has unique heat resistance and high performance characteristics.
- Synthetic winterizer is one of the best fillers. It is easy to use, washes well, dries instantly, and is also inexpensive.
It is better to use satin or grosgrain ribbons up to 3 cm wide as ties.
Examples of patterns
Most patterns are focused on the usual crib configuration with dimensions of 120 cm in length and 60 cm in width. Therefore, before starting work, you should check the dimensions of the furniture in order to make adjustments if necessary. The height of the sides is not regulated and is determined by the personal wishes of the parents.
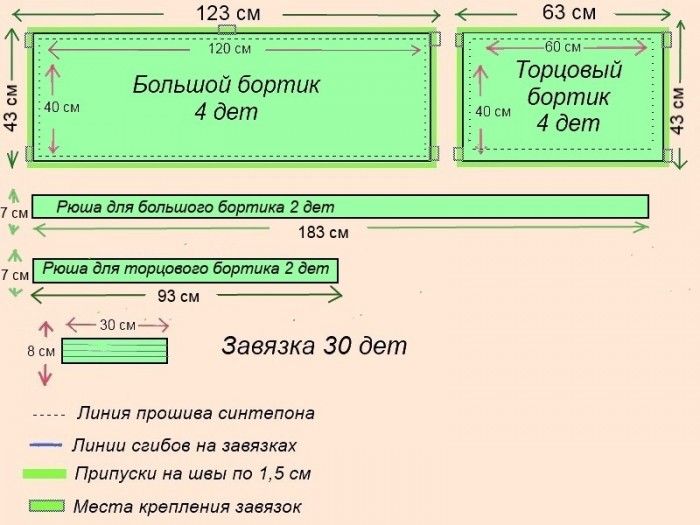
The most popular patterns are made from pillows. The usual size is 30-32 cm. Usually 4 elements are used on the long sides and two on the short sides. 8 (in this case, one side remains open) or 12 pillows can completely cover the perimeter of the crib. Also, a few centimeters are added to the indicated dimensions for processing the seams. Therefore, it is better to cut 35 cm squares. So, if the width of the fabric is one and a half meters, then you can fit 4 elements in a row and sew 2 pillows in this way. To completely furnish the perimeter of the crib you will need about two meters of fabric. The size of the pads can be increased up to 40 cm on each side. By increasing their height, you can make rectangular high sides. This will increase fabric consumption.
REFERENCE. In most cases, patterns are drawn directly onto the fabric using tailor's chalk or a bar of soap.
Instructions

Before starting work, a piece of fabric should be washed or treated with a steam generator so that it shrinks. The easiest way to sew pillows without covers. First, the necessary parts are cut out, and the filler is also cut. The resulting fabric parts are folded right side inward and three sides are sewn completely, and the fourth only 5-7 cm from each corner. It is important not to forget to sew ribbons or ties that will secure the pillow.The ribbons are sewn in immediately, so before joining the parts, they are placed in their places and secured with pins or a couple of stitches. To ensure reliability, the attachment points are stitched again on the machine. Next, the product is turned right side out, the filling is placed inside, and the unstitched edge is sewn up manually with a needle.
Tips for creating baby crib bumpers
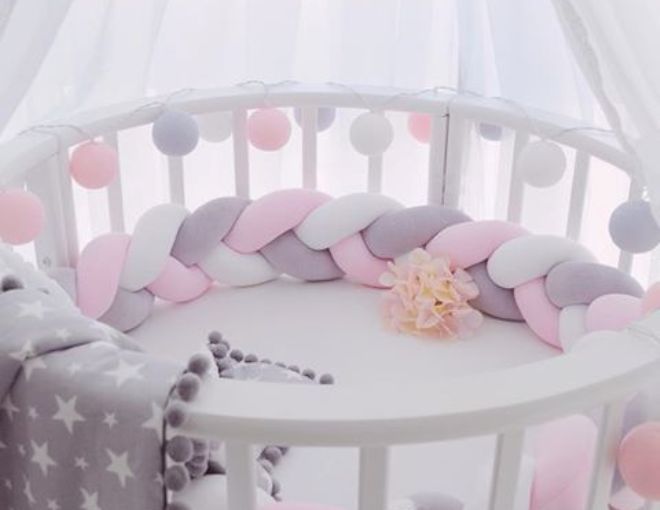
The easiest to manufacture and inexpensive option are sides made of cotton materials with synthetic padding. It's better to make two sets at once. This is very convenient, because while one of them is being washed, you can use the other. When sewing products yourself, you can show your imagination and come up with an interesting design. There is also an opportunity to experiment with color, which plays a big role in the development of the baby.
IMPORTANT! When making sides, you should take into account the fact that fastenings in the form of Velcro and ties may not hold up and tear when the baby plays and tries to stand up. It is better to sew the ties for fastening the overlays from a single piece of fabric; the raw edges are simply folded so that they are in the middle. Then only one seam is sewn along the edge of the tie.
Thus, sewing bumpers for a children's bed with your own hands is quite simple. It is better to use ordinary rectangles as patterns without using elements that complicate the design. We hope that this article was useful and will help you decorate your baby’s crib in an interesting way.

