DIY floating bed
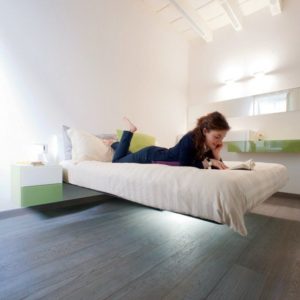
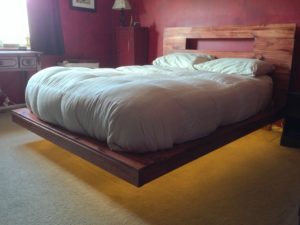 A floating bed is a bed that has no visible support elements. It looks like she's flying. It's all about a well-hidden support. And the impression can be enhanced by lighting. You can make a similar design with your own hands.
The content of the article
How to make a floating bed with your own hands
To create a floating bed with your own hands you need:
- Choose the type of bed and decide on the design.
- Create a project.
- Purchase materials.
- Prepare your tools.
- Create a design.

What will it take?
To create a bed you will need the following tools:
- Hacksaw.
- Saw.
- Jigsaw.
- Screwdriver.
- Drill and drill bits.
- Hammer and screwdriver.
- Pliers.
- Awl.
- Tape measure, ruler and square.
- Glue with a brush.
- Bolts, screws and furniture corners.
Nuances and important design points
One of the most important nuances is the choice of material for the structure. We have 4 choices:
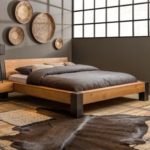
- Wood. If we decide to create a house structure with our own hands, we should focus on this material. Wood is easy to cut and process. But it is recommended to choose hard wood, and take care of protection from moisture in advance. Screws and bolts are suitable as fastening parts. The strength of a wooden bed will depend on the quality of the chosen material, fastenings, and correct assembly.
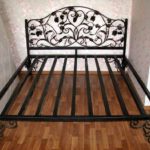
- Metal.Processing is several times more difficult, since it requires the use of a welding machine. You can use only bolts as fastenings, but this is only suitable if welding is not possible. You need to pay special attention to the fastening parts, since they break most often. The material itself is very durable. A combination of bolting and welding can also be used to allow the structure to be disassembled if it needs to be moved.
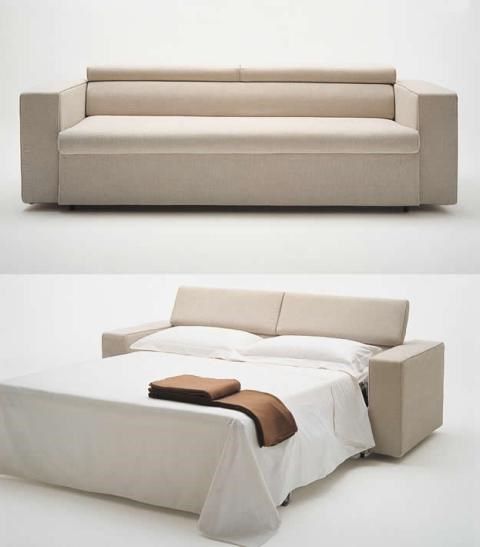
- Combination of materials. We can use both wood and metal. This will make assembly work easier, and the weight of some structural parts will be lower. You can use strong metal to create fastenings and places that need to be made strong. And wood is suitable for parts that are difficult to process. This will solve all the problems that arise during assembly.
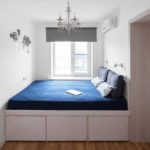
- Sheet materials (MDF, plywood and fiberboard). With their help, the place to lie can be made as flat as possible. In addition, they are suitable for creating additional devices (bedside tables and shelves next to the bed). We need polyurethane foam or foam rubber to create soft areas of the bed.
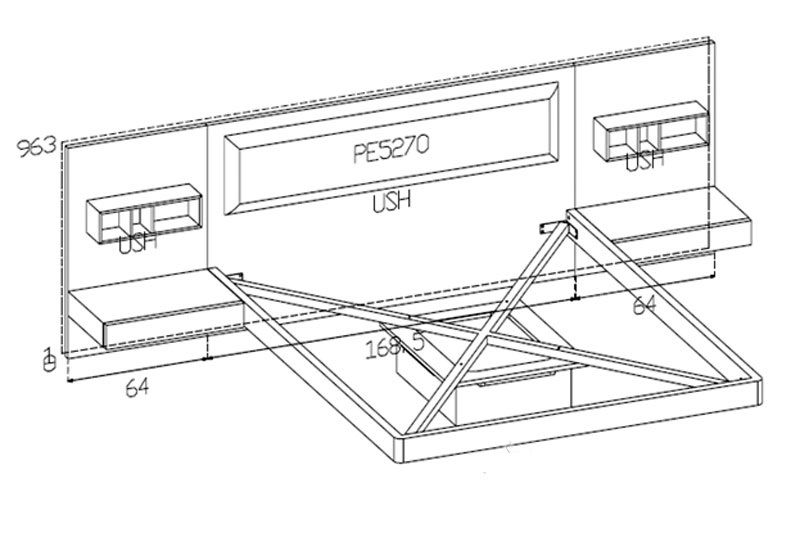
Drawings and diagrams
The main goals of creating a drawing are to think through all the work, clarify the details that will secure the design and detect potential errors.
The average thickness of the board that will be used for the frame is 5 cm. Construction stores most often sell pine boards. You need to calculate the amount of material (depending on the size of the person).
Attention! The bed can be either single or double. Length calculations are 20-30 cm longer than the height of the person who will sleep (the average bed length is about 2 meters). The same with width (average about 80 cm).
Floating bed on your own: step by step
To create a bed you need the following:
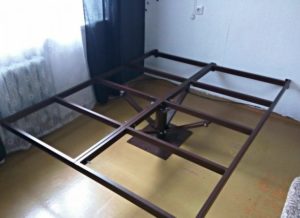
- Make the frame frame. Cut 2 long pieces of pipe (pipe length = mattress length). You also need to cut a few short ones (subtract twice the thickness of the pipe from the width of the mattress).
- We weld them on a flat plane. This will prevent the frame from bending.
- Clean the assembled frame (during welding or cutting pipes, uneven edges may appear).
- We assemble the support. We have 2 choices - design, in the very center of the frame, or create several supports at once, which will be located at a distance from the frame (about 30 cm).
- The central support gives the feeling of the bed floating above the floor. But it requires a large platform for screwing to the floor. We need to weld 4 vertical strips (they create height). Inclined strips are also welded (they add rigidity). It is not recommended to connect the support and frame, as this will interfere with the process of moving the frame. Bolts are better for fastenings.
- Now you can attach the sleeping area to the frame. We use bolts or a welding machine.
- Now it's time to work on the headboard. It is made as a separate block, which is firmly attached to the wall. We attach a frame to the headboard. This will make the structure motionless and stable. The width of the headboard will be equal to the width of the bed, plus shelves on both sides. They can be made without supports (this will enhance the effect of a flying bed). The shelves can be made separately or combined with the headboard (depending on the person’s wishes). Making a headboard is not difficult. The most important thing is to design the front panel beautifully. When choosing a material, it should be taken into account that the headboard is often washed and dirty, and repair and cleaning are not always possible.
- You can mount the headboard to the wall. Bolts are suitable for this.The amount depends on the strength of the support, but the more, the better. If you need to reduce the load on the wall, you can install another support for the headboard.
- The last step is to install the backlight. LED strips are suitable for this. They are installed at the bottom of the frame. The most important thing is that the tape itself is not visible, but only the light. Installation of the tape is simple - one side is sticky. But if the tape keeps falling off, you can use superglue.

Making a floating bed with your own hands is not difficult. There are quite a lot of photos of master classes on the Internet that will help you create the design correctly. It is important to choose the right material and pay special attention to support and fastenings.