DIY bed headboard
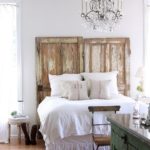
 The appearance of the room depends on the quality of the furniture chosen. The bedroom is the most comfortable place in the house. It should be relaxing, soothing and you should feel comfortable in it. The most important thing in the room is the bed, the better it is, the more restful your sleep will be, and in the morning you will feel a surge of energy. A successful room design can visually expand the space and smooth out the weak points of the interior. It’s the same with beds: you need to spend a little time and imagination and choose the most comfortable and beautiful option for yourself. Soft headboards over beds look gorgeous. If the store doesn’t have something that suits you or the cost is too high, then we’ll try to make the headboard ourselves. It's quite simple and won't take much time.
The content of the article
DIY headboard ideas
The back of the stock can serve either as decoration or be functional, but it is much more convenient with it than without it.First of all, decide which headboard you like and suits your interior. For those who like to read before bed, a soft headboard is suitable. Your room is in a country style, and you only love ecological materials, then choose a high wooden backrest. Provence style will be suitable for lovers of the French province. Experiment and look at your capabilities to create something unusual and interesting.
Basic approaches when choosing a headboard:
- Functionality. If you will use it as a support, it is better to choose soft upholstery on the backrest.
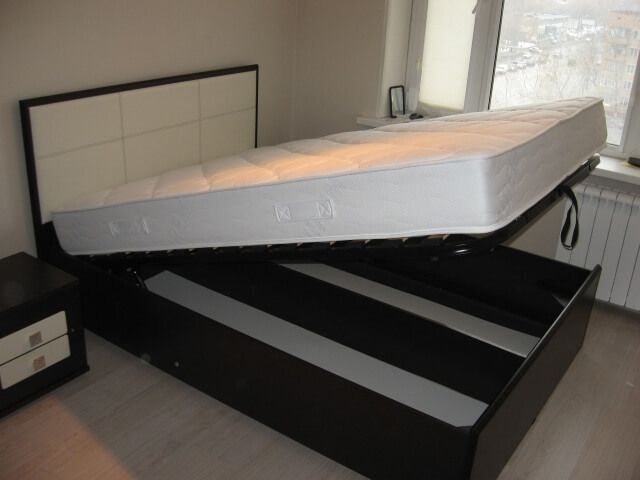
- Room size. For free space, choose a wide and massive structure. If it is small, then it is recommended to choose a wide headboard with attached shelves, then you will have additional space for things.
- Style. With the help of a headboard, you can continue the stylistic direction of your bedroom and highlight all the positive aspects. If you are just going to do renovations, then you can choose the original headboard as the basis of the composition.
ATTENTION. If you are planning to make the back yourself, be sure to take these important conditions into account. If you want to visually lengthen the height of the walls, make the back higher than the width of the bed.
Possible product material options:
 Old mattresses are used, on which unusual patterns are often embroidered.
- Assemble the side frame from ready-made boards (plywood) and attach it to the wall.
- Metal base and forging.
- A wooden structure that can be decorated with wood carvings.
- Mosaic headboard.
- Wicker weaves.
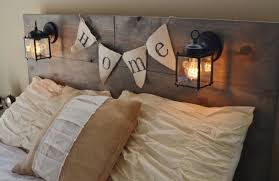
- Use pallets.
- Knitted fabrics or lace panels.
All materials can be used either separately or in combinations.
Metal headboard
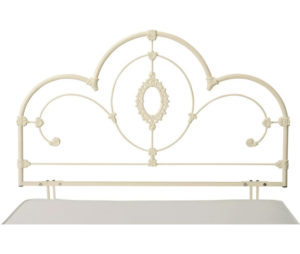
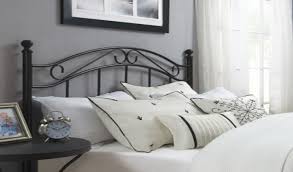 The service life of such an installation is very long. Forged products are practical, durable, and can produce unusual and delightful castings. This type has a wide range of design solutions. Another advantage will be a beautiful appearance that will fit into any interior.
Headboard project
There are several types of metal structures.
- Welded structures – joining finished parts using welding. Such products turn out to be less original.
- Forged structures - a solid base made of metal pipes. There are no limits to the imagination of professionals. Pipes are taken in different diameters, which allows you to make a variety of designs and create the specific style you need. The weight is quite large - up to 50 kg. Forging is done in two ways: cold and hot, the master himself chooses in which design what is best to use.
What is needed for making
To work with metal you will need:
 electric welding machine;
- Bulgarian;
- file;
- metal brush;
- electric drill with a set of metal drills;
- roulette;
- varnish and brushes for painting.
Step-by-step production of a metal headboard for a bed
 The headboard is welded from pipes for the stand and cross members. The lower cross member is welded first, followed by all other transverse elements. When welding, you need to maintain an angle of 90 degrees. This arrangement of the structure will ensure reliable fastening of the installation and give the bed an exclusive look. When entering the room, you will immediately notice the chic metal headboard, which can additionally be decorated with paintings or some kind of stones. After the backrest is completely assembled, we weld it to the base of the bed. We process all cut edges with a file.
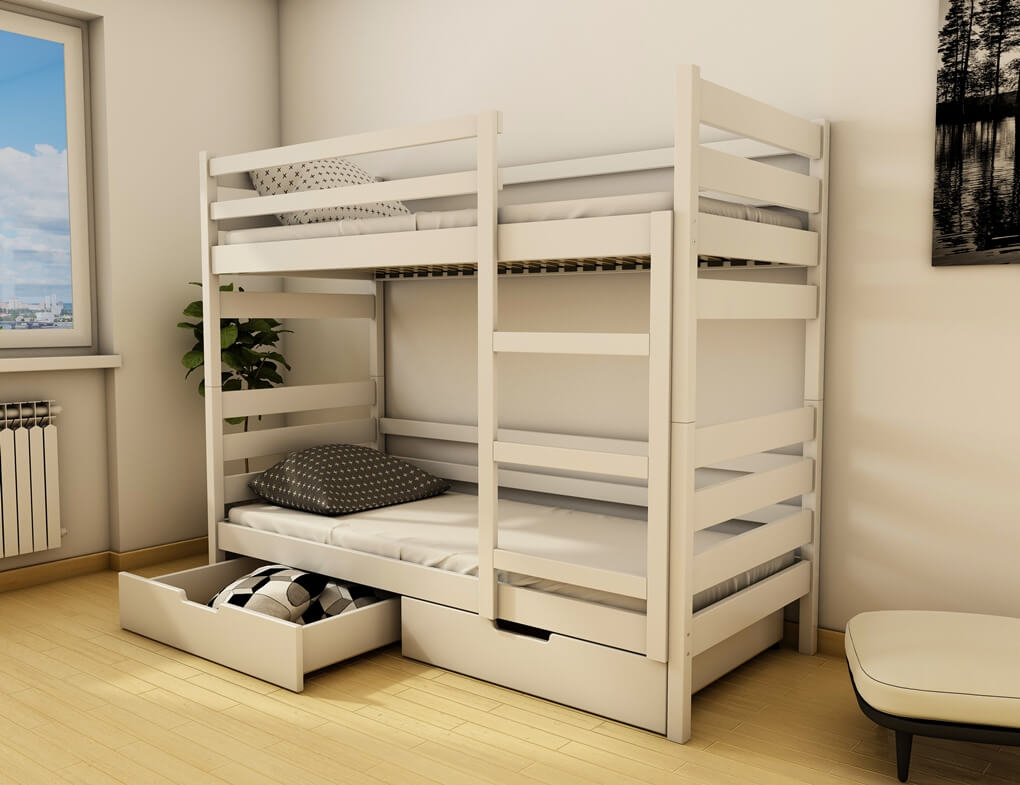
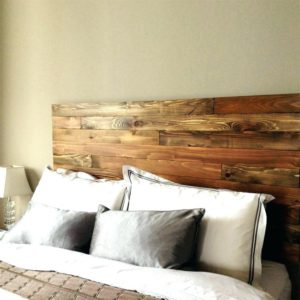
Wooden headboard for bed
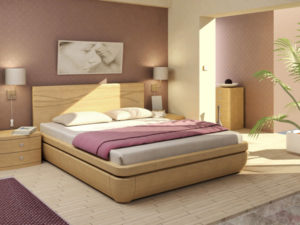 There are a huge number of wooden headboard designs. Wooden backs are considered a classic option. The style of the bed will depend on the way the wood is processed. Strict products are not decorated, but given a square or rounded shape, and covered with paint or a special varnish.
You will need the following materials for woodworking:
- jigsaw or wood saw;
- self-tapping screws;
- wood glue;
- screwdriver;
- beeswax or varnish to treat wood against insects and exposure to the external environment;
- electric drill;
- pencil and tape measure, construction ruler;
- chisel;
- sanding machine or sandpaper.
Variety of wooden backrest options
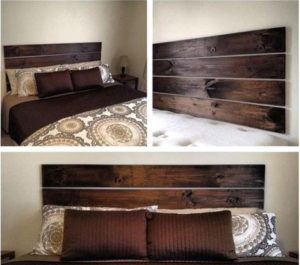
 Craftsmen create many varieties of wood products. These can be either smooth boards, which are then painted, or knotty ones. The main thing is to fit into the interior style. Working with wood is always pleasant and easy. An unusual move would be to imitate a wooden fence. The inclined headboard looks interesting. It is made from a wooden profile of a certain thickness. Blank circles are cut out, carefully processed and leveled with a file.
 The “restyling” idea is to lay out the headboard with multi-colored boards close to each other. Various variations of location and color combinations are possible. For the neoclassical style, a high back made of figured boards is suitable. You can add side shelves to it. Also make geometric shapes out of boards. It all depends on your taste and imagination; you can make carvings, try rearranging boards, choose paint colors, etc.
Which material to choose
 The easiest way would be to make the base from a solid wooden board. The wood is non-toxic, easy to process and will appeal to many people. The variety of wood allows you to choose the best option in terms of price and quality for your bedroom. Pine and birch are considered the most budget-friendly. When choosing the first option, you will get a pronounced wood texture, and with additional treatment with stain, you can install the product in a damp room. In the second case, a beautiful design may not come out, since the birch fibers are less pronounced. But you will get a lightweight and strong design. According to the average price policy, cherry, walnut and oak are suitable. The latter is especially popular due to its noble texture and high quality indicators. Elite classes include teak and wenge. From such exotic breeds you can find products for bright, modern interiors.
ADVICE. To avoid the difficulty of sanding untreated wooden boards, it is recommended to buy a ready-made profile or parquet board.
Size calculations
After selecting the material for the frame, you need to decide on the size of the headboard itself. The scope of the headboard should match the width of the bed, and the height is at your discretion and the image of the bedroom.
Making a wooden headboard step by step
 To make a wooden headboard, follow the instructions provided.
- Draw a preliminary sketch on the wooden profile with a simple pencil and mark the fastener holes.
- After checking all the dimensions, cut out the base along the contour and cut holes with a drill.
- Sand all corners and imperfections using a grinding machine or sandpaper.
- Open the workpiece with beeswax or a special wood varnish. Wait until completely dry.
- Screw the headboard to the bed or wall using self-tapping screws or bolts.
All is ready. Enjoy a job well done with your own hands.
DIY soft headboard for a bed
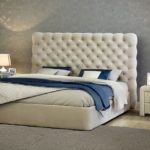
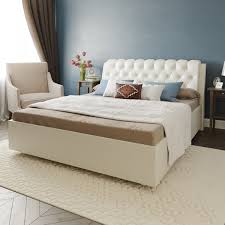
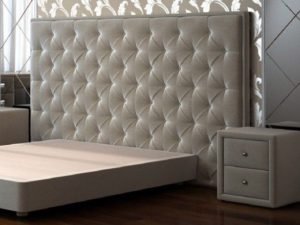
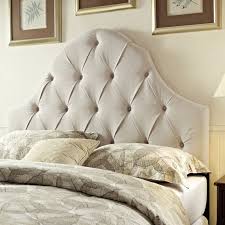 The soft version of the product is suitable for those who like to lean on the back of the bed. The part is completely covered with fabric, and padding is placed under it. To give an interesting look, different types of screeds are used. The disadvantage will be the cost of these beds. But there is also a positive point: you can design such a bed yourself, following the following recommendations.
Required tools and materials
- plywood of the size you need;
- foam rubber for lining;
- simple fabric for the base;
- beautiful, durable fabric for outdoor upholstery;
- furniture binder;
- jigsaw
What fabric to choose for upholstery
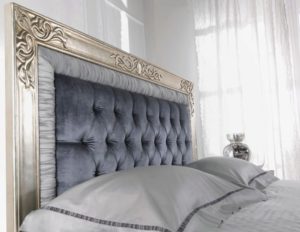
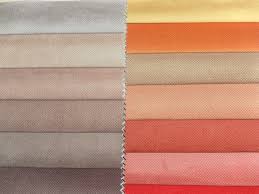 Even a simple solution will look great. If you are doing a simple reupholstery, which will take a little time, use a plain or beautifully printed fabric. If you choose a carriage tie, then heavy, expensive fabric is best; it creates luxurious folds. Natural or artificial leather, velor, velvet will look great. Folds are the purpose of decor, and these thick fabrics will be just right.
Making the base
Step by step description:
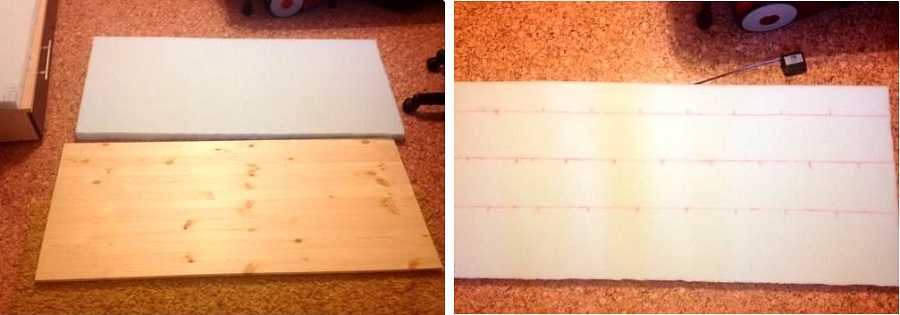 Use a jigsaw to cut the plywood to the size and shape you choose. Masters claim that it is easier to work with a square or rectangular shape.
- Place two balls of foam rubber on the plywood and cover with base material. Using a stapler, secure it from the wrong side. You can use simple and inexpensive material as a basis.
- Final covering of the product.
How to upholster a bed headboard with fabric
There will already be several examples of covering, depending on the option of a soft headboard you choose. If this is a simple type of work, then before completion, you will need to take only one step - staple the elegant, dense fabric.
Create more complex carriage version, the following steps will help:
 Drill holes in the plywood for the buttons. Keep an equal distance between them.
- The backing material must match the shape of the board. The thicker the lining, the softer the headboard will be.
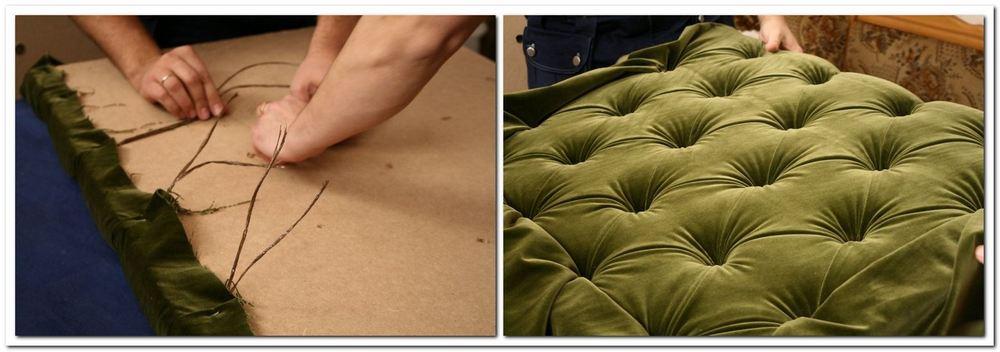
- Batting will help attach the foam rubber to the plywood. Use a stapler to secure it. If the batting is of high quality, then additional adhesives will not be needed.
- Secure the main fabric to the headboard. Try to ensure that each next tuck covers the previous one, then the stitching lines will come out more neat.
- Attach the buttons into the holes made and secure on the back side. You can also cover them with the same type of fabric, like the entire product.
Ready. Secure the back using your chosen method.
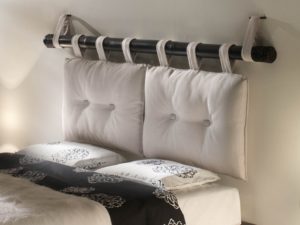
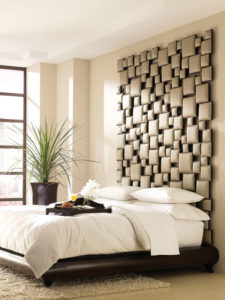 Headboard made of square cushions. The good thing is that you can use various colored fabrics and leftover materials.
- Make many small squares from plywood and canvas. Their size depends on you.
- Cut out the same squares from foam rubber and a little more from batting.
- It is better to cut it last from the main fabric so that it can be secured on the opposite side.
- Assemble everything in this order: plywood, foam rubber, batting, fabric.
- Secure the fabric with a stapler.
- Place all the squares on large plywood and secure with self-tapping screws.
Hang it on the wall and admire your work.
The upholstered headboard turns out to be very unusual and chic; it will decorate your bedroom.In order to “revive” the headboard, try decorating it yourself or adding accessories. You can find examples of design by looking through magazines or the Internet.
How to attach a headboard to a bed
There are three main types of fastening:
 Stationary - they are firmly attached to the bed.
- Attached - they are placed between the bed and the wall.
- Mounted - if weight allows, secure the structure to the wall with self-tapping screws. You can screw the loops onto the inside of the headboard and hang the product. The most reliable option that will withstand heavy loads is to use anchor bolts with a metal profile.
IMPORTANT. Be sure to make sure that the headboard that will be placed on the wall is securely fastened. To position the structure evenly and parallelly, use a ruler.
Making a headboard with your own hands is not always an easy task. You need to put a piece of your soul into your work and try, then the result will exceed all your expectations. Show your imagination, skills and set aside a little time for this and your home will shine with new colors and become even more comfortable.