How to assemble a computer chair
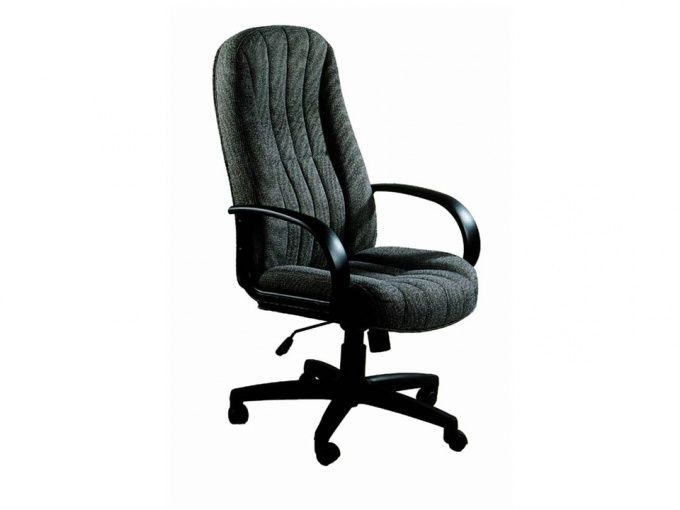
This piece of furniture is a convenient option for a schoolchild or working person. Thanks to the soft seat and back, the load on the spine is significantly reduced. The presence of rollers eliminates the need to constantly get up from your chair to take documents or something necessary from a nearby table. Instructions are not always supplied with the chair, especially if you purchase a used product. Let's try to figure out how to assemble a computer chair quickly and easily.

The content of the article
What you will need
First, open the box with the product and lay out all the contents on the table. First of all, you will need to familiarize yourself with the manufacturer's assembly recommendations, if any. Check the completeness, all the necessary parts and elements should already be included.
IMPORTANT. The manufacturer of the regular one supplies a special key for assembly. It has a hex hole head.
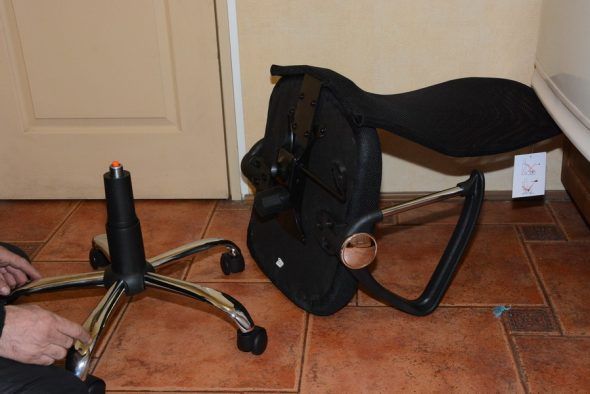
The product consists of 2 main parts:
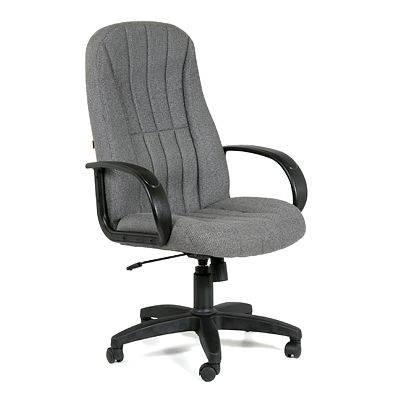
- The seat itself, together with the backrest, you have the opportunity to adjust it. This can be a monoblock solution with or without armrests. Most often, the back is made as a separate element.
- Support part, which provides an adjustable mechanism for changing the height. Made on roller wheels.
REFERENCE.If you were unable to find assembly instructions in the kit, you can search for them on the Internet.
Assembling a computer chair - step-by-step instructions
To begin with, it is worth saying that the assembly process is not a difficult task. You will definitely get through it quickly. The main thing is to follow the step-by-step instructions below:
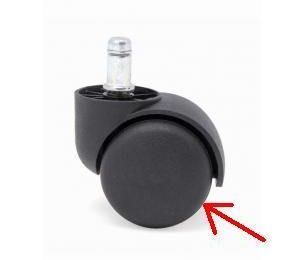
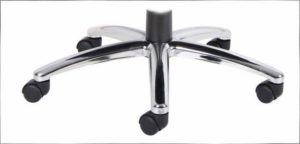 Installation of socket rollers. Insert the wheels into the corresponding holes on the legs. It takes a little effort. First of all, the rollers should be installed in the cross. They are inserted with rods into the holes on the bottom surface, after which they must be gently but firmly pressed until they click. To complete this stage, you can use some object, do not overdo it.
- Preparing the seat. It will be necessary to attach an adjusting mechanism to the back of the seat, and a piastra is attached to the bottom.
NOTE. Each screw must be secured with two types of washers.
- Install the gas lift into the crosspiece. It is necessary to remove the caps from the edges of the gas lift and then perform this action. In order to assemble the casing, you will need to assemble it from several parts; assembly is provided according to the principle of a telescopic pipe. Insert the assembled element into the hole of the cross, which is located in the middle. The load-bearing part is assembled.
REFERENCE. Many people think that the process of assembling such a structure is a very difficult task. Actually this is not true. If you arm yourself with some tools and study the information provided or use the instructions, you will certainly succeed.
Connect both parts of the chair together. Place the seat onto the shock absorber. After this, you need to press hard on the seat or just sit on it. This action is important because it allows you to achieve the most durable fixation.
Upon completion of the described manipulations, it is necessary to carry out assembly quality control. To do this, you need to press the piastra lever from above, and the structure should lower. When the lever is lifted up, the structure should also rise and return to its original position. If everything functions exactly as described, then the design is assembled correctly.
Adjusting the assembled structure
If you notice that the structure you assembled is not very comfortable or is loose, it means that you did something wrong. In this case, it is recommended to check the correct execution of each assembly step. Adjust the assembled structure. Let's look at the main faults that you may encounter if assembled incorrectly:
- The backrest adjustment does not work; you cannot lock it in the desired position. In this case, you need to carefully inspect the screw; perhaps you have not fully secured the thread or have completely torn it off. In the second case, you cannot do without replacement.
- If there is play in the back, you need to check the place where the permanent is attached to the back.
IMPORTANT. After you bring the new structure into a warm room, you must wait at least 12 hours. Otherwise, the pneumatic cartridge may fail and cannot be replaced.