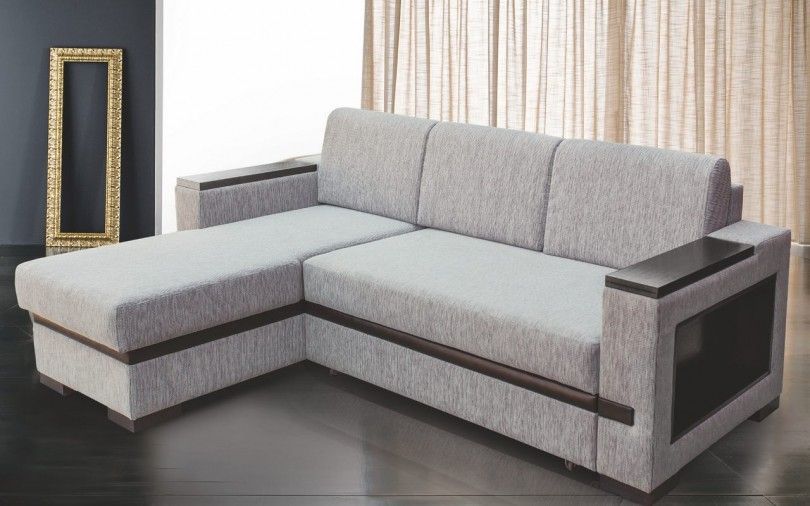
DIY folding sofa
 Upholstered furniture is an integral attribute of the interior. Products assembled with your own hands are considered especially valuable, from a functional and aesthetic point of view. Sofa bed Anyone can do it - all you need to do is acquire a simple tool, use your imagination and be patient.
The content of the article
How to make a folding sofa with your own hands
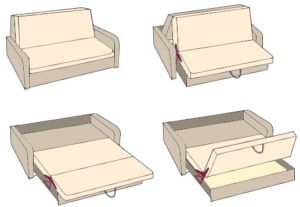 The process cannot be called easy, but proper planning will help. Before you start work, you should decide on the design of the product, folding mechanism, upholstery material, etc. As for the mechanism, the choice is quite wide - “dolphin”, “book”, roll-out, etc., while the availability of free space in the room should be taken into account - some options require a lot of space for transformation. Roll-out models are more popular - they are preferred due to their simplicity of design and ease of use.
We prepare materials and tools
For a truly high-quality and reliable roll-out sofa you will need:
- chipboard or fibreboard;
- plywood, timber 30x50;
- special furniture fasteners;
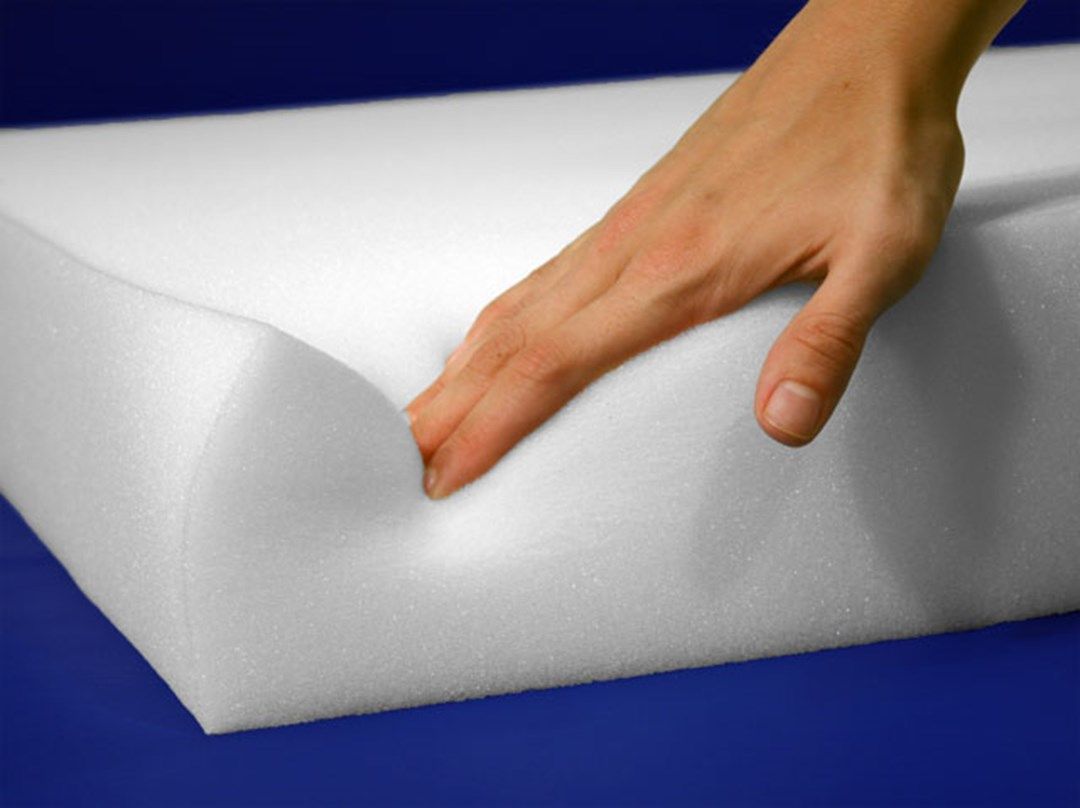
- padding polyester, dense foam rubber, batting;
- glue (for working with foam rubber, as well as carpentry);
- nails;
- durable furniture fabric;
- retractable mechanism;
- furniture legs about 50 mm high.
Tools you will need: tape measure, pencil, saw, square, electric drill, wrenches, screwdriver, furniture stapler. The final preparatory stage will be the development of a layout indicating all dimensions.
REFERENCE! In addition to your own ideas, when designing a sofa, you can pay attention to ready-made projects, of which there are many on the Internet.
Step-by-step creation of a folding sofa
The key to an ideal result is the unhurried and careful completion of each stage. It is recommended to periodically take measurements and then compare them with those specified in the project. So let's get started:
- We make armrests. To do this, we take chipboard with beams and fasten the individual elements with nails and screws. Armrest dimensions – height 550 mm, length 900 mm, width 200 mm. Each part should be covered with foam rubber on all sides, with the exception of the back wall, which is finished with batting.
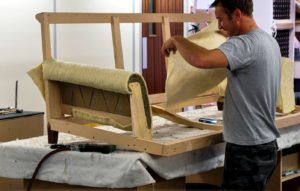
- Assembling the left side. Chipboard structures are attached to each other with glue, screws (at least 4 pcs.), and plywood overlays. 2 racks are attached and the screed is made with bars. Next, the tiers are mounted - upper and lower, until they touch tightly. At this stage, it is extremely important to constantly monitor the dimensions. The finished frame is attached to a frame pre-coated with glue, after which the fiberboard is fixed to the back using nails and glue, on which foam cushions are laid.
- Let's do the right part. The process is identical to the previous stage, after which all parts are coated with protective varnish, chipboard elements are fixed with plywood overlays, and bars are installed around the perimeter, which subsequently hold the boxes. The bottom is attached and holes are drilled for the bolts of the transformation mechanism, and 2 layers of foam rubber are laid.
- We form the frame. According to the dimensions indicated in the drawing, parts are cut out, foam elements are cut out and glued into place.
- Upholstery work. Furniture fabric is cut in exact accordance with the specified dimensions for each element of the sofa with a small allowance of 50 mm. Be sure to take into account all the bulges of the product, bends and angles. After trying on the result, if it fits, the final seams are made.
If you are lucky, your hand did not tremble and your eye did not deceive you, then after a short time a good, spacious sofa will appear in the room on which you can comfortably spend time.
Another option is a sofa book
The design is one of the most universal and oldest - its history goes back decades. The book sofa includes elements such as a seat, a backrest, 2 armrests and a linen drawer. Assembly sequence:
- Arranging a linen drawer. 4 boards (2 – 25x40x1900 mm and 2 – 25x50x800 mm) are attached to each other with glue and screws, and 4 bars of 40x50x200 mm are fixed at the corners of the frame. To give the structure strength (it will yield to the greatest pressure), 2 more slats 800 mm long and 200 mm wide are fixed inside the box. After this, a bottom is installed, the role of which is played by 800x1800 mm fiberboard.
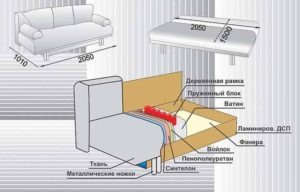
- Assembling the seat and backrest. We use 40x60 mm timber, from which we assemble frames 650x1890 mm, fastened with screws and nails. Stiffening ribs are installed in the center of each structure, after which we mark and evenly fix the lamellas on the frames that will hold the mattress.
- Manufacturing of armrests. We will need 4 (2 right and 2 left) fiberboard blanks, onto which we transfer the dimensions indicated in the diagram, and then cut them out.The wooden frames are knocked down according to the shape of the armrests - in this case, the fiberboard should be 20 mm longer as a result, after which two additional strips are installed, as well as stiffening ribs in the center. Next, holes with a diameter of 8.5 mm are drilled in the armrests for bolts, after which we drill 10 mm holes in the linen drawers - 2 on each side symmetrically.
- Assembly of the structure. The transformation mechanism is carefully installed (purchased at a furniture store), ensuring the correct arrangement of all elements. Non-woven elements are installed on the slats, on top of which 60 mm foam rubber is spread, while for comfort, a small cushion is made on the edges of the seat and backrest. Another 40 mm layer of foam rubber is placed on it and carefully wrapped under the seat. The same manipulations are carried out with the back. Finally, the entire structure is covered with fabric covers.
- Design of armrests. 40 mm foam rubber is laid along the edge of the elements, after which another 20 mm foam rubber layer is wrapped on top, which is neatly fixed. The inside of the armrests is also finished with foam rubber, which is secured with glue, and after it dries, we apply another layer of foam rubber, tuck the edges and trim off the excess, if necessary. Next, the products are sheathed with furniture fabric and decorative elements are attached to them, if desired. The final stage will be assembling the entire structure and checking the proper operation of the mechanism.
Making your own sofa will appeal to those who love to craft, as well as those who want to be sure of the quality of the furniture and its durability.Made with love, it will become the subject of everyone's attention, will delight its owner for many years and make him feel proud.

