DIY brazier made from car rims
Good weather and sunny days encourage people to go out into nature more often, meet friends, go on hikes with family and have picnics. To have a good time, you should prepare everything in advance, purchase the necessary things, tents, buy clothes and, of course, equipment for cooking.
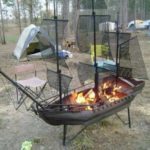
The most popular grill is that you can use it to cook food over an open fire or coals. Nowadays, stores have a wide range of barbecues, so choosing the right one is not difficult. If you wish, you can buy a stationary grill or a miniature camping option.
But if you have free time and desire, you can try to build it yourself. The article will discuss an interesting and rather unusual way of creating a barbecue from car rims.
The content of the article
Features and design options for barbecues made from car rims
If you're interested in the idea presented, it's worth learning more about the design options and different ways to use the drives. Among the most common options are the following design formats:
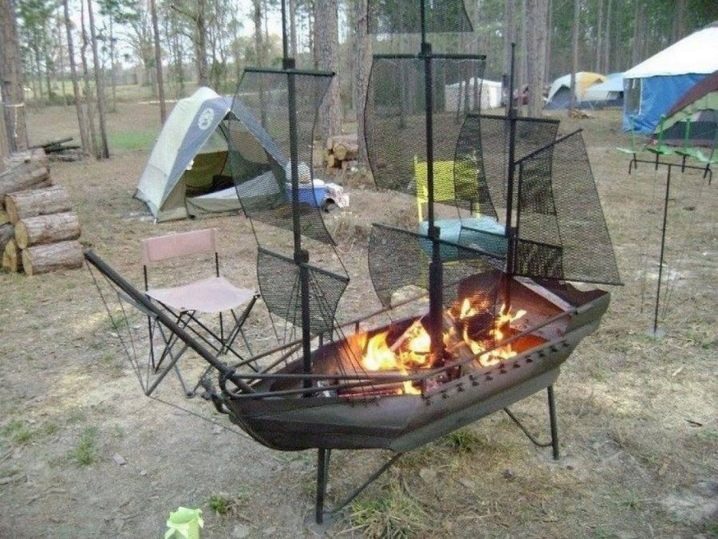
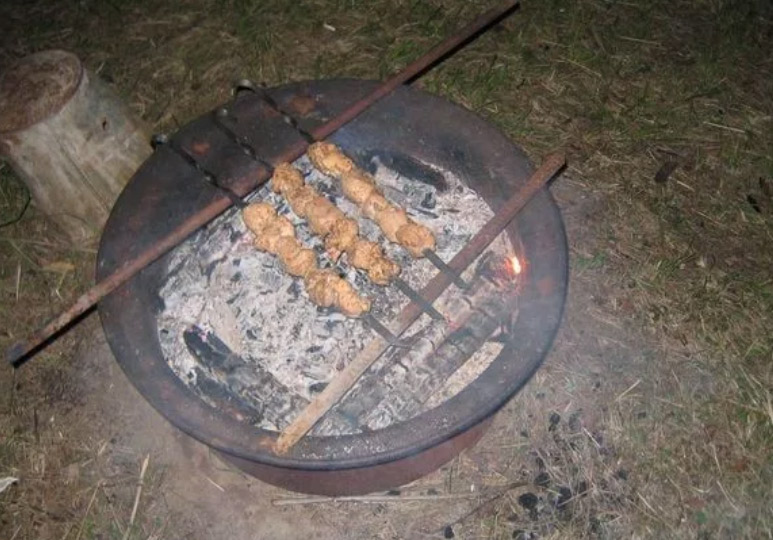
- Single disk usage. The simplest method that does not require preparation.Simply place the disk on the ground, light a fire inside the case, and place skewers or a special grill on top.
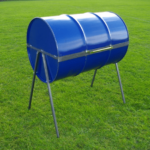
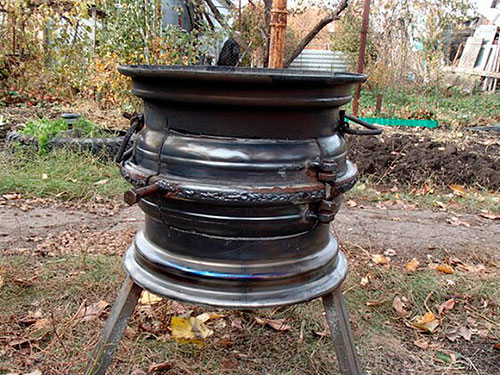
- With legs. It is more difficult to manufacture. To do this, you will have to take additional tools and metal pipes to create a stand. This option will allow you to quickly and safely place the grill on any surface.
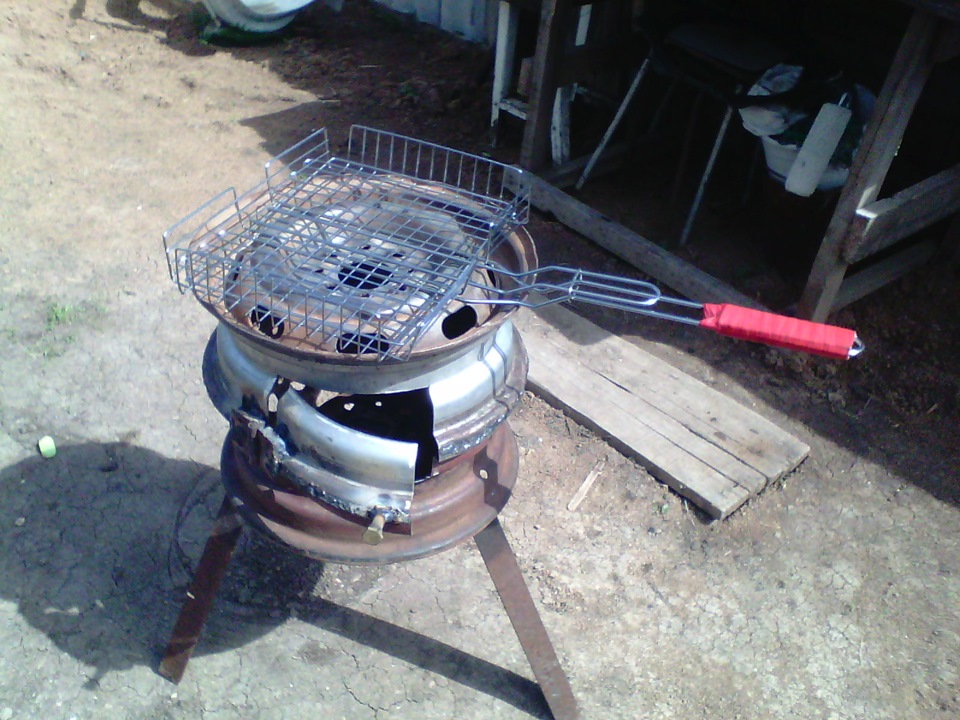
- Double. To increase the volume and quantity of coal produced, you can make a double option. This will use two disks from the machine.
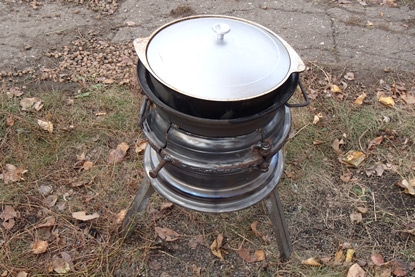
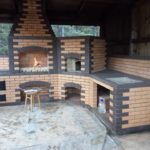
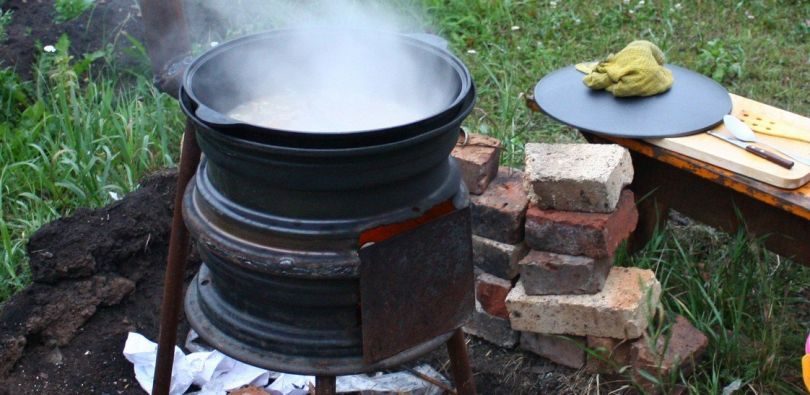
- A closed oven that can be created from ordinary wheels. It is possible to place a saucepan or kettle on top of it. This will create a universal option for preparing first and second courses.
You can choose one of the presented product formats or create your own design to suit your personal needs. Consider time and stock up on the tools you will need to complete the job.
Attention! It is not at all necessary to choose one specific type of product. You can combine several designs and create your own unique device. But at the same time, it is necessary to preserve the main function of the barbecue, so you should not deviate too much from the main idea.
How to make a barbecue from car rims with your own hands
The preparatory stage includes the following actions:
- Preparing a place for work on creating a barbecue. It is necessary to remove unnecessary items and free up space.
- Check that you have all the necessary tools - a grinder or hacksaw, a file and stripping brushes, a drill, a hammer and a set of small-diameter metal tubes.
- Select the appropriate format for the future frame of the product.
Prepare everything according to plan and take care to comply with safety precautions.Now you can start creating the grill. We will not describe the usual version - it only requires the presence of a wheel, but as an example we will turn to a design of two disks. The stages of its implementation are presented below:
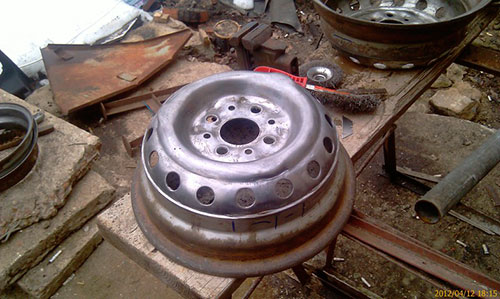
- Thoroughly wash the discs to remove accumulated dirt and rust. For difficult areas, you can use stripping brushes or a grinder with an appropriate attachment.
- Using a grinder, cut out the internal partitions in the disk to create a bowl for placing firewood in it and starting a fire.
- If the disk has many holes, you need to weld them with a metal plate, but small gaps should be left for oxygen to enter (it ensures the combustion process).
- Do all the necessary manipulations with the two disks, then align their surfaces with each other. Secure with a welding machine.
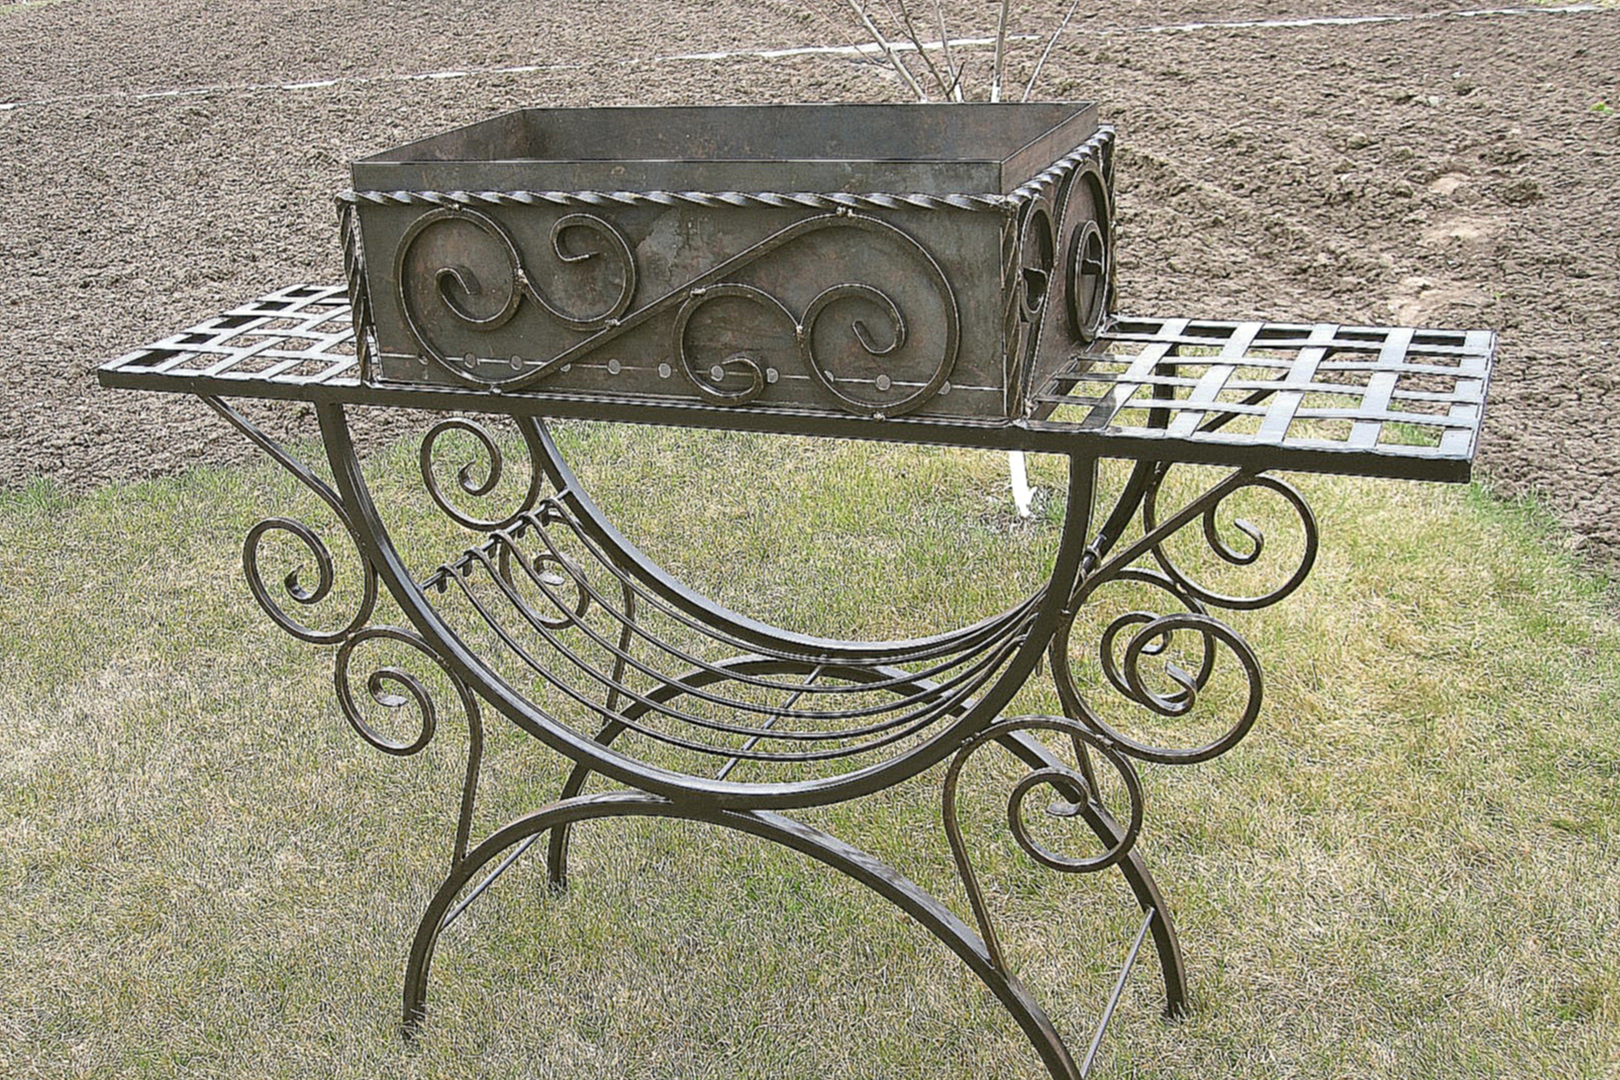
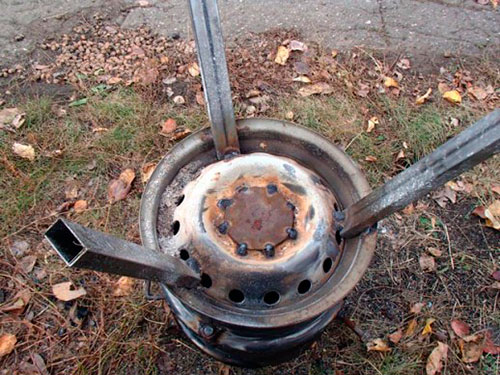
- Now all that remains is to make the fastenings or legs. Weld or bolt metal pipes to the bottom. It is advisable to use a tripod, placing all pipes at an angle of 45 degrees to the ground.
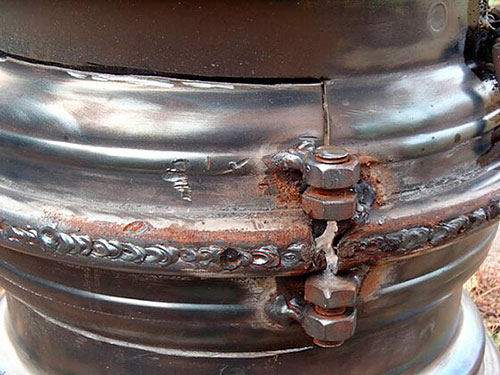
- Along the outer perimeter at the level of the welding seam, make holes for the bolts.
- Make a door that will be bolted on so you can control the fire and cook food at the same time.
Take this model as a basis and, if necessary, modify it by modernizing individual elements of the grill.
Attention! The product must maintain its integrity when preparing food; ensure its strength and reliability of fixation of its components. You can test the grill after finishing work. Particular attention should be paid to the legs: they must withstand the weight of not only the disks, but also the fuel and the food being prepared.
Advantages and disadvantages of a homemade grill
Creating a homemade version of the barbecue has a number of advantages:
- Relatively inexpensive method, thanks to the use of scrap materials.
- Ease and convenience of work - in some cases there is no need to use additional tools.
- Durability and reliability of design, ease of use for cooking.
But this option also has disadvantages. These include the following:
- The structural elements are quite heavy, so the grill is quite difficult to move and take on hikes.
- It is impossible to warm up without appropriate stands, and the grill will quickly cool down from the ground.
In general, the presented model is perfect for a summer house and country house; with its help you can arrange a great picnic for the whole family.