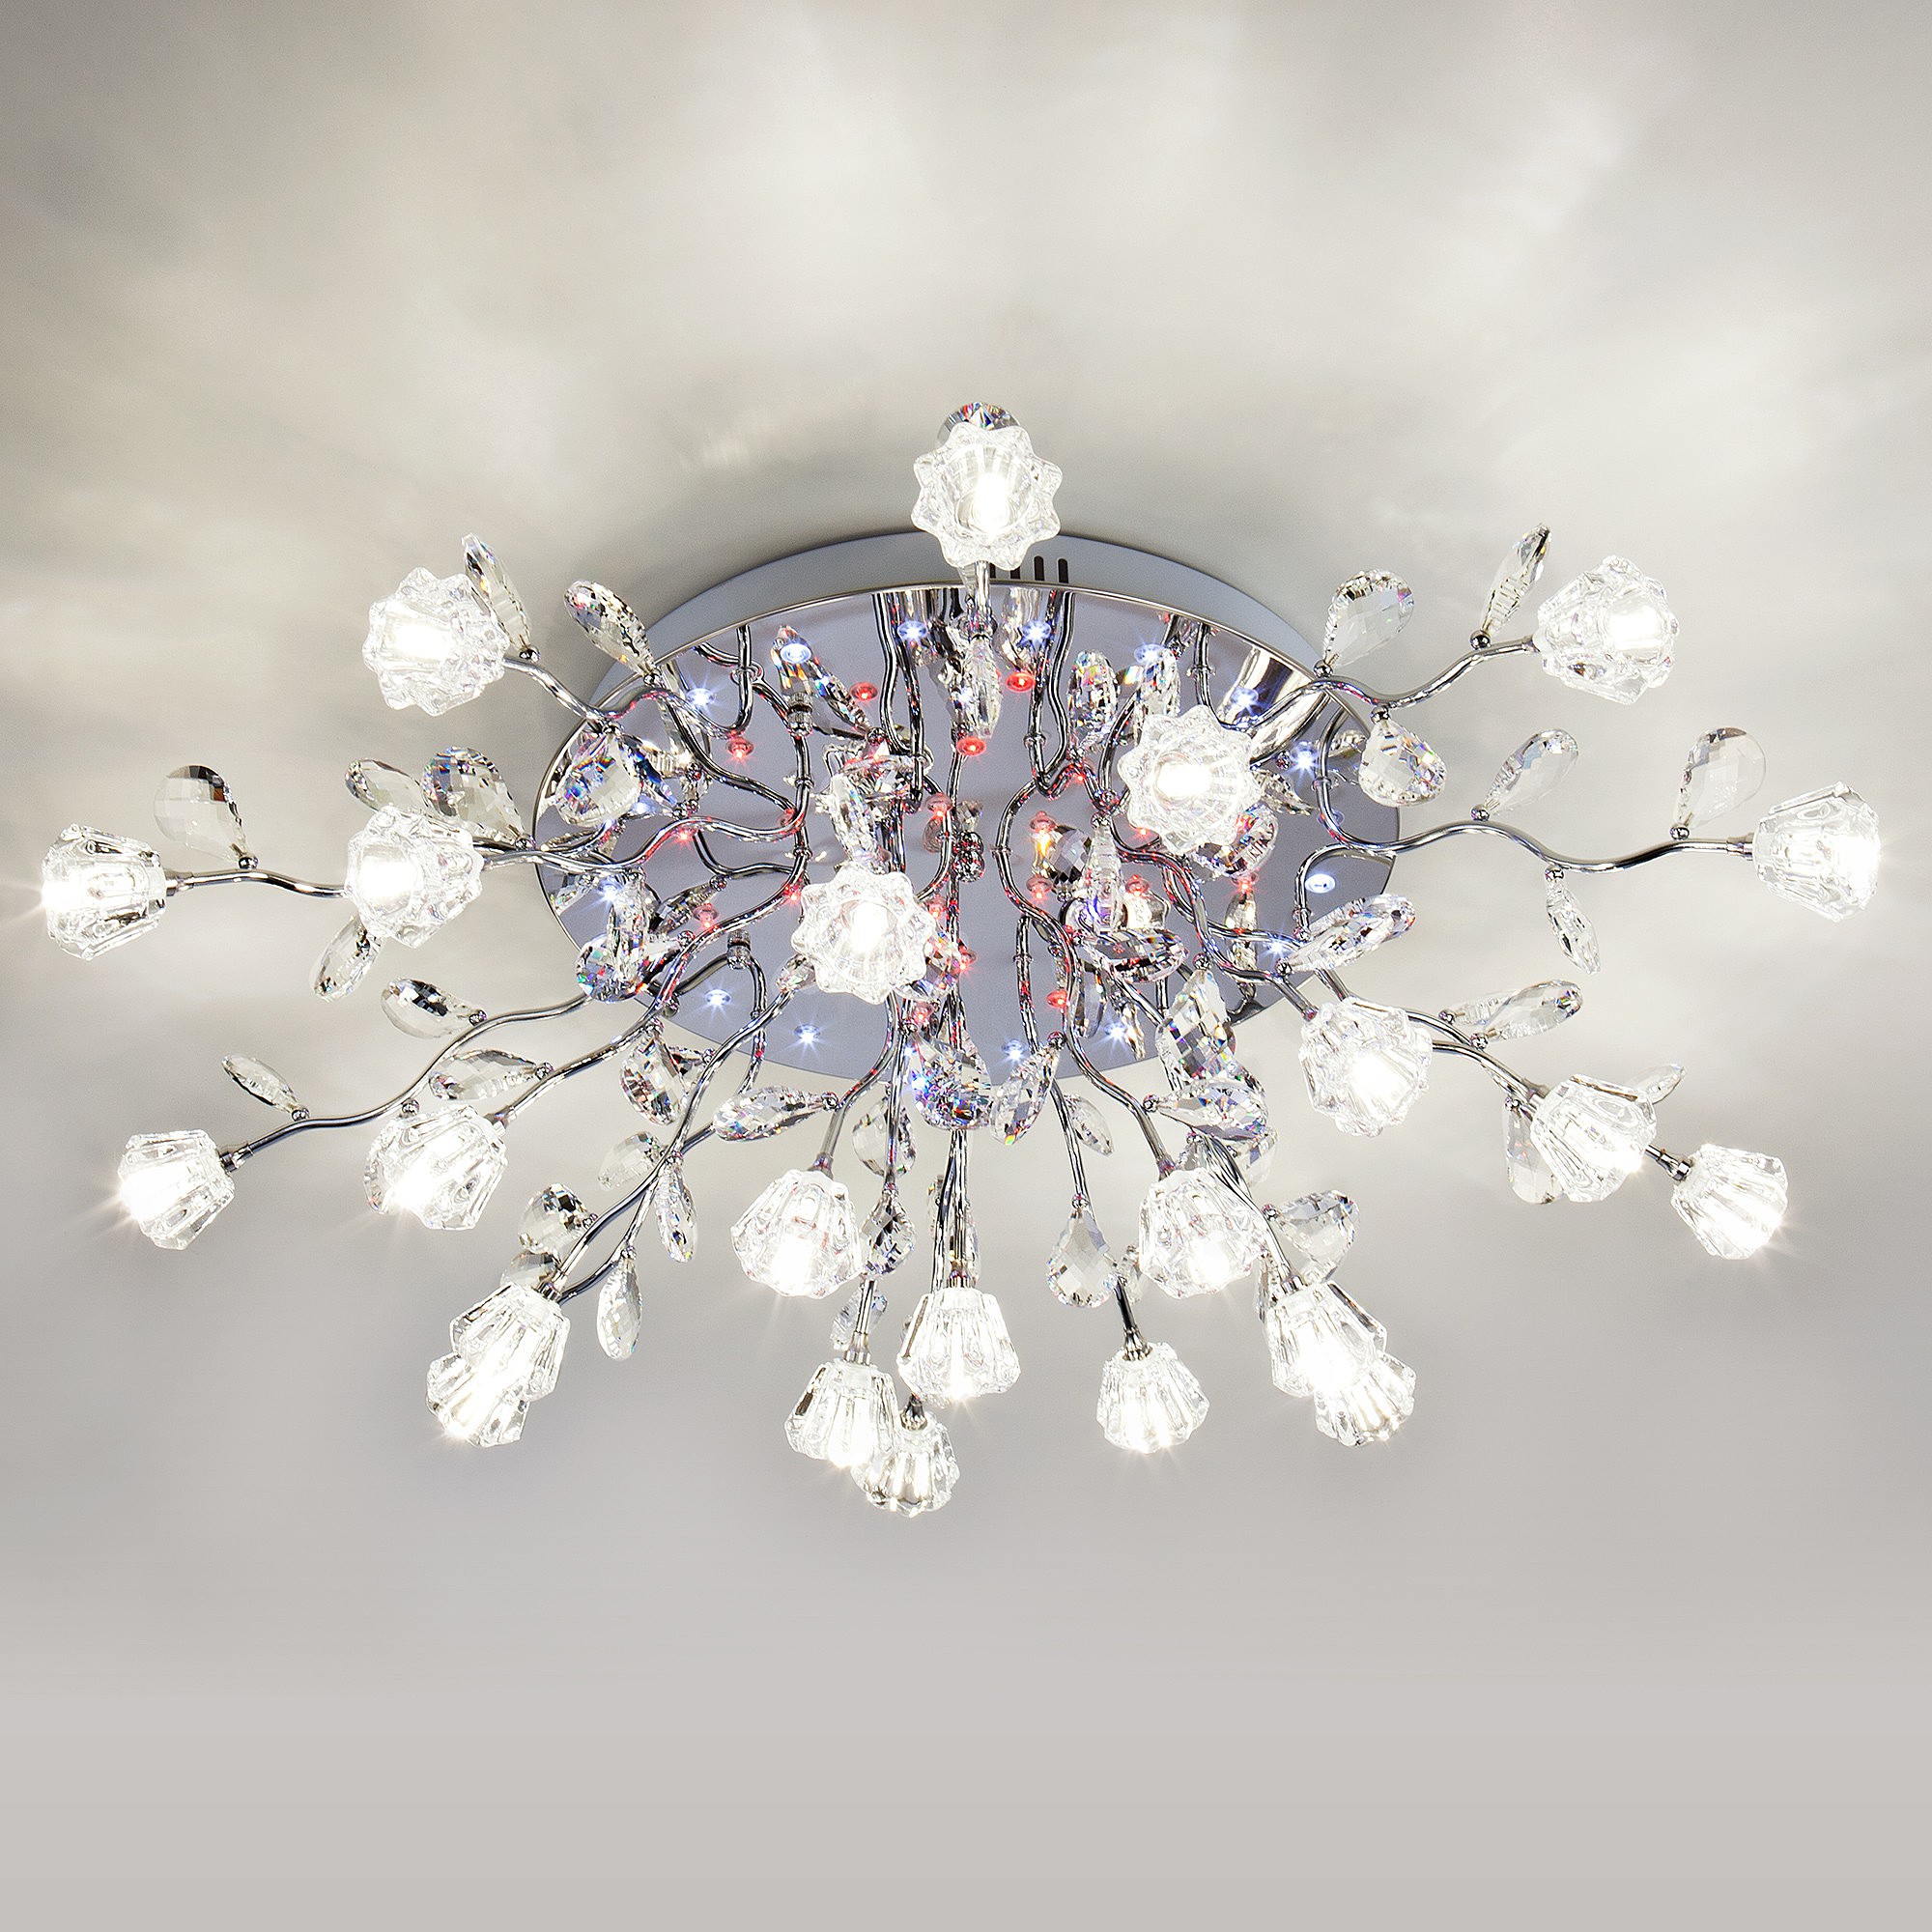
DIY LED chandelier
More and more often, newfangled LED chandeliers are appearing in apartments. They are everywhere replacing outdated incandescent lamps, and energy-saving lamps are being squeezed out. It’s just that LEDs are used for a longer time, and given that they require the bare minimum of electricity, they are more profitable.
Of course, the price for them is not small, let's face it. But who makes you jump out of your seat and rush to the store in order to purchase this “miracle”?! It is quite possible to make such a lighting device yourself. Let's try to understand this whole matter in more detail.
The content of the article
Is it possible to make an LED chandelier yourself?
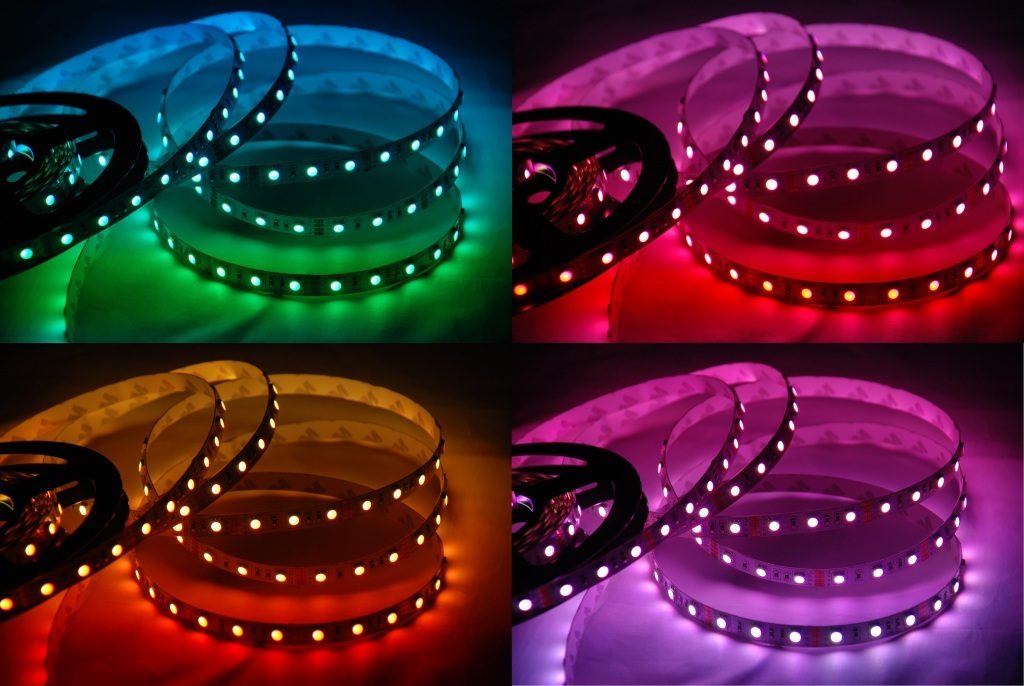
Today you can find and buy LED strips or panels. They have a wide selection of colors and brightness. Based on them, you can independently design a lamp of any type. However, this requires some understanding of electrical engineering and the ability to use a soldering iron.
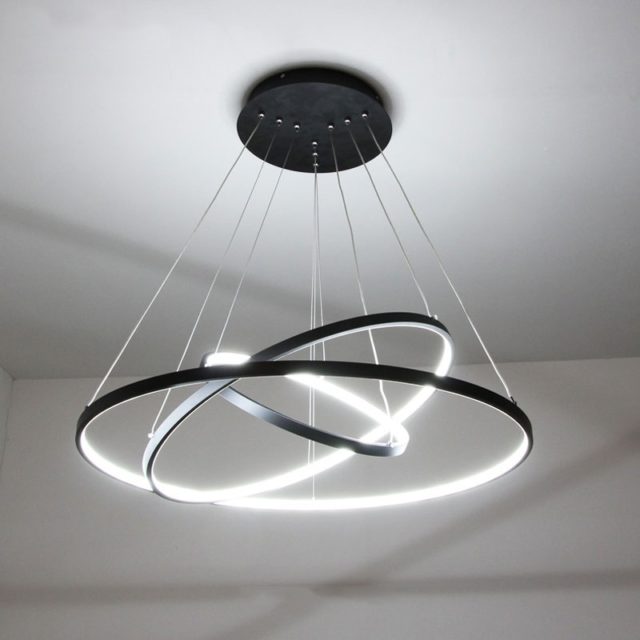
A homemade chandelier can be given absolutely any shape:
- make it in the form of a square or rectangle;
- round;
- make unusual options.
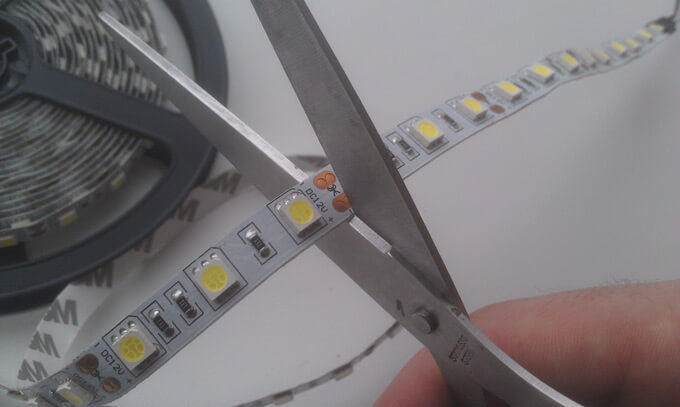
A flexible strip of LEDs would be a good help. There is an adhesive layer on one side; you just need to get rid of the protective film and press the tape to the desired surface.
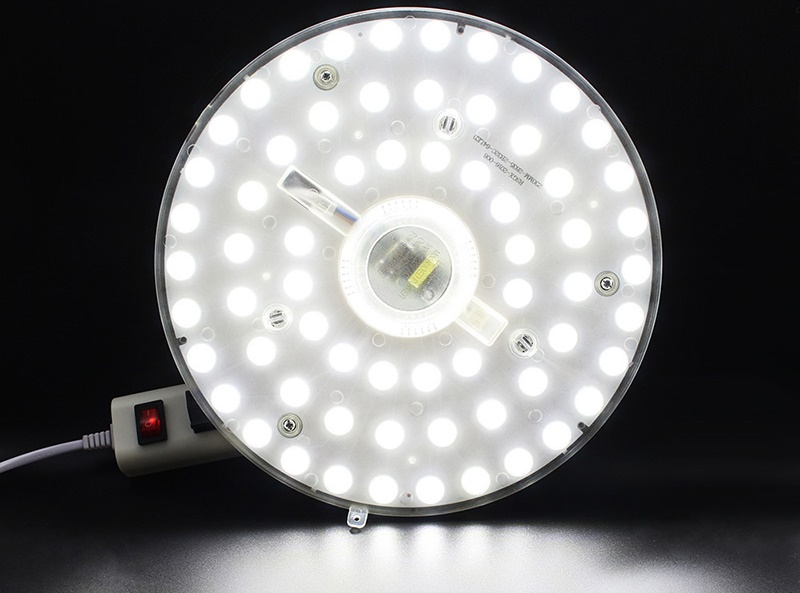
For a lamp that has a round shape, you can use an LED panel similar in size and shape. At its base there are LEDs with small lenses that make the rays larger.
For devices with a rectangular shape, you can use a ready-made LED module. Or you can simply cut the tape and lay it in rows or in another pattern. We attach a plate on top of the tapes that can make the light more diffuse. This will allow the light flux to be evenly distributed.
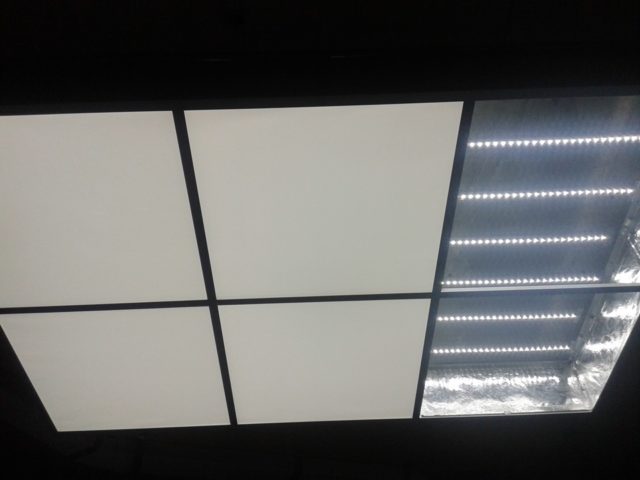
If you want to make a square chandelier, then an Armstrong ceiling module can help out.
Reference. There are panels that have the function of changing the brightness and temperature of the light. It would be nice to connect the entire system to a remote control sensor, then it will be possible to control the lighting from anywhere.
What is needed for this
To make a chandelier, you can purchase a bunch of individual LEDs, or you can use an LED strip. For beginning craftsmen, it is more convenient to focus on the second option. Individual LEDs require careful handling, and you will have to spend a lot of time on this.
To work you will need to stock up on the following:
- We will need a frame or a ready-to-use board. The material must be resistant to heat, but not metallic or non-conductive.
- Decor will be needed.
- LED Strip Light.
- You can't do without a soldering iron.
- For small objects you need tweezers.
- A power supply is required.
- In addition, you will need a capacitor that corresponds in its capacity and voltage to that used in the electrical circuit of the device.
Reference. The tape can be soldered with a soldering iron with a thin tip or secured using special connectors.Under no circumstances should you use acid, as it will damage the components or cause a short circuit.
Ideas for inspiration
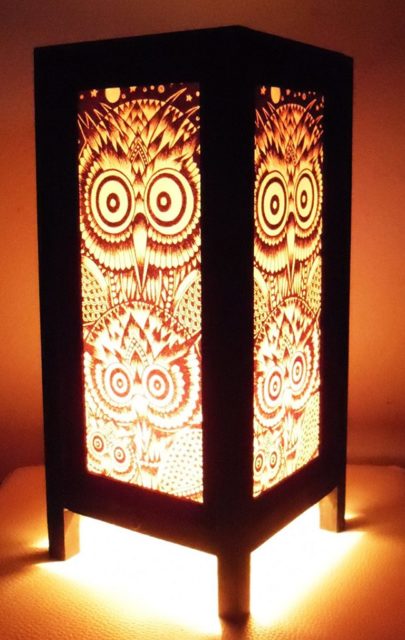
Wood is generally a very good material for all kinds of DIY crafts. You can make unusual lamps from it. You can use simple, rough branches or take plywood for these purposes. In general, it can be decorated using a jigsaw or decorated with a burner.

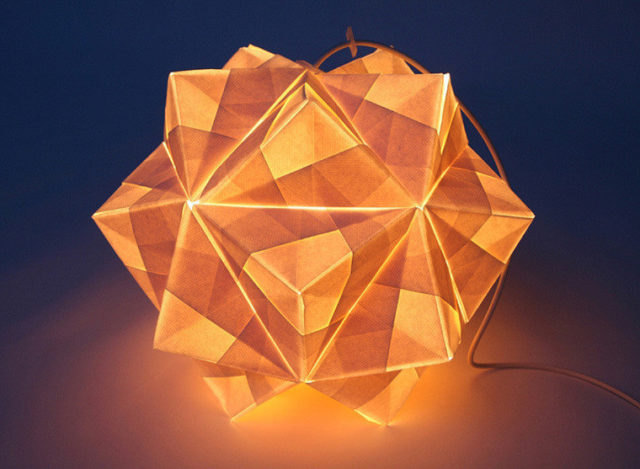
A huge number of all kinds of models can be made from paper. Plain white paper, as well as colored paper, is suitable for this. Classic options in the form of a sphere and a cylinder always look good. But you can also make a completely unusual product - use the origami technique or something similar.
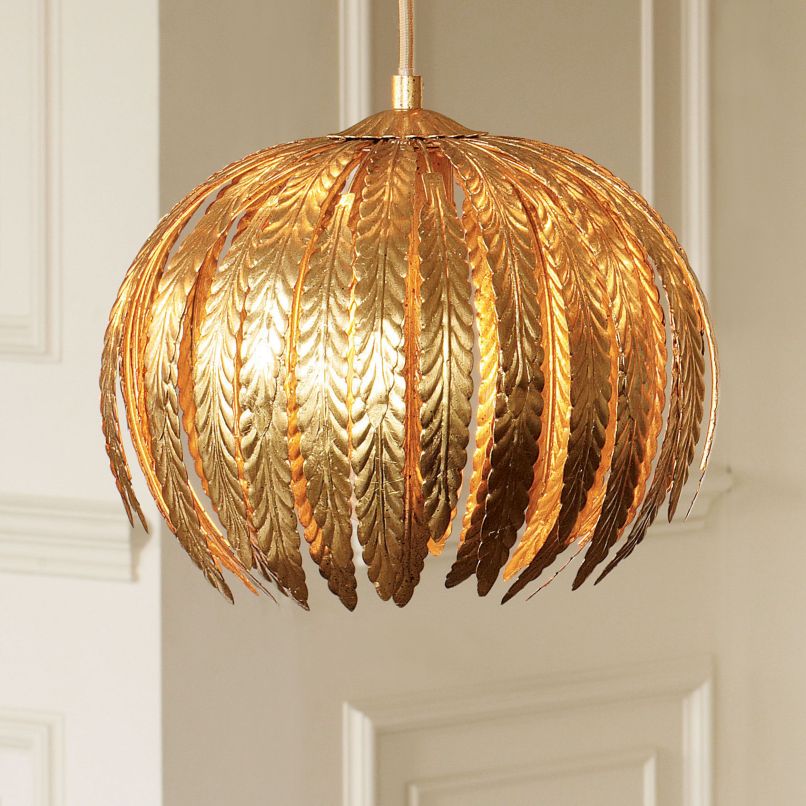
For a lampshade, you can take hoops made of wood and drape them with fabric. The fabric should be chosen in such a way that it is in harmony with the rest of the room design. Even scraps from curtains are quite useful for this. And if it is possible to get feathers, then it is possible to create something completely unusual.
For the body, you can use metal tubes or corners. Both of them can be easily assembled into a square or made into a rectangular shape. Other materials can also be used. The only important thing is that all this is in harmony with each other and with the surrounding environment.
How to make an LED chandelier with a remote control yourself
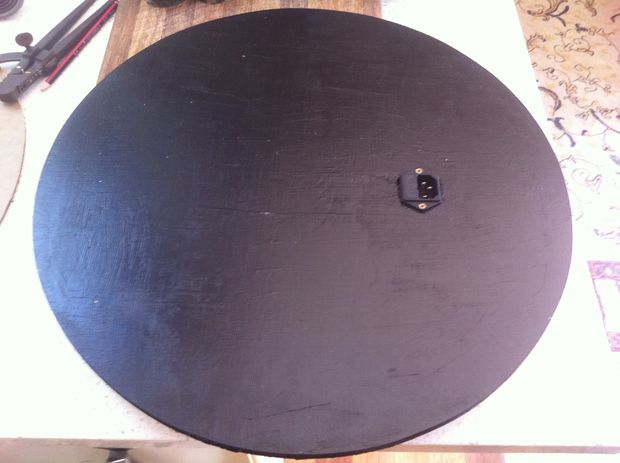
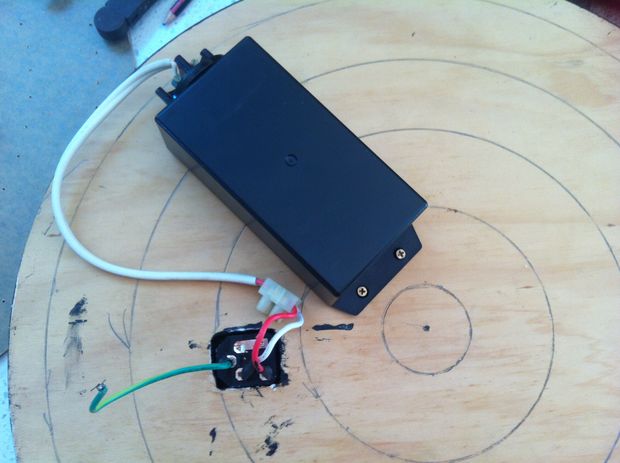
First, let's take our plywood and apply markings on it. This will be the basis for the chandelier. In this case, the base has a round shape. We cut along the contour, install the socket and connect the power supply. Which socket will be used does not matter; in our example, it is the socket from the computer. You can use any other one that is available.
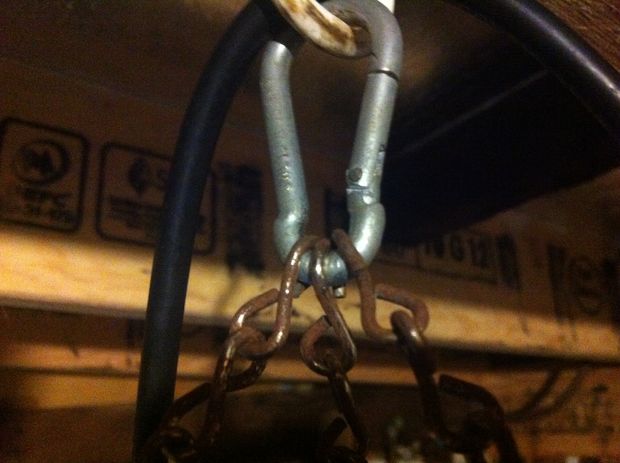
In order for our chandelier to hang, it needs to be fastened. To do this, take a chain and cut off several pieces. We will hang the chandelier on chains.
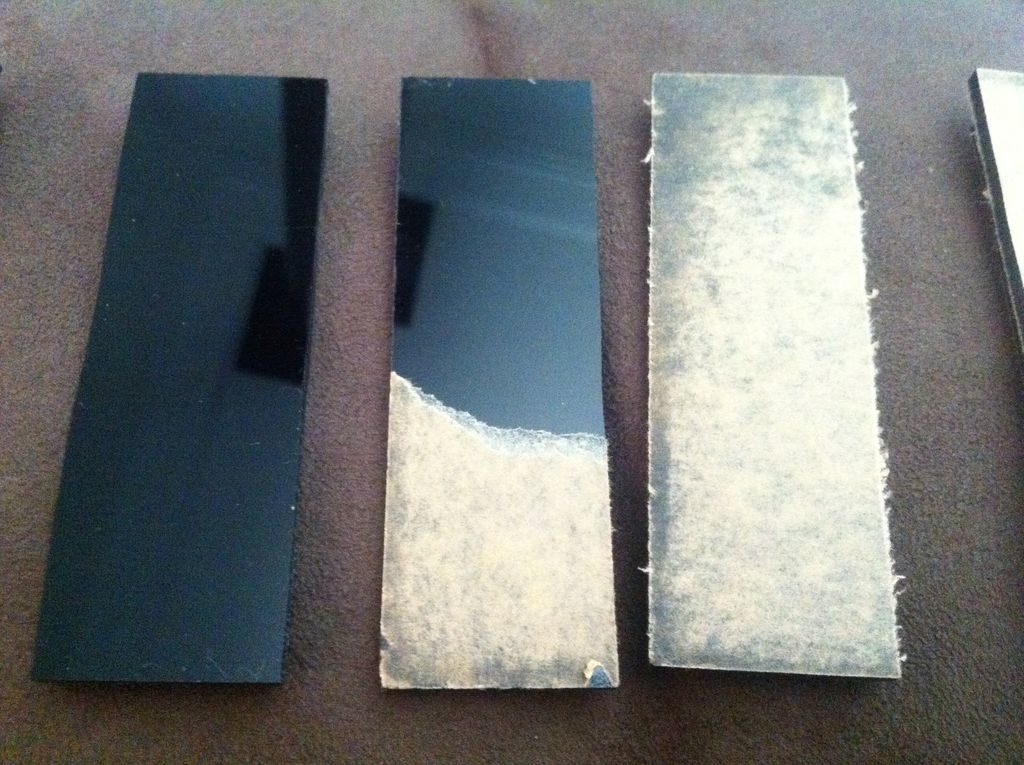
Now we need plexiglass. We make markings on it. We need to cut out the same circle from it as from plywood.

We make the second circle five millimeters larger. Now we need to connect these circles into one whole. This will give the plexiglass strength, because it is not able to withstand loads.
As a result, we get a circle made of plywood and a second circle, which consists of two layers - plywood and plexiglass.
Using small planks, we combine our two levels and get something resembling a cylinder.
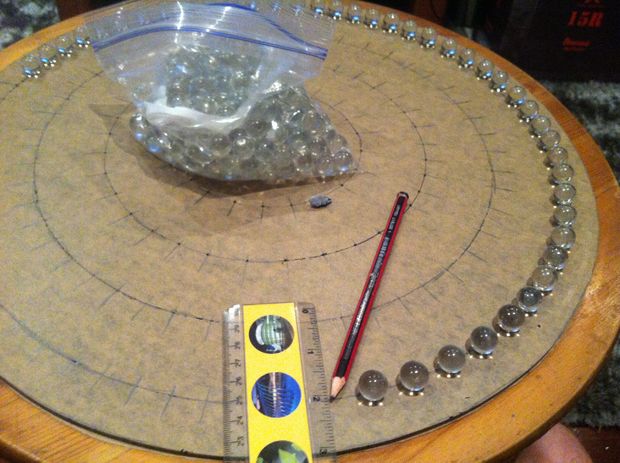
In order to place the balls, we draw concentric circles on the surface of the circle. In the places where the centers of the balls will be located, we drill holes with a small drill.
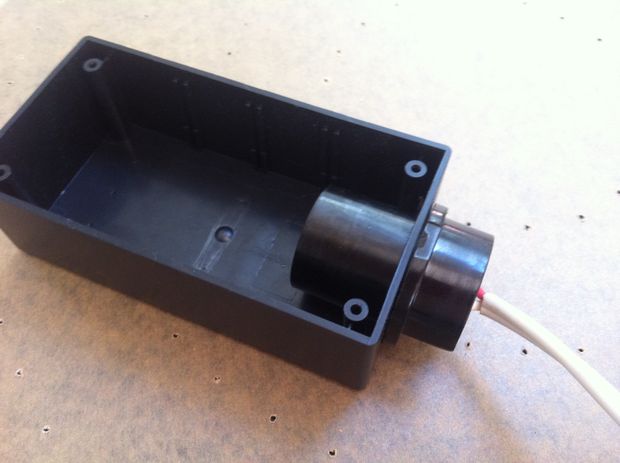
At the next stage of development of our creation, we assemble a box that will transmit light from an RGB LED to an optical fiber. In this case, a twelve-volt LED is used, but it is better to use a three-volt RGB LED and connect them in series. A controller must be connected to the LEDs. We will clamp the optical fiber using a plastic fitting.
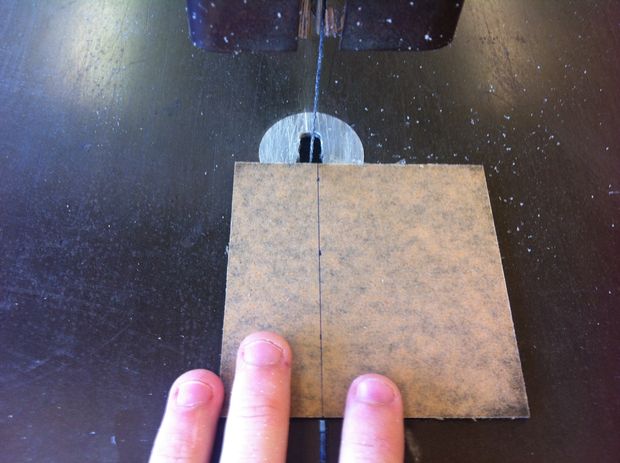
Now we need to prepare our balls for use. We make a small hole in the center of each. It should reach the center of the ball. This procedure is not easy and time-consuming. It is better to drill holes with an engraver or, as it is also called, a dremel. To make the drilling procedure easier for yourself, you need to think about attaching the ball.

The main feature of our idea is optical fiber. This is what should be done. We cut the fiber carefully.
Important! It should be taken into account that in addition to the main length of the fiber from the surface of the plexiglass to the ball, you need to add a length in order to be able to connect it to the LED.
For our example we use the following dimensions:
- seven threads 75 centimeters long + 10 centimeters = 85 centimeters;
- twenty-one threads of 60 centimeters + 15 centimeters = 75 centimeters;
- thirty-five threads of 45 centimeters + 20 centimeters = 65 centimeters;
- fifty threads of 30 centimeters + 25 centimeters = 55 centimeters;
- sixty-four threads of 15 centimeters + 30 centimeters = 45 centimeters.
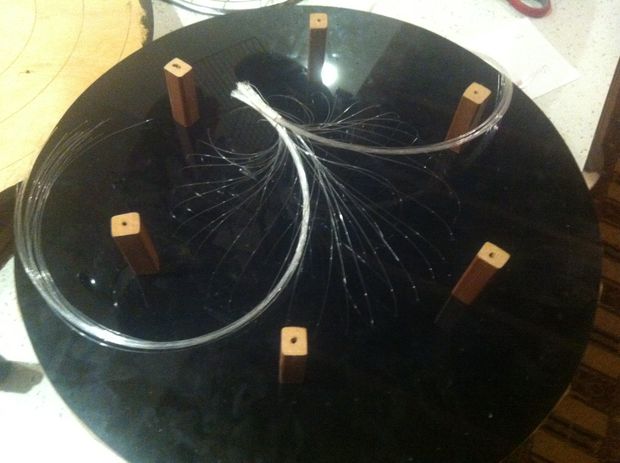
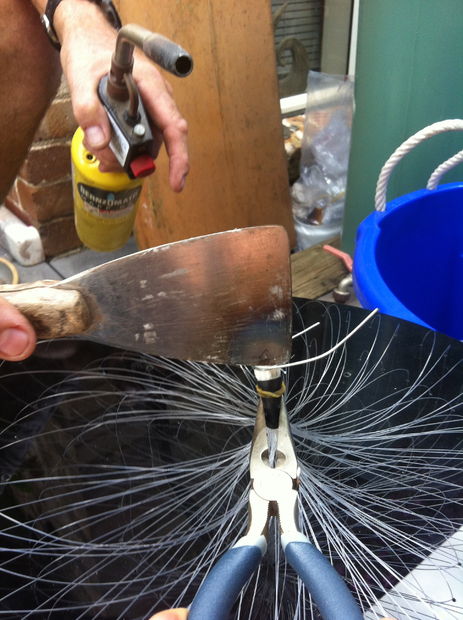
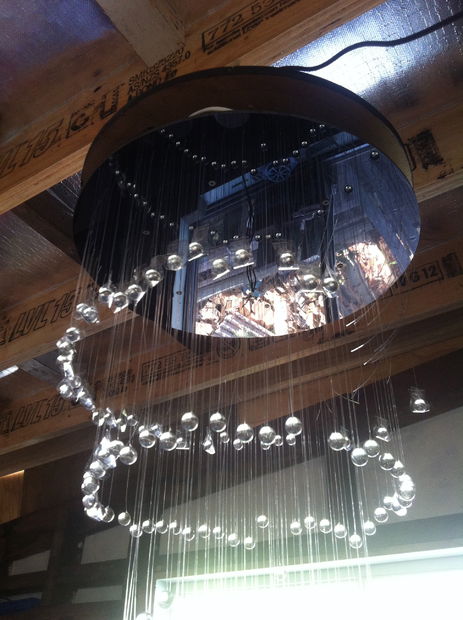
Having collected the fiber into a bundle, we thread it into a heat-shrink tube, trim all the fibers, and use an industrial hair dryer to heat the tube so that it compresses the fibers. The result is something similar to a whisk. We fasten its end with a tube at the end into a fitting, and thread the free ends into holes prepared in the plexiglass.
Now you need to secure the balls to the fibers. We take a little glue, dip a toothpick in it and lubricate the holes in the balls.
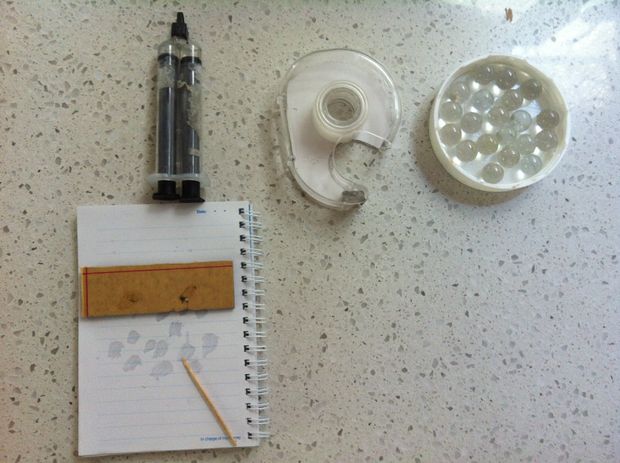
Then we insert the fiber and secure it with adhesive tape. After waiting some time for the glue to dry, we check how well our balls stick. It will be very unpleasant if, after the chandelier is hung, the balls fall off.
It's time to hang the chandelier. As soon as it is in its place, you need to equalize the length of all the threads. We make sure that each ball is at the level that is intended for it. Using hot glue, we fix the length of the fiber.
Now you can make a side panel for the chandelier.
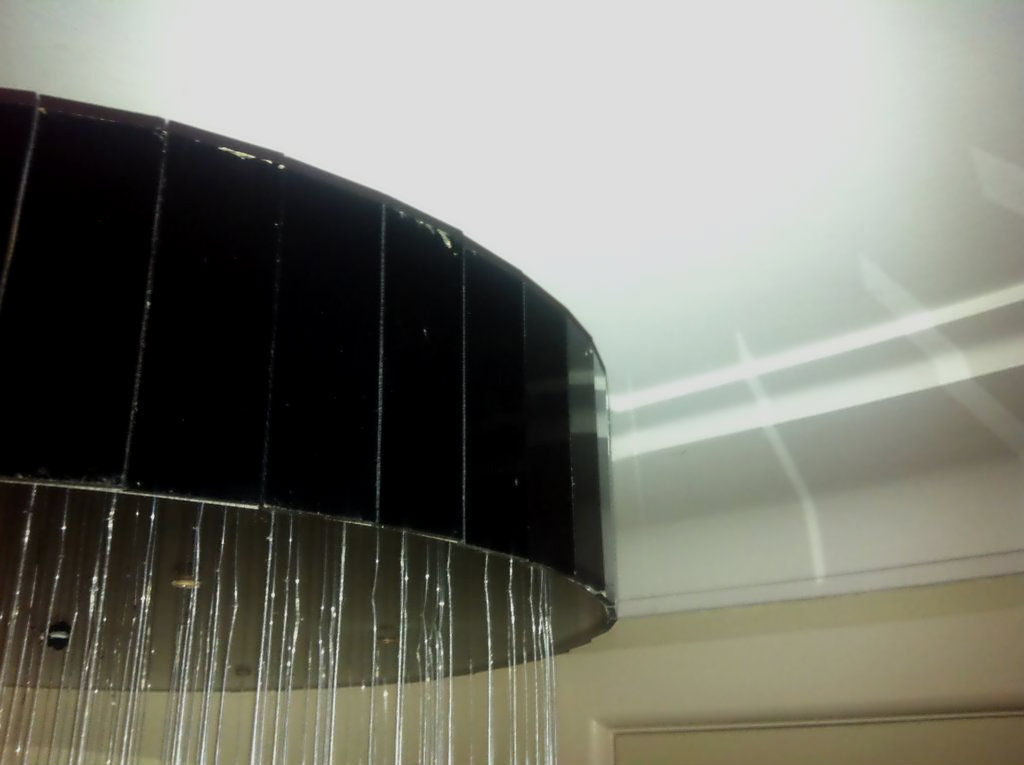
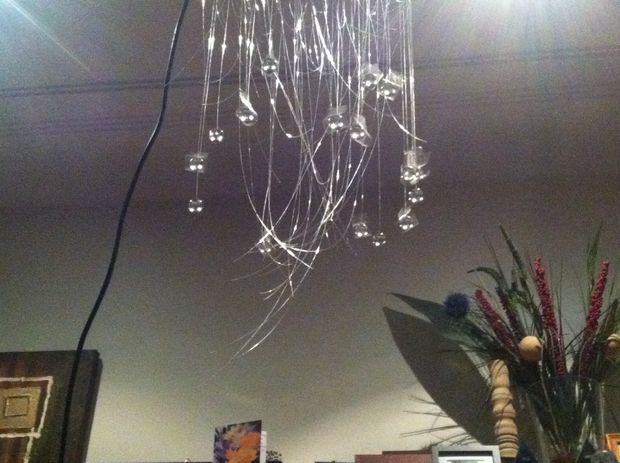
This concludes our work.
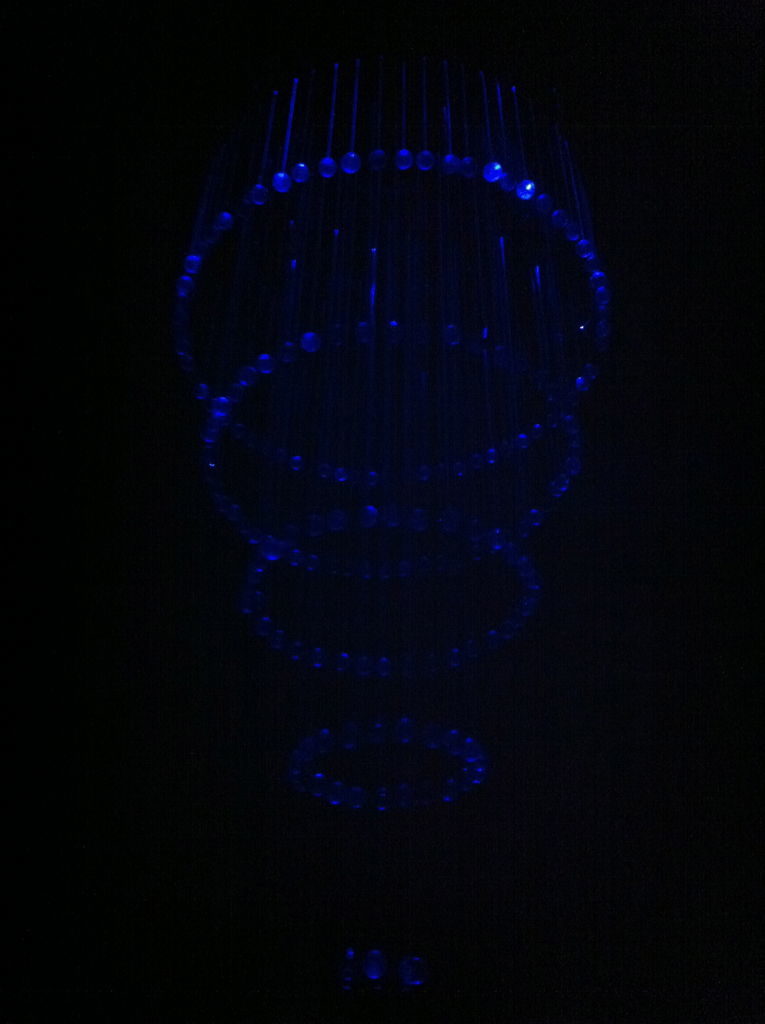
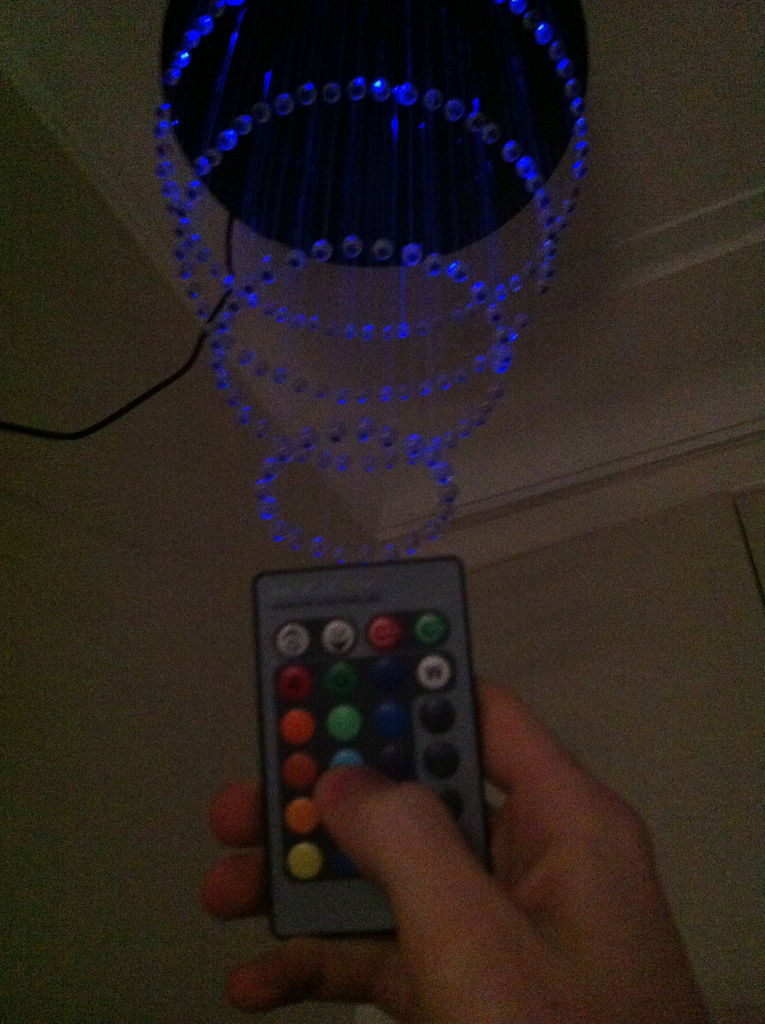
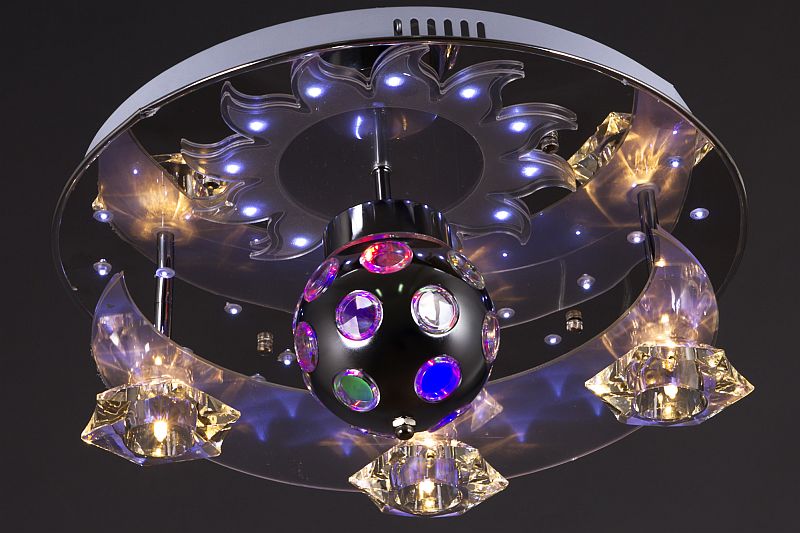
We have put together a unique and unusual ceiling chandelier, the balls of which not only glow, but can also change colors using a remote control.In addition, it is possible to switch various effects.