How and from what to make a chandelier for a nursery with your own hands
So you are faced with the task of choosing a lamp for your child’s room. It is in this case that it must meet a number of requirements. The first is to provide enough light. The second is to serve as decoration in the room. And thirdly, it must be safe for the child. Among other things, you need to manage to ensure that the chandelier fits into the overall style of the room.
To ensure that all these requirements are met, it is better not to rely on stores, but to take matters into your own hands. How to do it? Let's try to figure it out.
The content of the article
What style should I use for a chandelier in a child’s room?
To develop a sense of beauty in a child from a very early age, all means are good. The design of his room should also contribute to this. One of the main elements of a nursery is a chandelier.
The choice of decorating style for a child’s room will depend on whether you have a girl or a boy, how old the child is, what he prefers and what he is interested in. Let's see what is more suitable for a child's room.
Boy
A boy's room should contain some restraint, but at the same time there should be some mischief and insolence in it. Minimalism or hi-tech is perfect for this.The chandelier must match the overall style. Minimalism is characterized by colors in grey-blue, blue and white. High-tech tends to brown and yellow colors with some splashes of bright colors. The chandelier can be in the shape of a car, a spaceship, a robot, or some kind of sports attribute - a ball, a sports car, boxing equipment.
Girl
The chandelier should create a festive mood. You can choose a huge number of similar solutions - decorate it in the style of the East, classicism, and maybe in the Provence style. The shape can be varied - it can be various animals, fairy fairies, etc. Bows, bugles, drawings and rhinestones are suitable for decoration. Girls love combinations of pink, white and cream tones. The coloring of the chandelier will need to be the same.
General recommendations
Regardless of the gender of the child, there are recommendations that should be followed:
- Avoid placing massive lighting fixtures in the child’s room;
- the light from the light source should be sufficient, but soft and diffused;
- do not use dark colors;
- do not use fragile materials;
- Avoid surfaces that may cause bright reflections.
Important! When starting to design a chandelier for a child’s room, think about how easy it is to care for. If the lamp turns into an accumulation of dust, this may well provoke an allergic reaction.
What can a chandelier be made from, what tools are needed
The materials used in the work must be safe. Children's the chandelier can be wooden or metal, made of durable glass, or you can use bottles or jars. Lightweight fabrics or regular threads are quite suitable. Even wire can become a material.
Of course, the list is not limited to this list. You can use things that at first glance have nothing to do with lighting, for example, wicker baskets, designer figures, tree branches. Even cups and saucers may well become material for a chandelier.
But before you begin work on creating a lighting masterpiece for a child, you need to make sure that the necessary tools are at hand. This:
- stationery scissors;
- pliers;
- electric jigsaw;
- battery screwdriver;
- set of drills.
This list may be different, because it depends on the task facing you.
DIY chandelier for a nursery: several original ideas with photos
If there is anywhere you can give free rein to your imagination and realize all your inclinations as a designer, then this is a child’s room. Here you can draw on the walls, furnish everything with furniture in the form of various figures, hang lamps that were created by mom and dad.
Ball and thread, and together - a lampshade
To work you need to prepare:
- inflatable ball;
- threads of the desired color;
- glue;
- brush for applying glue;
- hanging cord;
- LED lamp;
- stationery scissors;
- a set of needles;
- ear sticks, cotton wool;
- petrolatum.
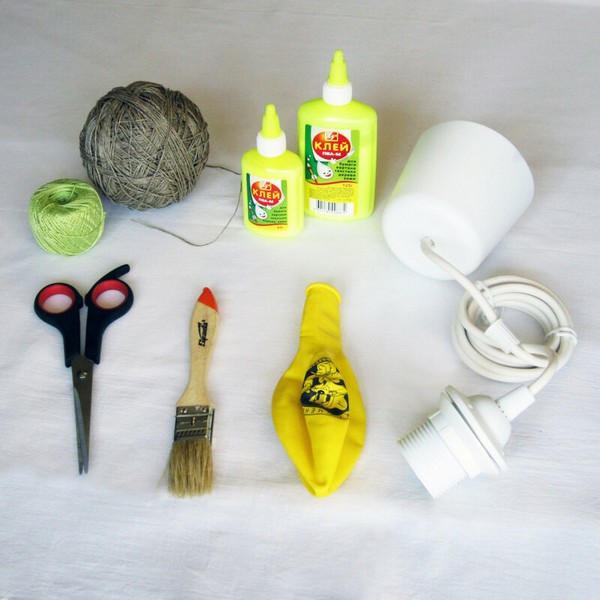
You need to lay an oilcloth on the table. Then we take the ball and blow into it until we get tired of it or until it becomes the size the lampshade should be, tie it up and lubricate it with Vaseline.
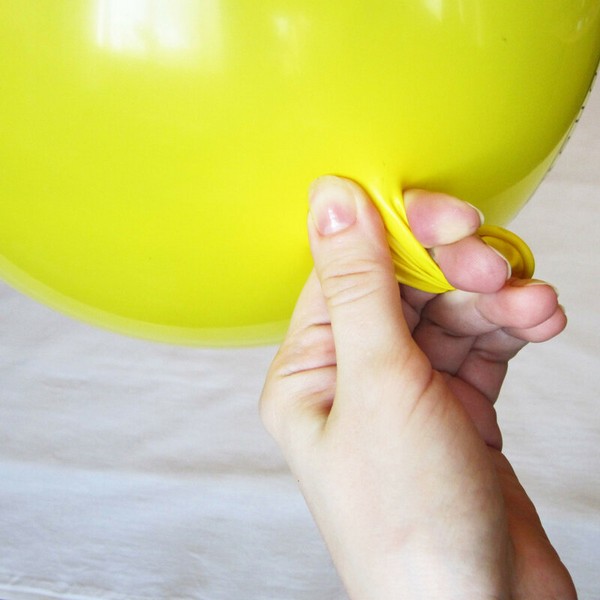
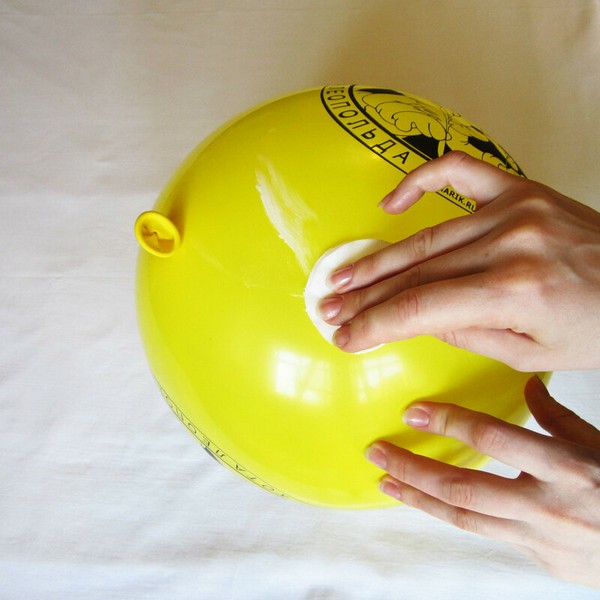
We take the threads and begin to wind them around the ball. We do this evenly, periodically changing direction and applying glue to the threads.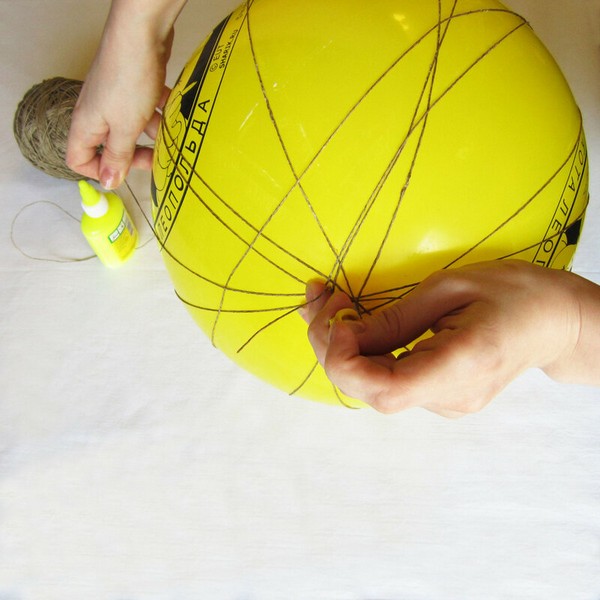
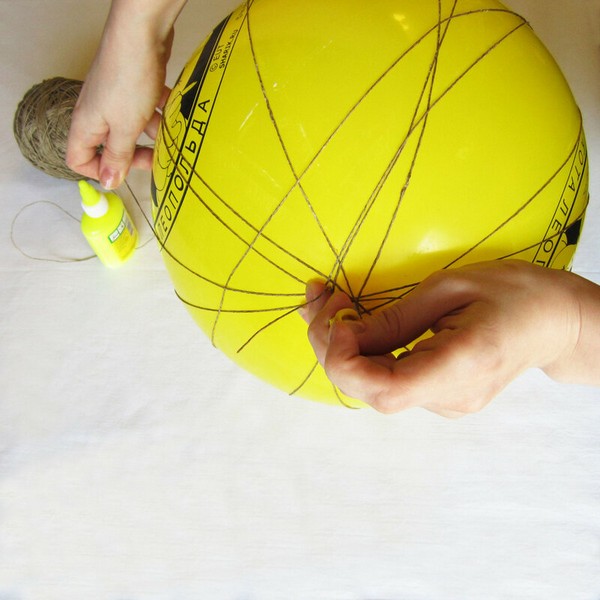
As soon as we finish winding the threads, we need to hang our ball to dry for about seven hours. After this you can peel it off. To do this, press on it with an ear stick, through the gaps in the threads. As soon as it comes unstuck, you can lower it.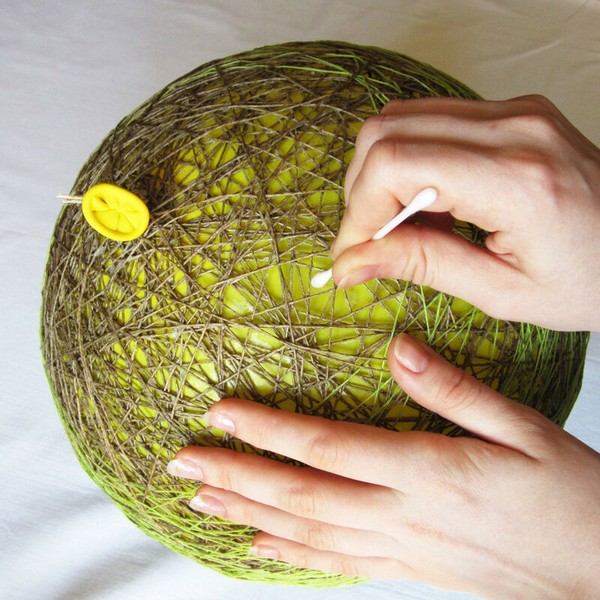
Now you need to decide where the cord will be placed. In order to install the light bulb, you will need to make a cross-shaped cut. Where the center of the crosshair will be, you need to make a round hole, slightly smaller than the size of the fastener.
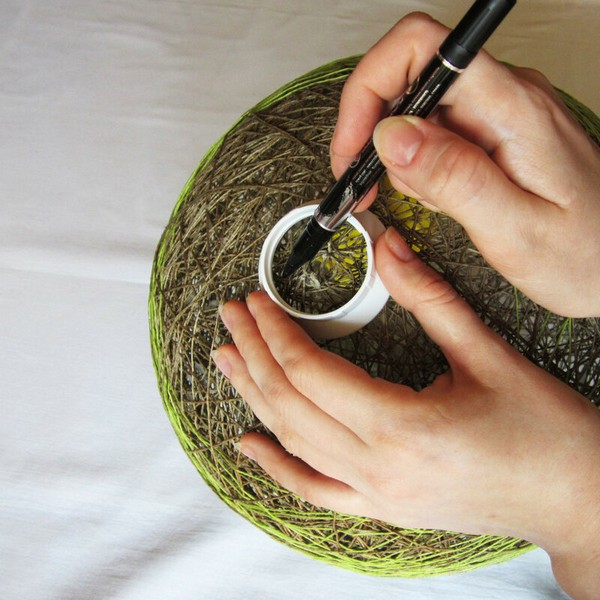
Now we place the lamp socket inside.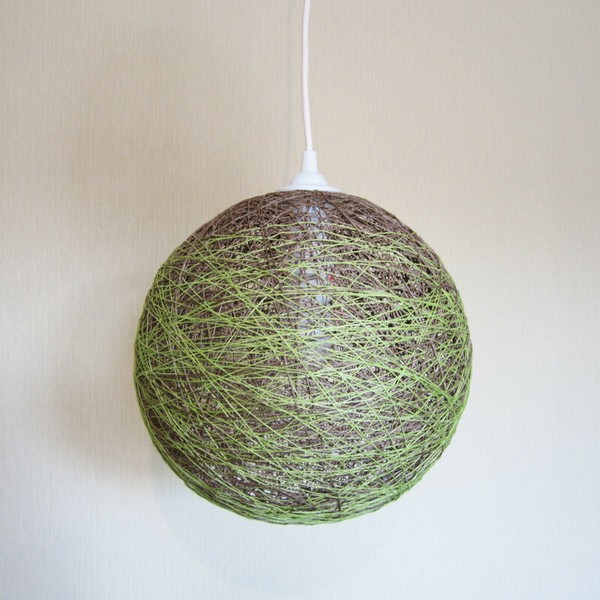
Lamp in the form of a cotton wool cloud
In a children's room, a chandelier made from ordinary cotton wool and looking like a cloud will look beautiful and unusual.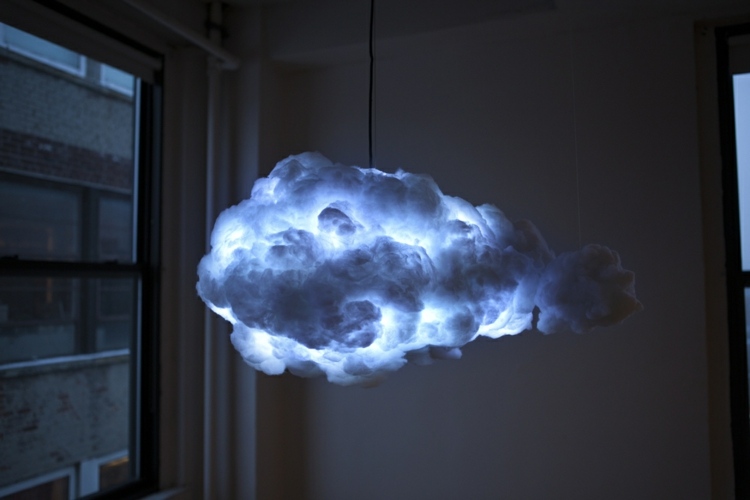
We will need:
- LED light bulb;
- wire frame;
- cotton wool;
- glue gun
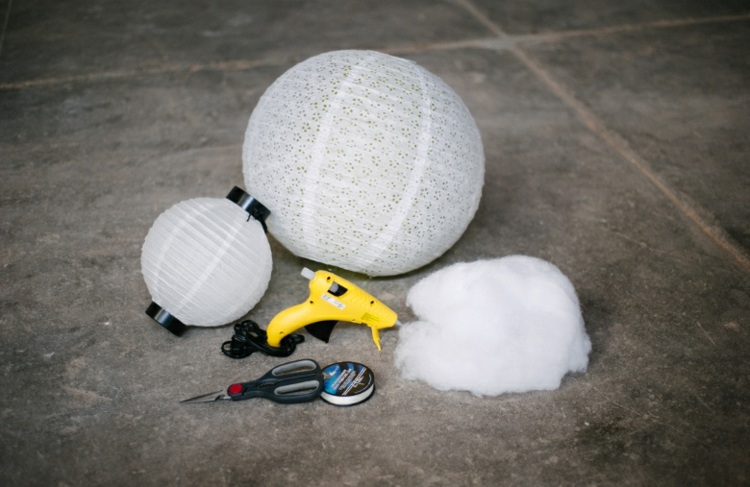
First, place the lamp in the lampshade. To make work easier, we immediately hang the future chandelier in its permanent place. Now we have to sweat a little: we cover the entire lampshade with cotton wool. Moreover, we tear the cotton wool into small pieces and lightly grease it with glue.
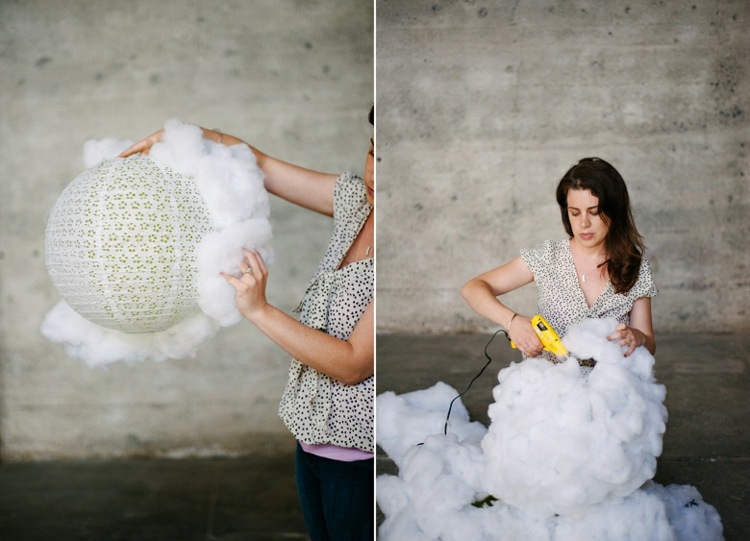
When the entire lampshade is covered with cotton wool, it can be given the desired shape. If necessary, more cotton wool can be glued in some places. The work is quite tedious, it is much easier if you initially use a frame that looks like a cloud.
And in the evening it’s time for magic. And the fluffy cloud-lamp suddenly becomes a thundercloud.
Greater reality can be achieved by installing multi-colored lamps inside. This will add expressiveness to the chandelier.

