DIY glass bottle chandelier
You can update the style of your apartment without resorting to renovation. Sometimes replacing a couple of main interior elements can completely change the mood of a living space. One of these items is a lamp. You can create a new lampshade with your own hands from an ordinary bottle!
The content of the article
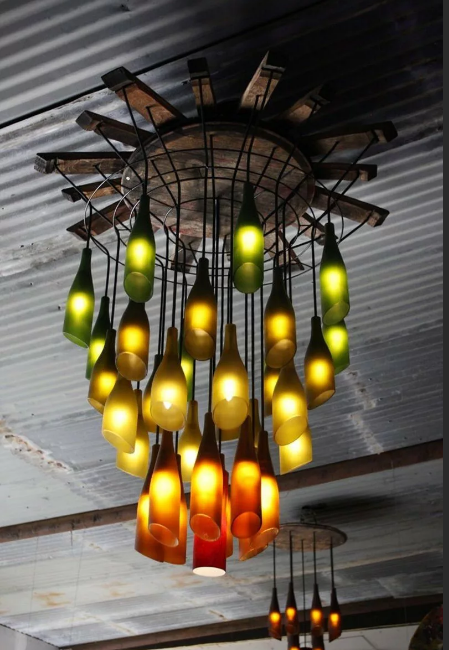
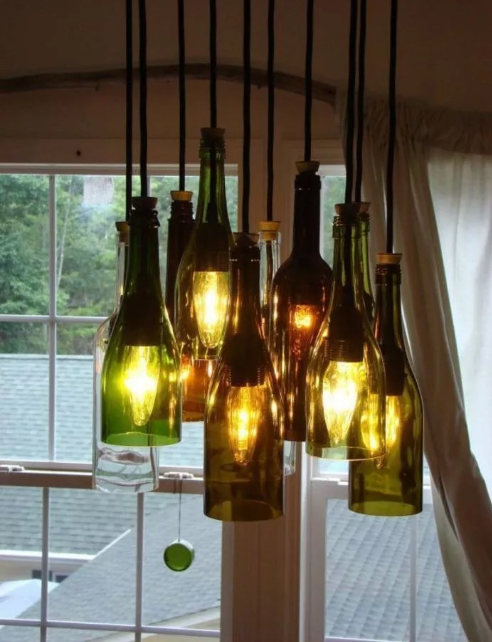
Original chandelier made of glass bottles
Chandeliers and lamps made by hand from glass or plastic bottles are environmentally friendly (recycled raw materials) and practical (they are easy to make and do not mind disposing of if necessary).
To create such a lampshade, you do not need any special craftsmanship skills or a lot of time. You can create a lamp in a short time without using special tools.
Attention! If you don’t have a glass cutter at home, you can cut the bottle using a thread. In the chosen place, wrap the bottle with thread in 4 layers, and then, after removing it, soak it in alcohol. Place it back on the bottle and light it with matches or a lighter. Heat the container evenly across the entire width. Then immerse in cold water until a characteristic sound appears: the glass should crack. It will fall away on its own. Don't forget to sand the edges!
Materials
The appearance of the lamp depends on the imagination of the author and the available tools. To create a regular working chandelier you will need:
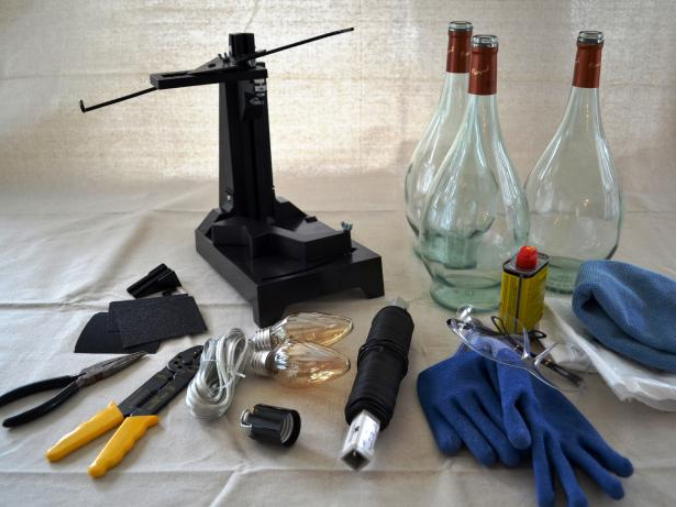
- glass bottles of any shape (wine or cognac);
- glass cutter;
- safety glasses, gloves and face mask;
- sanding paper;
- screwdriver;
- wire.
Stages of work
1. Prepare all materials for work, remove labels from bottles, wash them and dry them.
Attention! To quickly and easily remove labels from glass, soak the containers in soapy water for 15 minutes. The sticky edge of the stickers will come off quickly.
2. Glass can be painted in different shades or decorated with stones if desired. This item is optional, since in the rays of light the product looks quite unusual and bright without additional decorations.
3. Wear protective clothing when working with sharp tools and make sure that all equipment is working properly. If there are animals and children in the house, they need to be taken to another room. Cutting glass is a dangerous activity.
4. Cut the bottom of the bottles using a glass cutter: slowly rotate the container under the blade without pressing on the glass itself.
5. Using a contrast shower, make the glass fall off: hold the bottle under running water, changing the temperature.
6. Sand the edges, eliminating chips and irregularities. You can also polish the glass with a nail file or file.
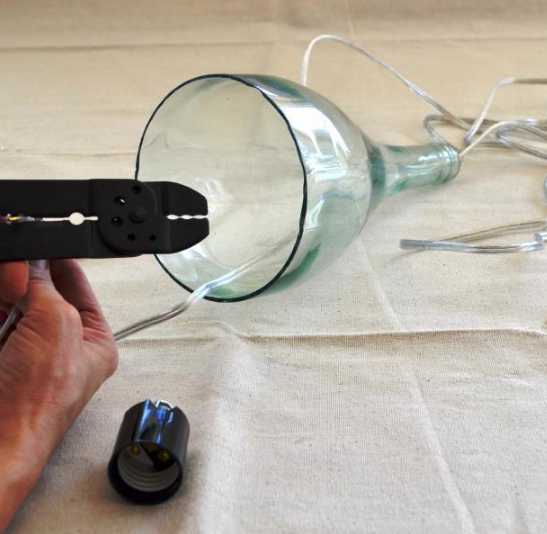
7. Pass the wire from the working lamp through the neck of the container. Connect it to the lamp power supply.
8. Install the lampshade in the selected location. They can be attached to special carabiners or wire.
9. Check the operation of the new chandelier.
Advice! Instead of a table lamp, you can place a small battery-powered LED garland inside the bottle. It will create a magical glow inside and will illuminate the room no worse than a classic light bulb.
Chandelier made from glass bottles
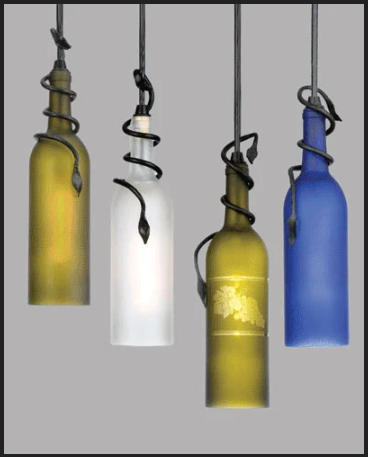
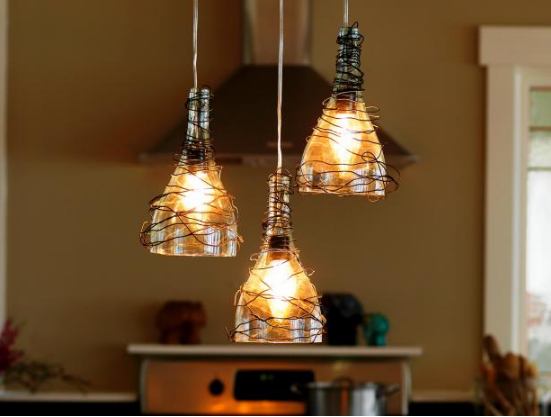
Do-it-yourself lamps made from wine bottles will help add some zest to the interior. These chandeliers operate from a power outlet.They can be hung at different levels, creating interesting asymmetry.
A set of 3 lamps together looks especially advantageous. To create a lamp, you need a work lamp, glass bottles and the desire to create something creative.
Materials
The kit for constructing a new lamp is small. You will need:
- large glass bottles (1-1.5 l) - 3-4 pcs;
- cutter;
- safety glasses, gloves and face mask;
- sanding paper;
- lamp on a long wire (working);
- screwdriver;
- wire;
- electrical tape (if necessary).
Step-by-step master class
1. The first step is to clean all the bottles inside and out. The labels from each must be removed. After washing, the glass should dry.
2. Prepare to work with glass: put on a mask, gloves, remove children at a safe distance.
3. Point the glass cutter at the place where you want to cut the bottle.
4. Slowly and carefully rotate the bottle under the knife, gradually cutting off the glass.
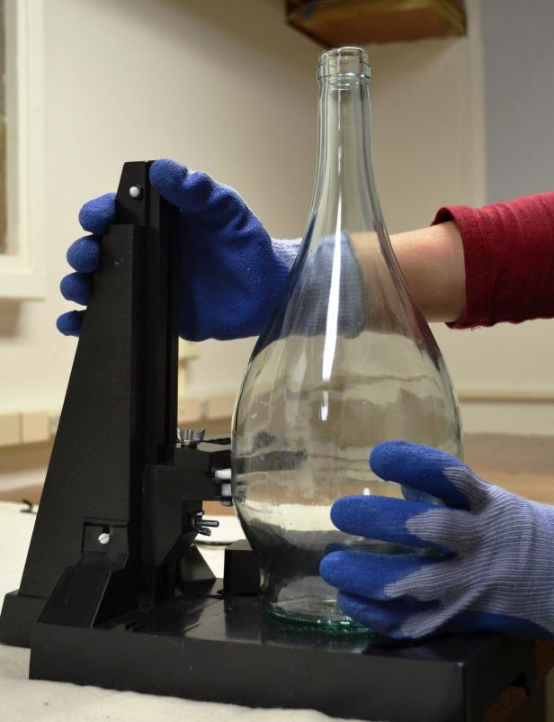
5. Place the container under running cold water for 15 seconds, then switch to hot water. Repeat the procedure several times until the glass falls off on its own.
Attention! There is no need to tear off the bottom of the bottle with your hands or try to knock it off with a hard object - this is quite dangerous!
6. The edges of the bottle must be sanded until completely smooth.
7. Carefully disassemble the old lamp into parts, separating the wire from the structure.
Important! The lamp must be unplugged from the socket during operation!
8. Pass the wire through the neck of the bottle and reconnect it to the lamp structure. Check if the device is working.
9. Use wire to decorate the outside of the bottle. You can wrap metal tape around the base in any direction. Both light and black wire will do.
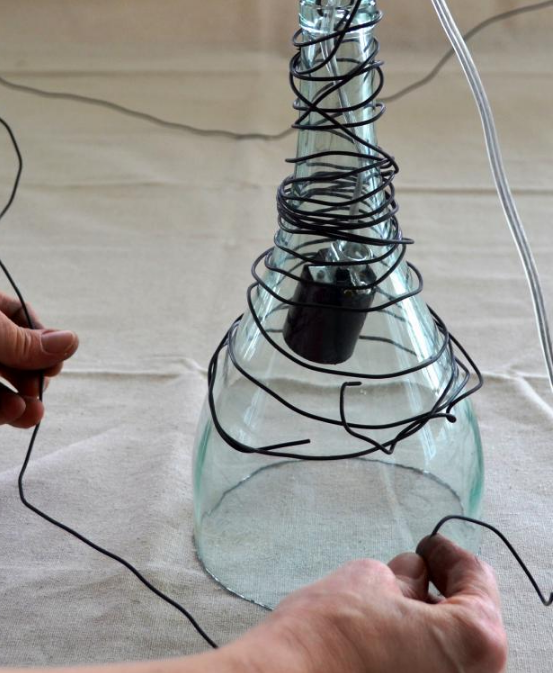
Idea! The wire can be pre-painted with metal paint in any color. This will allow you to introduce new shades into the interior.
Hang new lamps and enjoy the updated design of the room.
There are a huge number of lamp design options. From a bottle you can make a floor lamp, table lamp, chandelier and even sconce. They can be decorated in any way: with sparkles, stones, rhinestones, or simply painted with glass paint. Such interior items will help bring a fresh breath into your living space without spending a fortune.


