DIY stylish chandelier made from ordinary threads
Each of us strives to create not only a cozy, but also an original room. This can be done using different methods. Proper and tasteful lighting plays an important role in creating a harmonious home atmosphere. Today, lighting fixtures that combine stylish design and environmental friendliness are especially popular. The only sad thing is that the cost of such models is quite high. But, as you know, you can find a way out of any situation. Therefore, a hand-made chandelier will be an excellent alternative to a factory product.
By spending a little time, you can make a lamp that will not only become an original decoration for any room, but will also help you save your family budget. Let's figure out how to do this and what materials you will need.
The content of the article
What kind of chandelier can be made from threads: original ideas
The easiest material to work with is thread. It is from these that most lamps are made at home. But before we begin the assembly process, let's find out what kind of chandelier design you can make yourself. In total, there are three types of hand-made models:
- cylindrical shape;
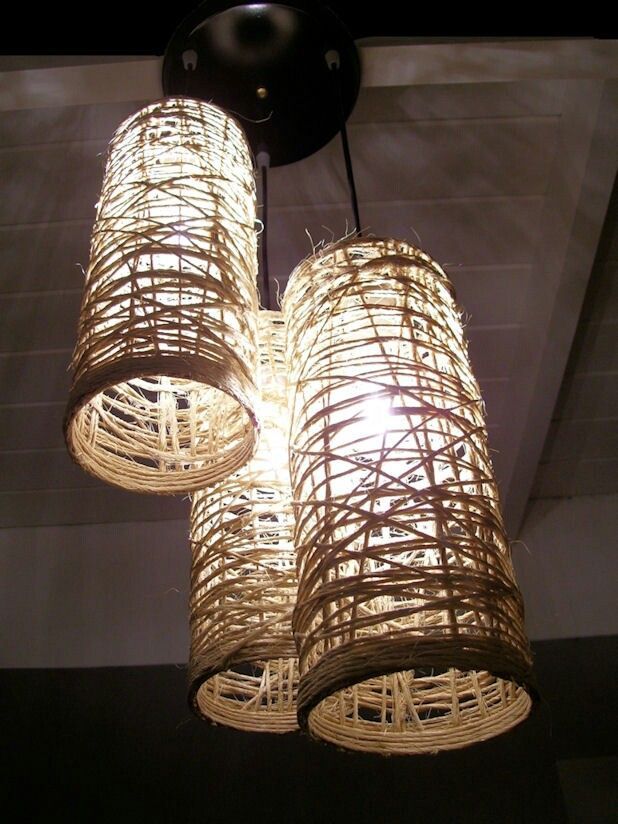
- in the form of a truncated cone-lampshade;
- in the shape of a ball.
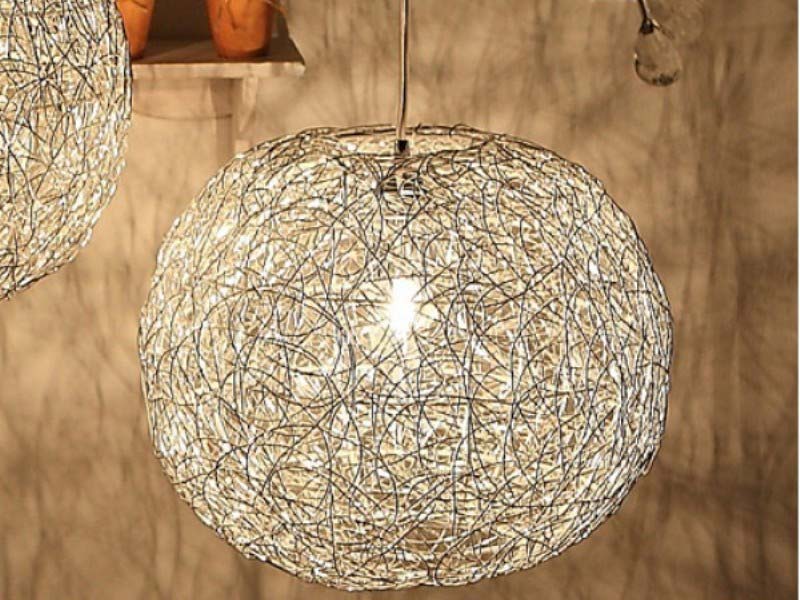
In addition, you can build a chandelier with diffused and direct light.In the first case, the design assumes the presence of holes on the side surfaces of the device. The second has a large hole at the bottom of the lamp.
Reference. When making a chandelier from threads, you independently regulate the intensity of lighting. The more threads are used, the more subdued the light output will be.
The spherical design made of threads will fit well into any room. It looks especially good in the kitchen. The main thing is that the chandelier is combined with the general idea of the room and does not go out of the color palette.
Reference. A thread chandelier will be an excellent addition to a room decorated in the Art Nouveau style.
If you want, you can hang one large one or hang several small lamps made in the same style. Also, such models look good in the bedroom, where they create soft, diffused lighting.
What you need to create a chandelier from threads
To create an original lamp, you will need to stock up on a little free time, as well as prepare the necessary materials. First, decide what shape your future chandelier will be.
Reference. For the lampshade you will need to make a complex frame with many “ribs”.
You will also need the following materials and tools:
- for a spherical chandelier - balloons;
- if you want to build a structure in the form of a cylinder, stock up on a plastic bottle;
- threads of the required color, and they should not be too thick (Iris fittings cope best with this task);
- hand cream - take the thickest one;
- stationery glue - if you take regular PVA, then after some time a chandelier made of light threads will turn yellow;
- a small piece of wire, a lamp socket;
- jar with lid.
Reference. Typically, all of the listed materials can be found in any home. Therefore, a lamp made from threads turns out to be very economical. This is one of the main advantages of the product.
Making a chandelier with your own hands: step-by-step instructions
To prevent the manufacturing process from causing you a headache, strictly follow the sequence of actions. The opportunity to take advantage of other people’s experience, which will be presented below in a simple and understandable form, can also help with this.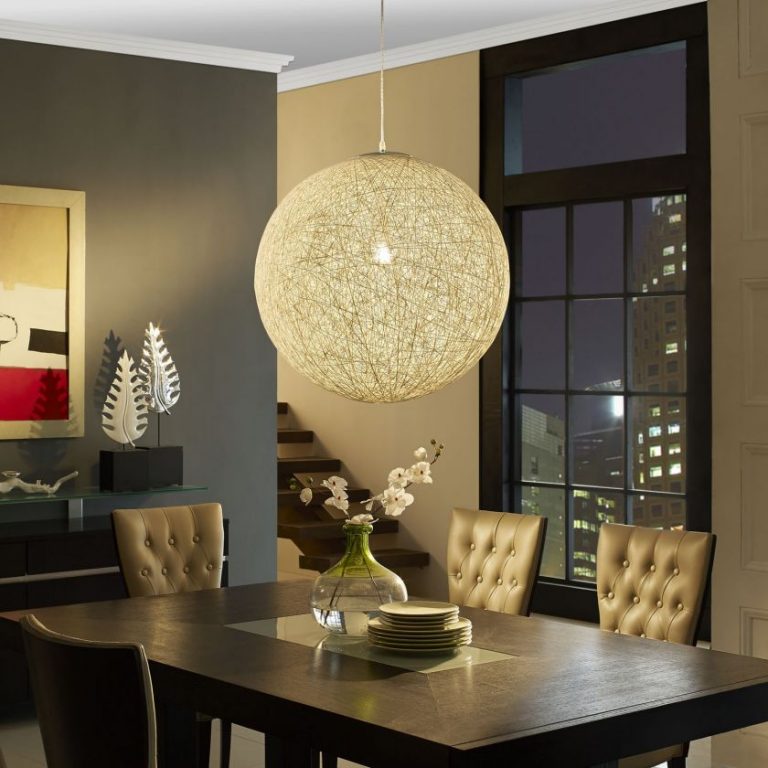
Double-check that you have prepared all the necessary materials, and then begin the assembly process.
Manufacturing stages:
- Make a frame. To do this, cut the required amount from a plastic bottle or inflate a balloon, giving it the desired volume. Choose the material for the base based on the shape you want to give to the future lamp.
- If you choose a balloon, then after it is inflated, draw a circle around the knot with a diameter of about seven centimeters.
- Apply a sufficient amount of rich hand cream to the surface of the ball. This will make it easier to remove it from the wound threads.
- Prepare the threads. For this you will need a tin can with a lid. An adhesive solution consisting of one part water and three parts office glue should be poured into the jar. Make a small hole in the plastic roof into which you need to insert one end of the thread. To do this, use a needle. Place the spool of thread inside the glue jar. As a result, the bobbin should be evenly saturated with adhesive, the excess of which will be removed when the thread passes through a small hole.
- Proceed to wrapping the prepared frame.If you want diffused light, wind a small number of threads, leaving space between them. To prevent the finished structure from falling apart, try to wind the fittings in different directions.
- You don't need a master class to create an original drawing. Just use your imagination and come up with your own unique pattern.
- The finished structure must be thoroughly impregnated with an adhesive composition. Then leave it until completely dry. This usually takes at least eight hours.
- When the glue is completely dry, carefully remove the ball or plastic bottle.
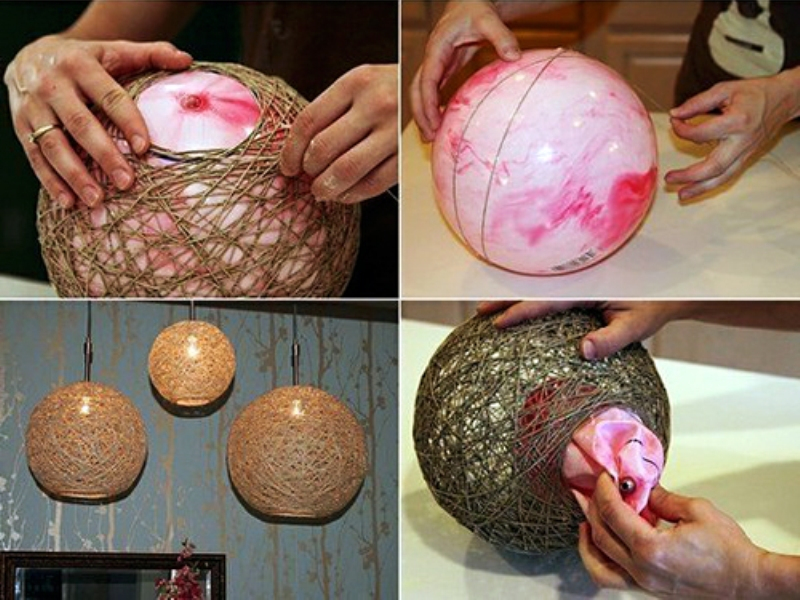
As you can see, the assembly process does not require much experience. All that remains is the last step - fixing the lamp to the ceiling.
Assembling the electrical component:
- For normal functioning, any chandelier requires a light bulb. This means that you need to figure out how to secure the cartridge. A small container can easily cope with this task. It will connect all structural elements.
- Connect the cartridge and cable. In this case, the wire must first be passed through the bottom of the container.
- Install the lamp into the socket, then carefully put on the thread lampshade.
- If you wish, you can decorate the wire and cartridge in an original way so that it does not attract attention.
By spending a little time and money, you can make a truly unique chandelier that will become an original decoration for any interior. In addition, a lighting device made in this way will not be embarrassing to present for a birthday, wedding or other special event.

