How to assemble a chandelier: instructions for different types
Lighting sources have long ceased to be just devices that make our lives brighter. Now it is also a decorative element. In stores you can find a huge selection of different chandeliers that “compete” with each other in style, size and number of horns. But the hardest thing is to make the right choice and combine all the details of the purchased chandelier into a single design. This is worth talking about in more detail.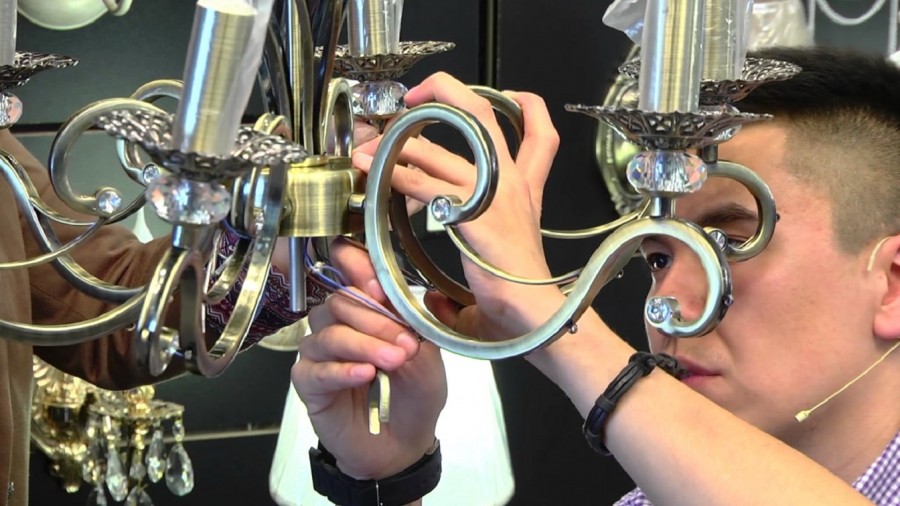
The content of the article
The procedure for assembling the chandelier
Having brought home the chandelier we just bought, we open the box. This should be done carefully so as not to accidentally damage the contents of the package. To get rid of adhesive tape, it is best to use a utility knife.
The manufacturer usually packages everything in blocks. All parts are kept separately. The necessary elements are already connected to the wires - the only task is to connect them correctly to each other.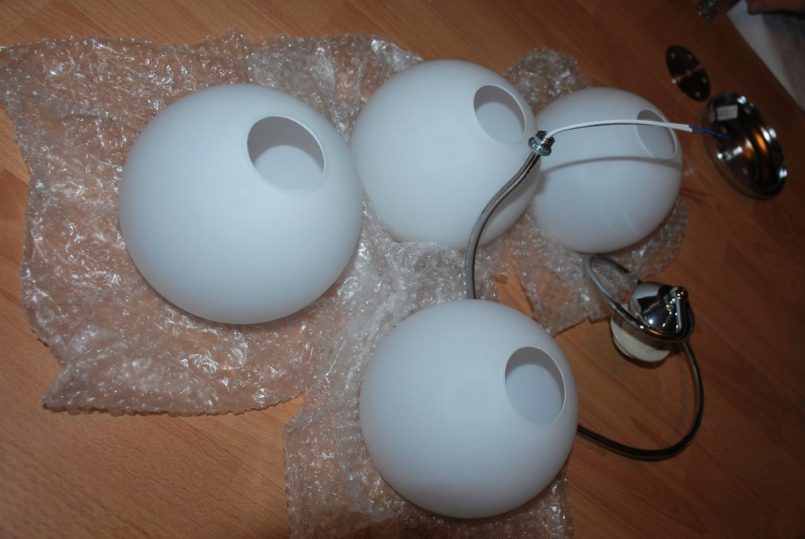
Important! Before you start assembling the chandelier, you need to check that all the parts are present. As a rule, the manufacturer includes a list of supplied elements - everything is described in it, down to the nuts and bolts. It is better to carry out such a check right away, because after unpacking the chandelier, it will be difficult for us to store it. It is likely that something will get lost.
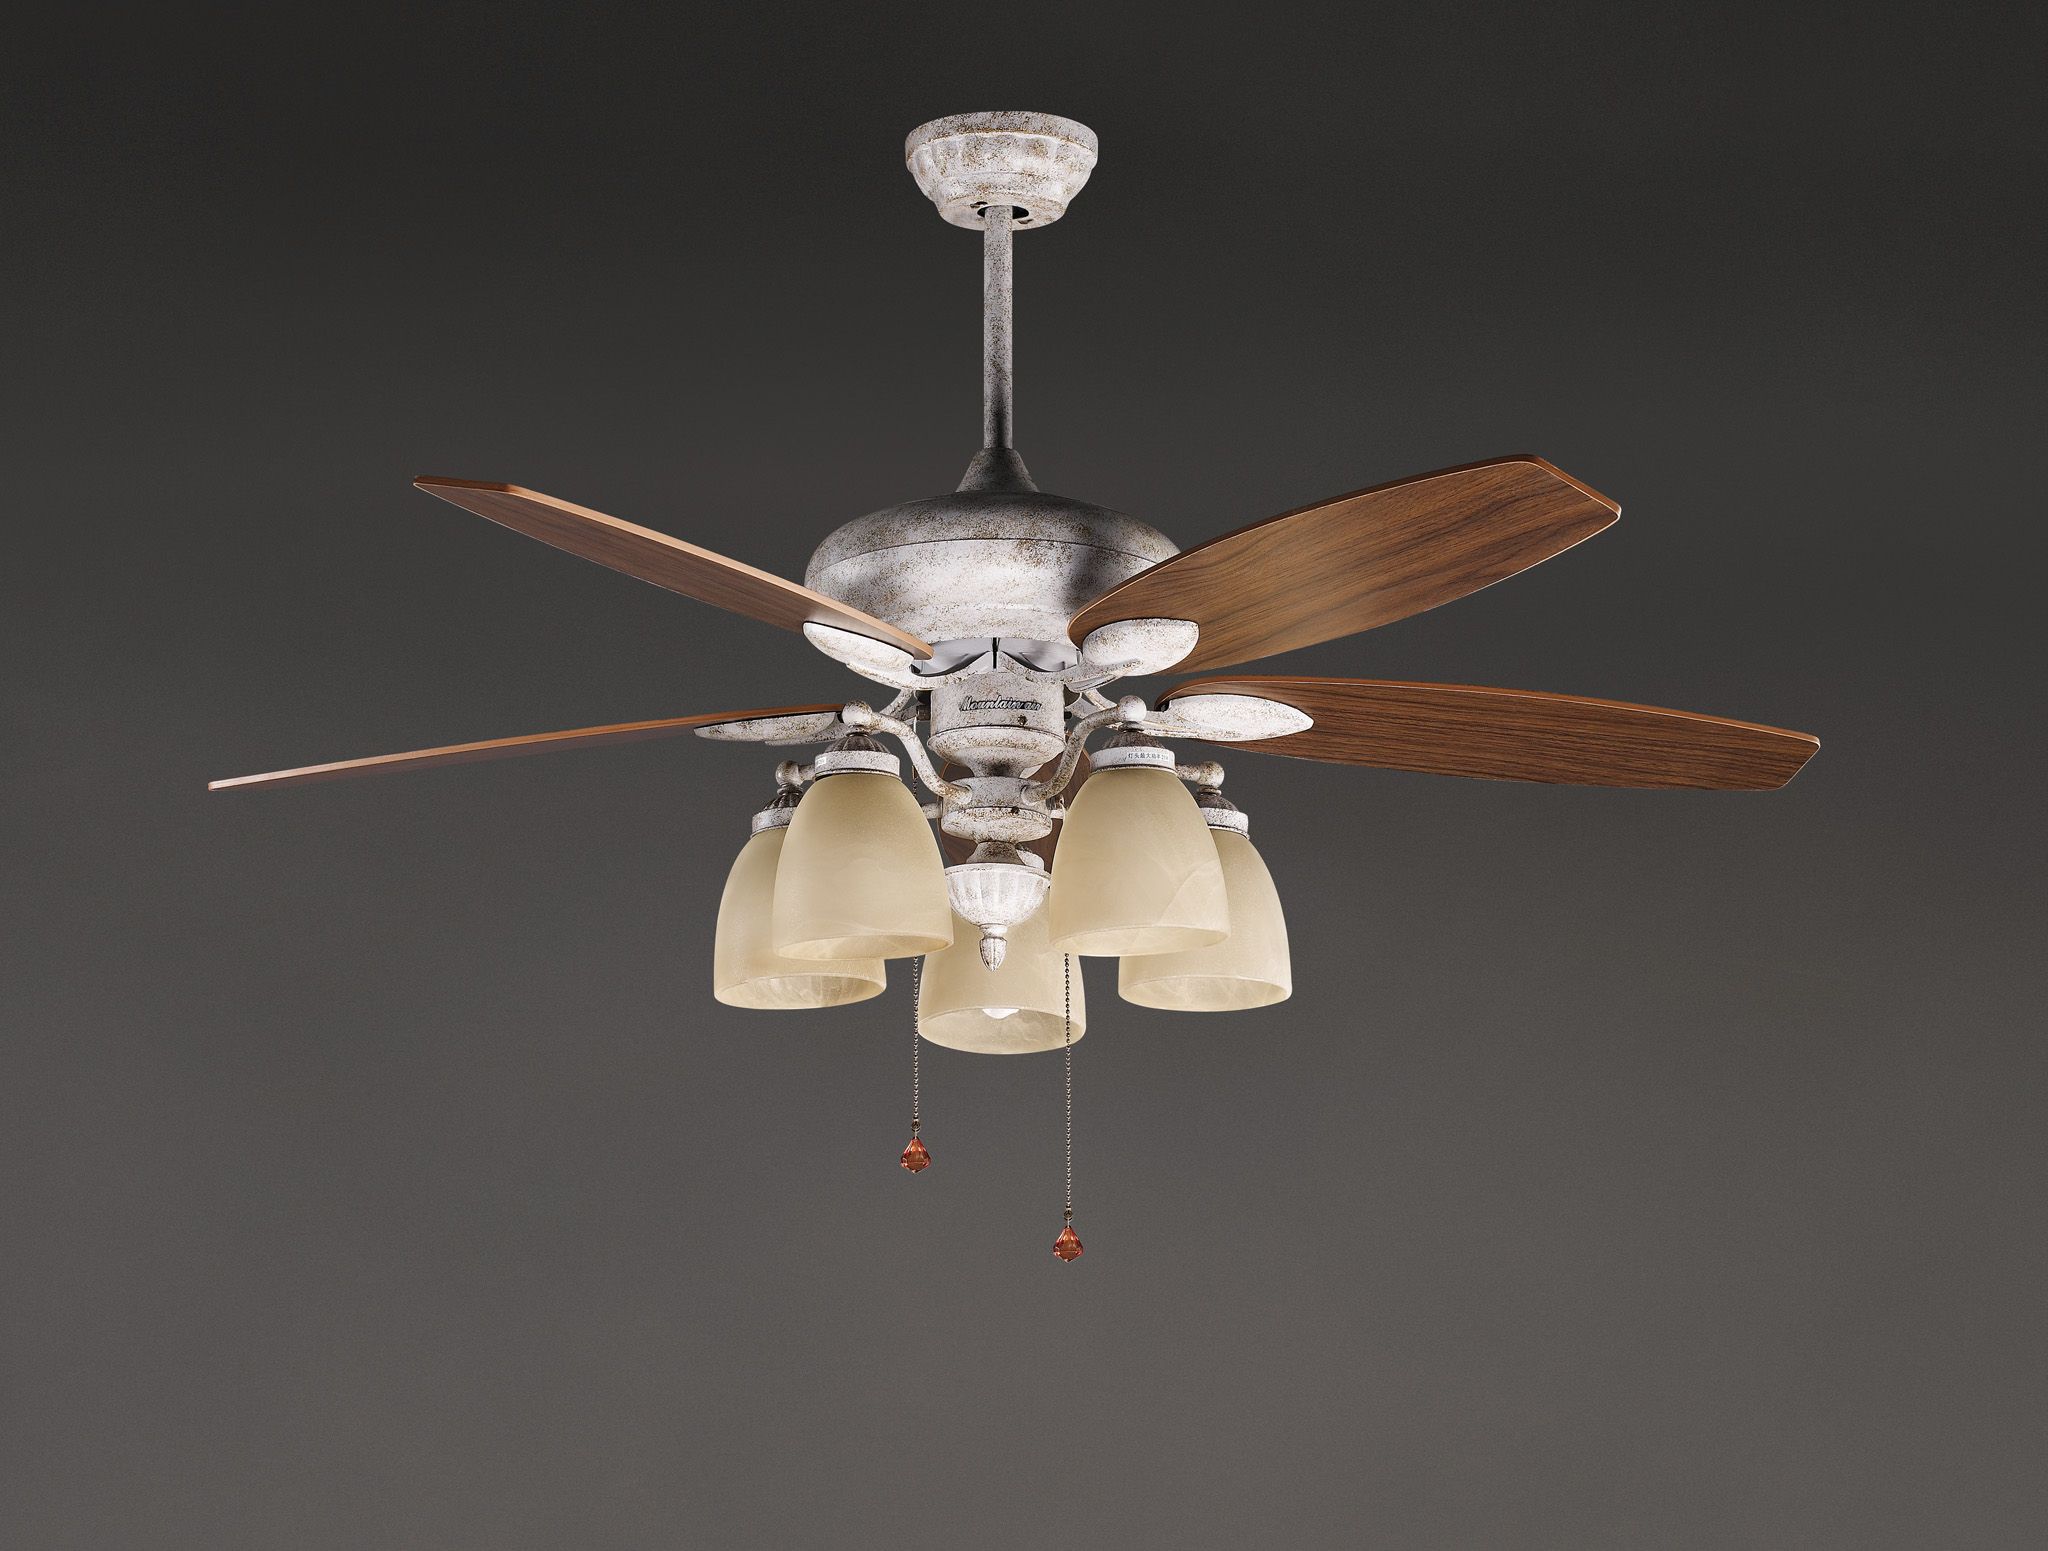
With five shades
The arm chandelier must be assembled from the top, namely from the frame, which is designed to support the weight of the rest of the structure.
Next, you will need to assemble the middle part, on which, in fact, the frame itself will be located. At the same stage you will need to connect the top part with the decorative plate.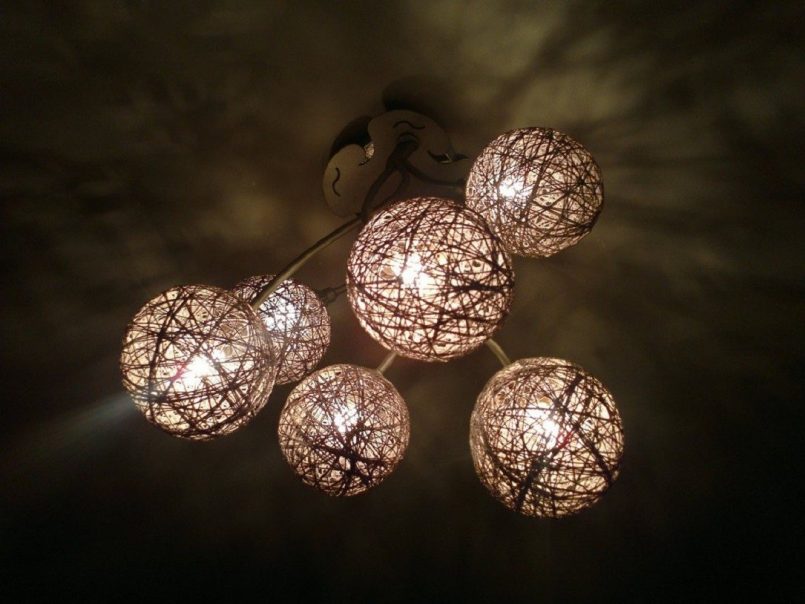
A decorative plate is not only intended to hide wires. It helps protect wiring from damage.
Among other things, the plate helps to increase the surface for convenient mounting of the device.
Attaching the horns
As soon as the assembly of the top and middle of the chandelier is completed, you need to start assembling and fixing the horns on the frame. Horns are the elements of a lighting fixture that carry light bulbs. Both the shape and their number can be different. This is the only difference in the assembly procedure for different types of chandeliers, but in general there are no differences.
First of all, you should unscrew the decorative nut - it holds the protective layer on the body. Then unscrew the nut from the horn and also remove the lock washer.
Using the previously removed nut and lockwasher, we secure the horn to the chandelier body. We put the decorative nut in the place where we previously unscrewed it.
We secure the remaining horns in the same way.
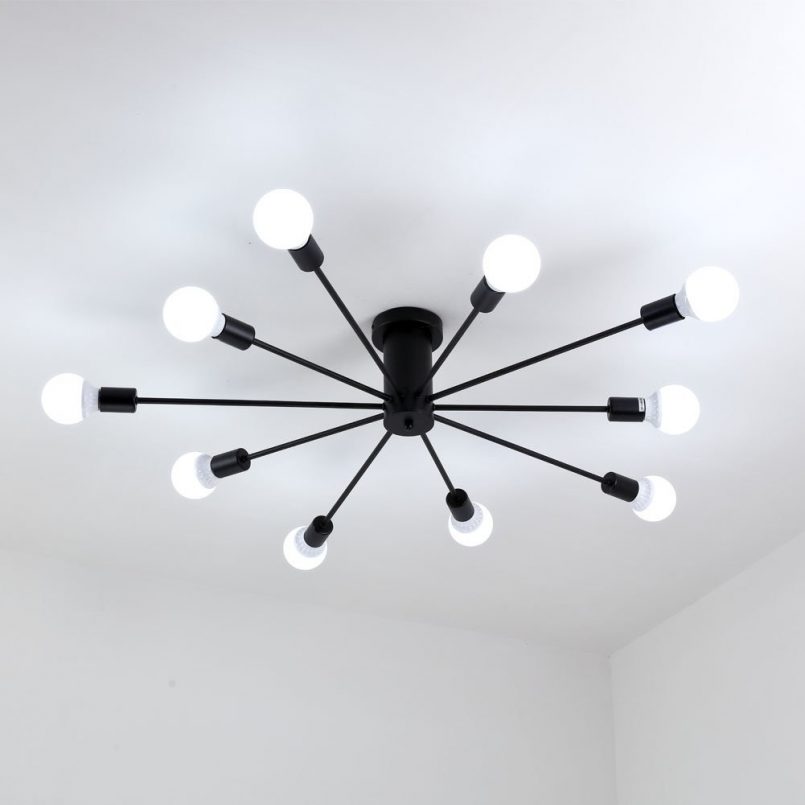
Attention! Before firmly fixing all the horns, you should check that they are all installed symmetrically. If they are crooked, it will be easier to correct now than in the future.
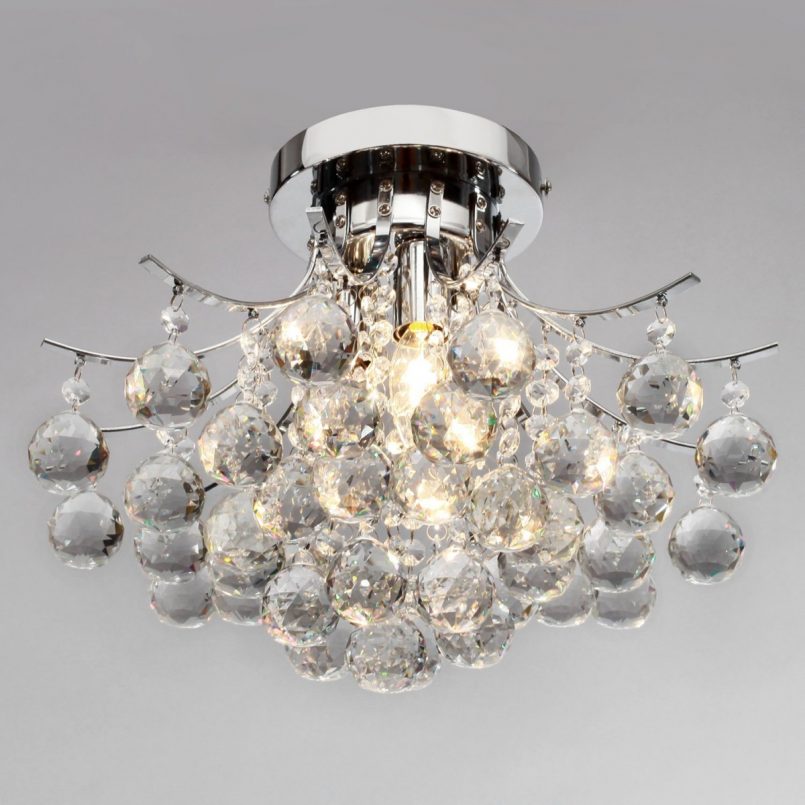
With "pendants"
Assembling a chandelier that has various “hangers” is a tedious, long and tedious task. But, oddly enough, it is not at all difficult. The main thing is, after you buy such a chandelier, try not to lose the instructions.She will come to the rescue more than once.
Even when you need to remove the “hangers” to clean them from dirt and dust, hanging them again will be much easier - you just have to “refresh” the instructions for hanging them in your memory. Previously, pendants were quite difficult to attach, but now you don’t even need tools for this.
How to assemble an LED chandelier
What can be so difficult about assembling an LED chandelier? But, as practice shows, it is precisely assembling it and preparing it for installation that takes the most time. All the “glitters” that are included in the delivery set are wrapped in protective film. It protects them from contamination, as well as from mechanical damage.
All these parts need to be untwisted and removed from the film. Next, following the instructions, we screw everything into place, where we need to hang the pendants (sometimes Swarovski crystals are used in chandeliers). Once everything is assembled, you need to screw in the light bulbs themselves. 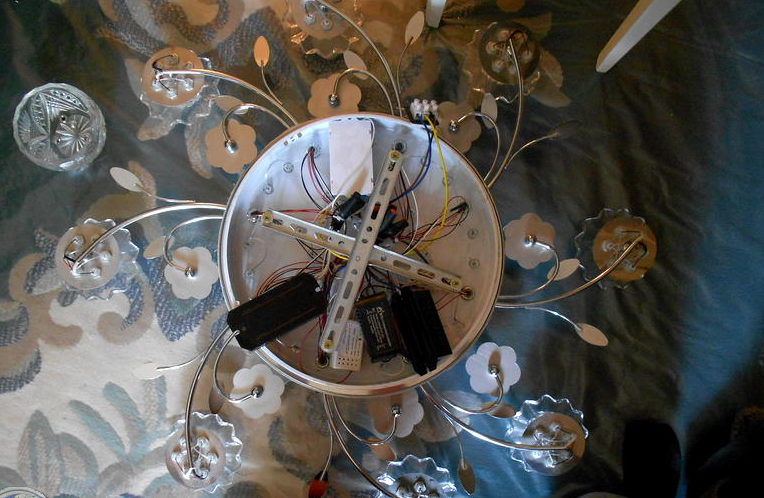
The next point is quite important. The chandelier comes complete with a receiver and a controller (usually they are located in a common housing), as well as units for supplying power to the light bulbs. All this equipment must be well secured so that when the chandelier is hung, nothing dangles in it.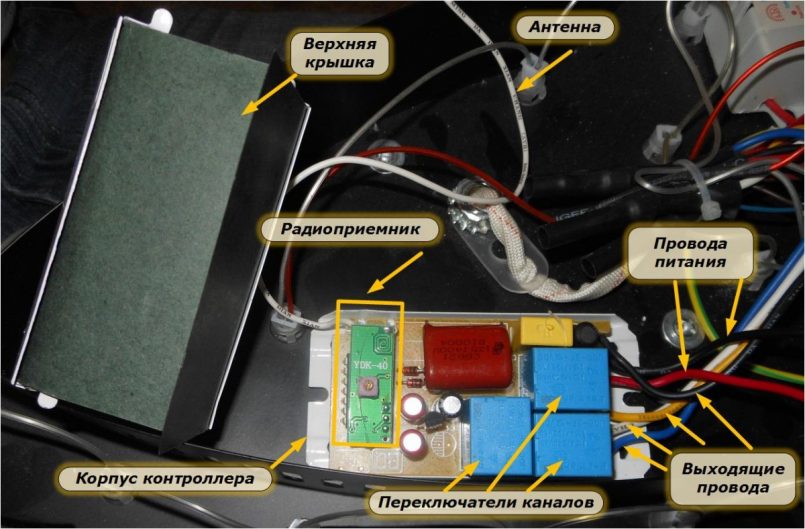
It is better to secure it with double-sided adhesive tape. If it is not available, then it is better to purchase it in order to do everything efficiently.
A group of LEDs includes from twelve to fifty elements that are connected in series.
In fact, at this step the assembly of the chandelier can be considered complete.
Correct connection of the chandelier
The number of shades with which the chandelier is equipped determines not only how many bulbs it will have, but also how many terminals there are - two wires come from each bulb. It would be great if the manufacturer tried to connect them to the cartridge. But usually they are simply inserted into the guides intended for them and not connected to anything.
Connecting wires in a chandelier
Household wiring is divided into phase and neutral. If there is also a grounding loop, then there will also be a third wire that needs to be connected to the grounding loop. There is a standard wire coloring scheme: yellow insulation is “ground”, a blue wire is “zero”, and red or brown is “phase”.
The easiest way is if a cable comes out of the ceiling, where there is a phase and a neutral. In this case, the interruption of the first wire occurs in the switch, and the second wire is routed to the junction box. If the number of horns can be divided into certain groups, then the neutral wires are connected into one whole, and the phase wires should be distributed according to the number of keys on the switch. 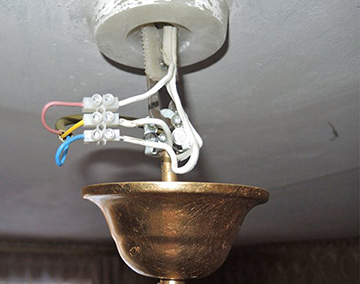
Connection to a single key switch
The easiest way is to connect the chandelier to a switch with one button on your own. This option involves connecting only two wires to the device - phase and neutral. Each of the horns similarly has two wires. Connecting them is not difficult at all. First of all, you need to connect phase to phase, and then connect the neutrals to each other. All resulting groups are connected to the main voltage supply wire, which runs in the rod of the lighting device. 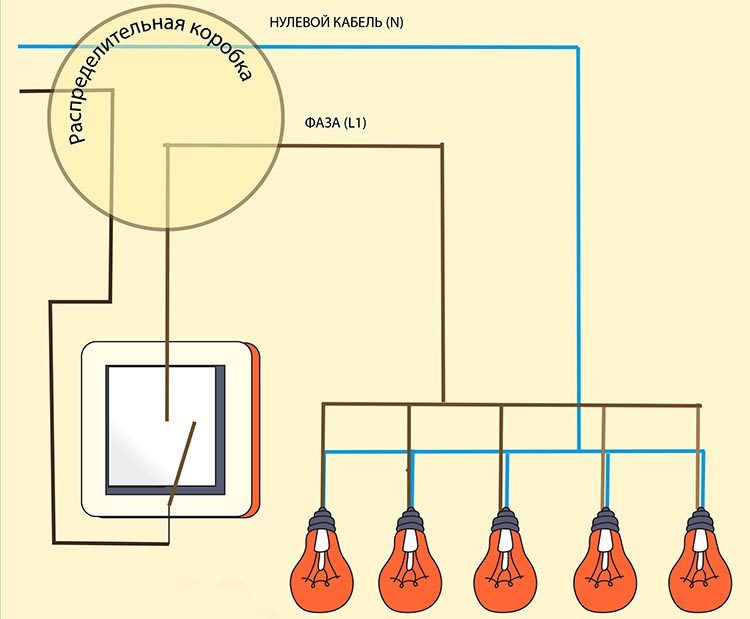
Usually, connecting caps are supplied with the chandelier, using which you can easily and efficiently connect the wiring.The only thing that is required is to strip the ends of the wires from the insulation, then twist them, and then, rotating the caps, put them on. Once the wires are laid in the housing, you should secure the cover using a decorative nut.
Reference. Sometimes experts advise soldering the wires to make the connection better and more reliable. Of course, you can play it safe, although a regular connection is quite enough.
Connecting a chandelier to a switch with two keys
When preparing to connect a chandelier, you must immediately divide all the horns into certain groups. Or rather, there will be only two of these groups. If there is an even number of horns, then the distribution will be perfectly symmetrical, which will allow you to select a pair of identical groups; the neutral wires will go to the third group. If the chandelier has three or five arms, you will need to think about how many lamps there will be in each group. Perhaps there will be such ratios:
- one and two;
- two and three;
- one and four.
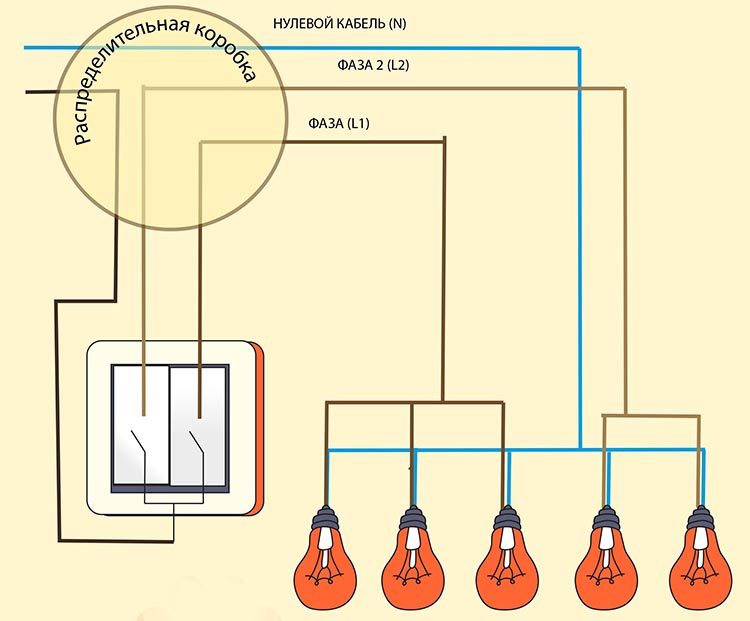
The wires carrying the phase should be brought to each selected group of horns, then connected to the main wire supplying electricity. Please note that a switch with two keys requires a cable with three cores in the ceiling. Neutral wires are connected to one of the cores, and phase wires are connected to the other two wires.
When completing the connection work, it is necessary to test turn on the chandelier - if it works normally, then the wires are laid in the device body, after which the cover is secured. It must be screwed using a decorative nut.


