How to hang a chandelier on a concrete ceiling
How to hang a chandelier on the ceiling if you have never had to do this before? Easily! After all, this is a rare case when you don’t have to be an expert, but you just need to follow the instructions.
The content of the article
Preparing for installation on a concrete ceiling
Concrete floors have one unpleasant feature - they crumble if the load on them is not distributed correctly. It is for this reason that installing a chandelier on a concrete ceiling is considered a difficult task. Well, this, in turn, involves the use of special tools and special fasteners.
Are you scared? In vain. After all, special fasteners mean ordinary dowels or anchors. They are the ones who will have to ensure reliable adhesion to the concrete ceiling and proper distribution of the load on the capricious ceiling. Well, special tools include:
- drill or hammer drill;
- hammer;
- tape measure and pencil;
- vacuum cleaner.
If anyone was surprised by the last point, let me explain: drilling holes in concrete is a dusty business. Therefore, a partner directing the pipe of a switched-on vacuum cleaner into the “combat” zone can make the upcoming cleaning easier. Well, if there is no partner, then... A vacuum cleaner will still be useful for removing drill flour from the finished hole. Without this, the adhesion of the working part of the fastener to the concrete will be less reliable.
Choosing a mounting method
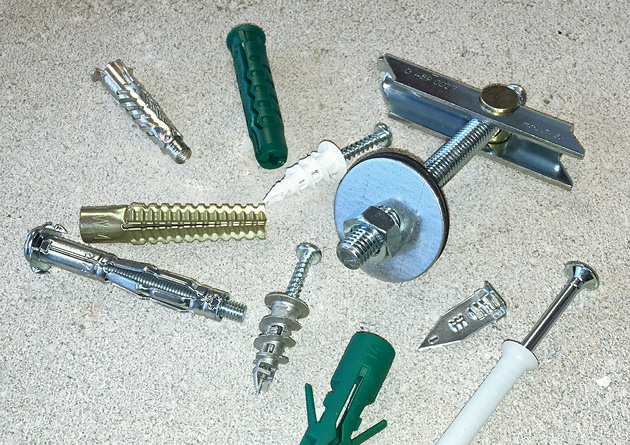
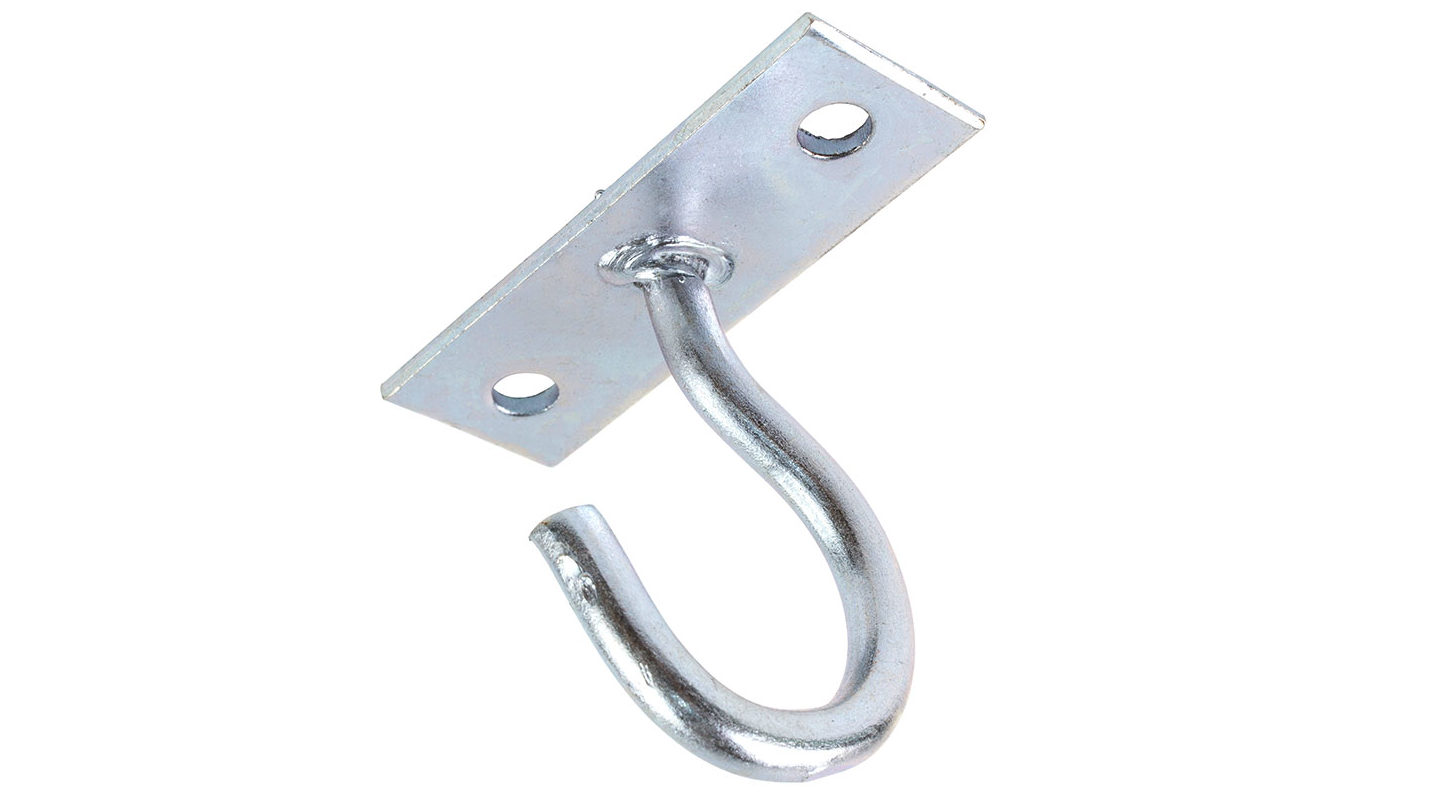
Essentially, there are only two options for how you can hang a chandelier on the ceiling. And both of them depend on the lamp itself. If the device is suspended, then it is mounted on a hook, the design of which depends on the weight of the chandelier:
- less than three kilograms - a bracket (bar) with a hook is used;
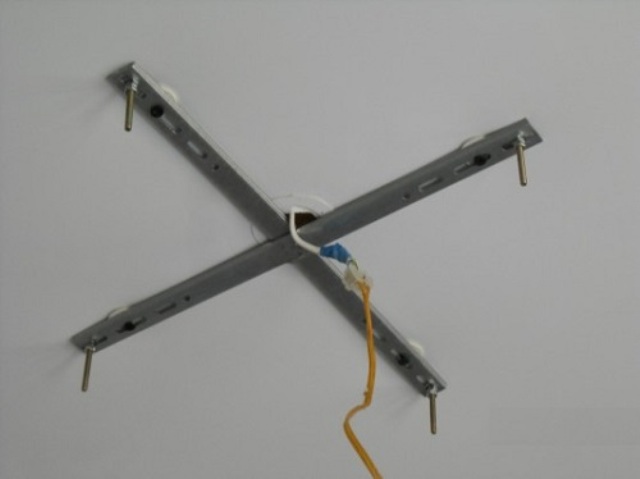
- from three to five kilograms - a cross-shaped bar with a hook or an anchor hook (to choose from);
- over five kilograms - anchor hook.
Well, if we are talking about overhead lamps, then they are attached only to strips. Moreover, in this case, the bracket comes complete with the chandelier itself, so there is usually no need to guess which fasteners will be suitable.
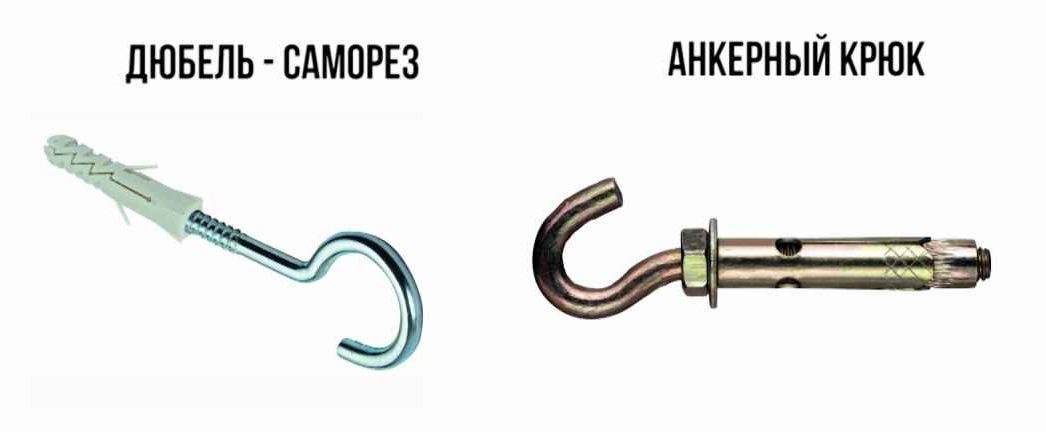
True, there are sometimes exceptions to this rule. Therefore, it would be useful to know that light ceiling chandeliers can be mounted on dowel screws, but structures weighing three kilograms or more are better fixed to the ceiling using anchors (small or medium - depending on the load).
How to hang a chandelier on a hook
We are talking about an anchor, so a pencil and a tape measure may not be useful - you have already determined where you will hang the chandelier and even laid the wiring to it? Then all that remains is to protect yourself by moving the free end of the cable to the side and fixing it in this position, albeit with the help of electrical tape.
The further procedure is simple: drill a hole, remove dust, hammer in the spacer part of the anchor and screw in the hook. The hardest part is over. Now all that remains is to put the suspension loop on the hook and... Yes, that's right - you should go to the meter to de-energize the wires, after which you can safely connect the chandelier to the cable.
On a bar with a hook
The beauty of this fastener is that instead of one large anchor, you will need two (four for the cross-shaped plank) less serious dowel screws. Installing fasteners under the chandelier is as simple as in the case of an anchor hook:
- mark places for dowels;
- drill holes;
- hammer (or screw) dowels;
- secure the bar with screws;
- Place the chandelier hanging loop onto the hook.
After this, you will have to go to the meter (in order to de-energize the intra-apartment network) and connect the lamp to the cable.
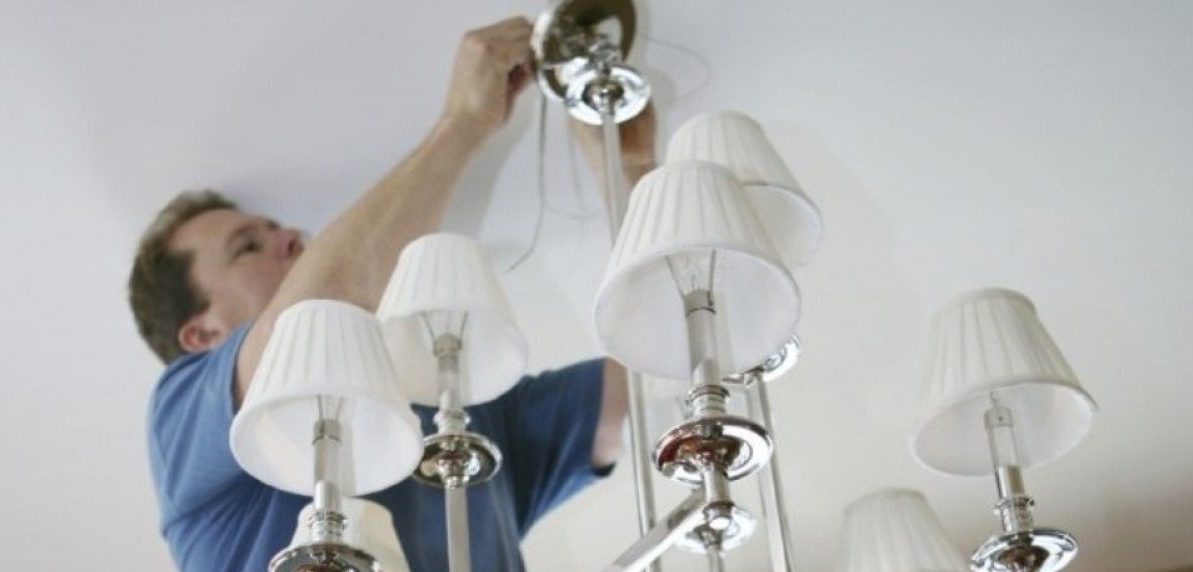
Installation of a ceiling (overhead) chandelier
It has already been said, but let me remind you again - overhead chandeliers weighing up to 3 kg can be hung using dowel screws. But it is better to install more serious structures on small and medium-sized anchors: it is more reliable and safer. And this rule does not depend on the shape of the bar.
The procedure for performing the work is also not particularly complicated - marking, drilling, removing drill flour, hammering in the working part of the fastener and fixing the strip with bolts or screws. Then - a trip to the meter, de-energizing the network, connecting the lamp to the cable and the most interesting thing - installing the base of the chandelier on the bracket.
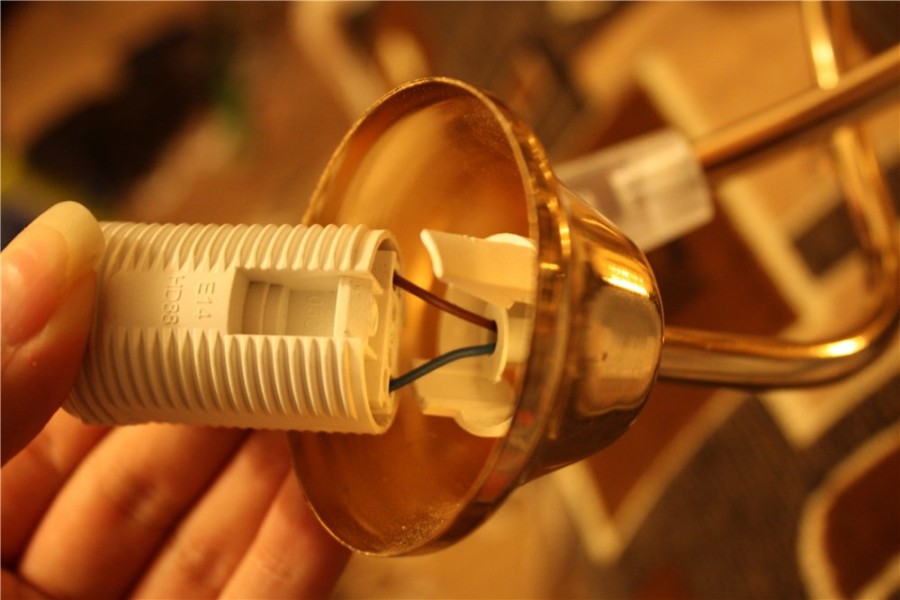
Basic rules for connecting a chandelier

Regardless of what type of lamp is to be hung on the ceiling, when connecting it to the electrical network, you should remember some excerpts from the electrician’s “bible”:
- A terminal block is always better than twisting wires;
- if you are still going to twist, you should not connect copper with aluminum: these metals do not tolerate proximity - the terminal block is better;
- When connecting wires with cores of the same metals, it is better to insulate the twist with heat-shrinkable tubing.
And finally: if you have to connect a large number of wires, which is difficult to avoid when connecting a chandelier with numerous light bulbs, then you can forget the two lower rules, because in this situation it is extremely undesirable to do without a terminal block - you don’t want overheating and short circuits, do you?