How light bulbs are made: the manufacturing process
Many of us cannot imagine our life without a TV, refrigerator, smartphone and other household appliances. Lighting devices are also irreplaceable household items.
Despite the fact that the first incandescent lamp appeared back in 1838, few people know how these devices are made.
The content of the article
How incandescent lamps are made: production stages
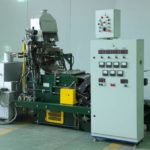
To produce high-quality incandescent lamps, modern and technologically advanced equipment is required.
Reference. Special requirements are placed on the machine that produces tungsten filament, because tungsten is a rather expensive material, so production costs must be recouped.
Equipment for working with gas and vacuum also deserves attention. For this purpose, special glass-blowing machines are used to produce bulbs for lighting fixtures.
All stages require concentration, accuracy and compliance with all technological standards. A mistake on one of them will lead to disastrous results: an incorrectly made light bulb will not last long.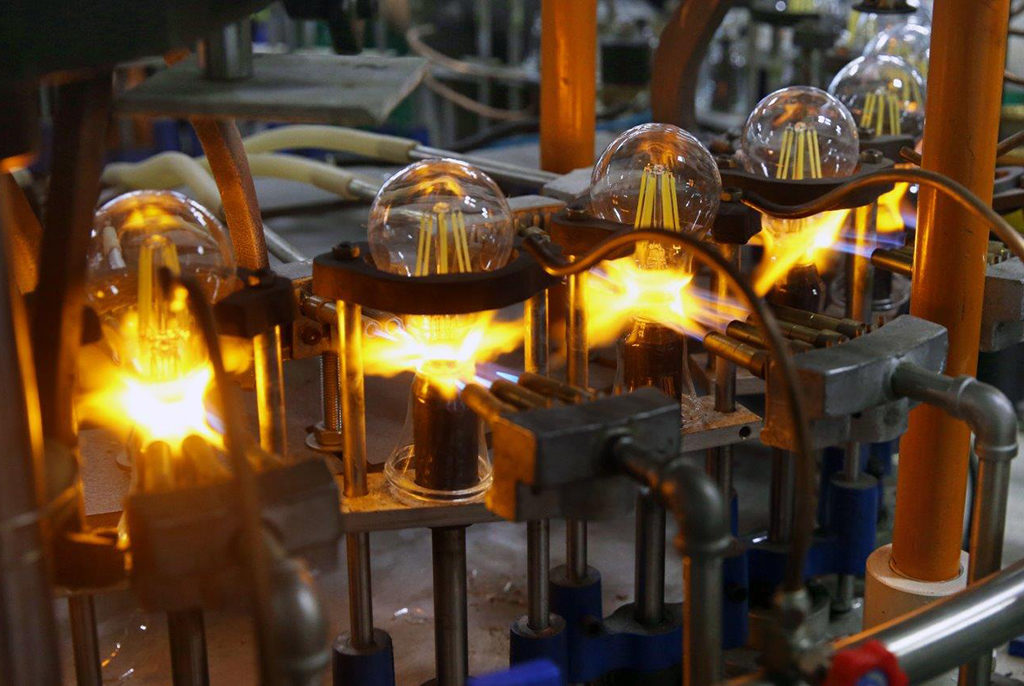
The production process is as follows:
- The flask is the most noticeable part of the device. It is made from glass using a special machine. During the process, the glass is heated, after which it is given the desired shape.The configuration can be very different; inside all flasks there is an inert gas or vacuum. A thin spiral is placed in the center of the container, which is an incandescent body. It is made from a refractory material, which is an excellent conductor of current. Tungsten is most often used for this.
- After the body is placed in the flask, it is given the required shape. It can be either in the form of a thin spiral or in the form of a tape, the ends of which are attached to the electrodes. The electrodes themselves are located in the base of the product.
- The base is a round container into which the narrow end of the flask is placed. It is made from a thin sheet of galvanized steel. To fix the flask inside the base, a thread is made. Although you can find models that are fixed using friction.
- An insulating material is placed inside the base, after which electrodes are fixed into it. The insulators themselves are made of glass. They prevent contact between electrically conductive elements. To do this, one electrode is fixed in the side of the base. From the outside it looks like a soldered point. The second electrode is located at the bottom of the base and rests against its bottom, where the contact pad is located.
The principle of operation is that when electric current is supplied, voltage is supplied through the electrode to the filament. It heats up to a temperature of 2,000°C in a split second, due to which the light bulb begins to emit light.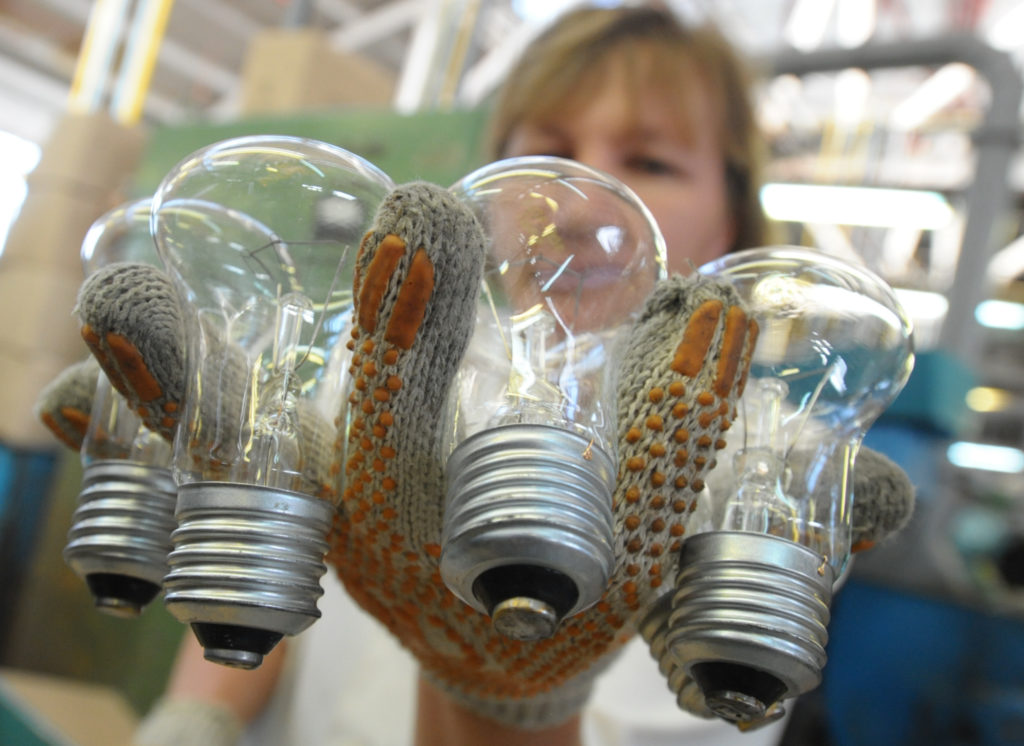
Reference. Incandescent lamps have low efficiency, which does not exceed 15%. The rest goes into heat. Therefore, you should not touch the flask when the device is turned on: there is a risk of serious burns.
How to make a lamp with your own hands
You can make an incandescent lamp yourself.To do this, you need to prepare some materials. If you don’t find some at home, you can purchase them at any hardware store. To work you will need:
- four clamps;
- glass jar with transparent walls;
- copper wires 60 cm long;
- pencil lead (it’s better to take a retractable version);
- several batteries.
Assembly steps:
- Connect the copper wires and electrical clamps. Attach the clamps to the ends of the cables. If you don't have clamps on hand, you can make a loop from each end of the copper wire. It needs to be made quite large so that the loop can be secured to the battery contacts.
- Connect the batteries. They must be assembled in sequential order, observing polarity. To do this, connect their ends, then secure with tape or tape. They need to be positioned so that there is a positive charge at one end and a negative charge at the other. If you are afraid that the structure will fall apart, wrap the batteries with several layers of tape.
- Attach a copper wire to one end. For convenience, manufacturers designate one end in red and the other in black. Red should be connected to the positive contact. Black should not be connected at this stage. This will not only close the circuit, but you may also get burned. Therefore, you should be careful.
- Place two free clamps vertically. Place a graphite rod between them. The result should be a structure in the shape of the letter “H”, where the side parts are represented by clamps, and the central jumper is a graphite rod. It is worth keeping in mind that the longer the rod, the longer and brighter the light bulb will shine. To make the structure stable, secure the clamps with plasticine.
- Take a glass jar and cover the resulting structure with it. You can do without it. However, this way the graphite will quickly deteriorate, smoke, and spark.
- Connect the free end to a “snake” of batteries. This will ensure the supply of electricity to your homemade device. It will begin to flow onto the rod, which, under the influence of current, will heat up and emit light. The homemade light bulb is ready!
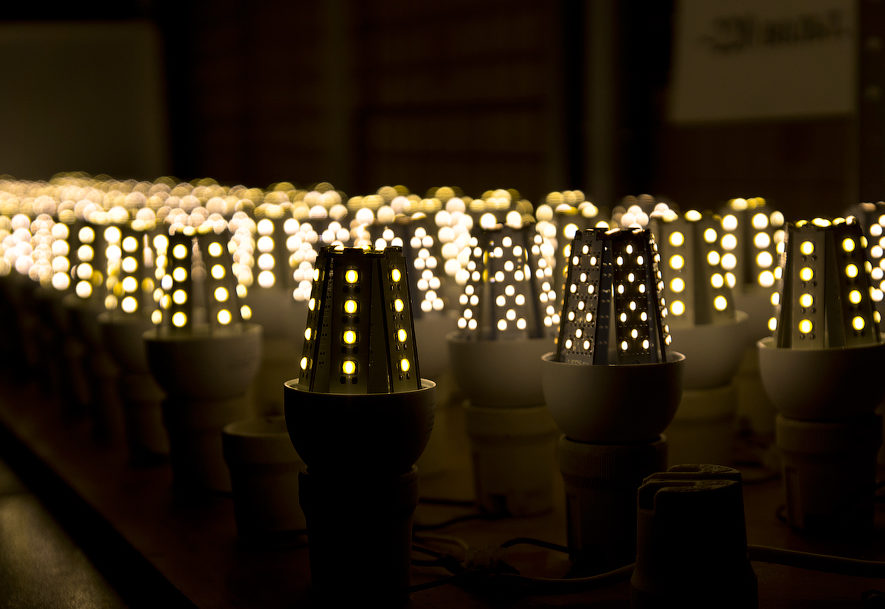
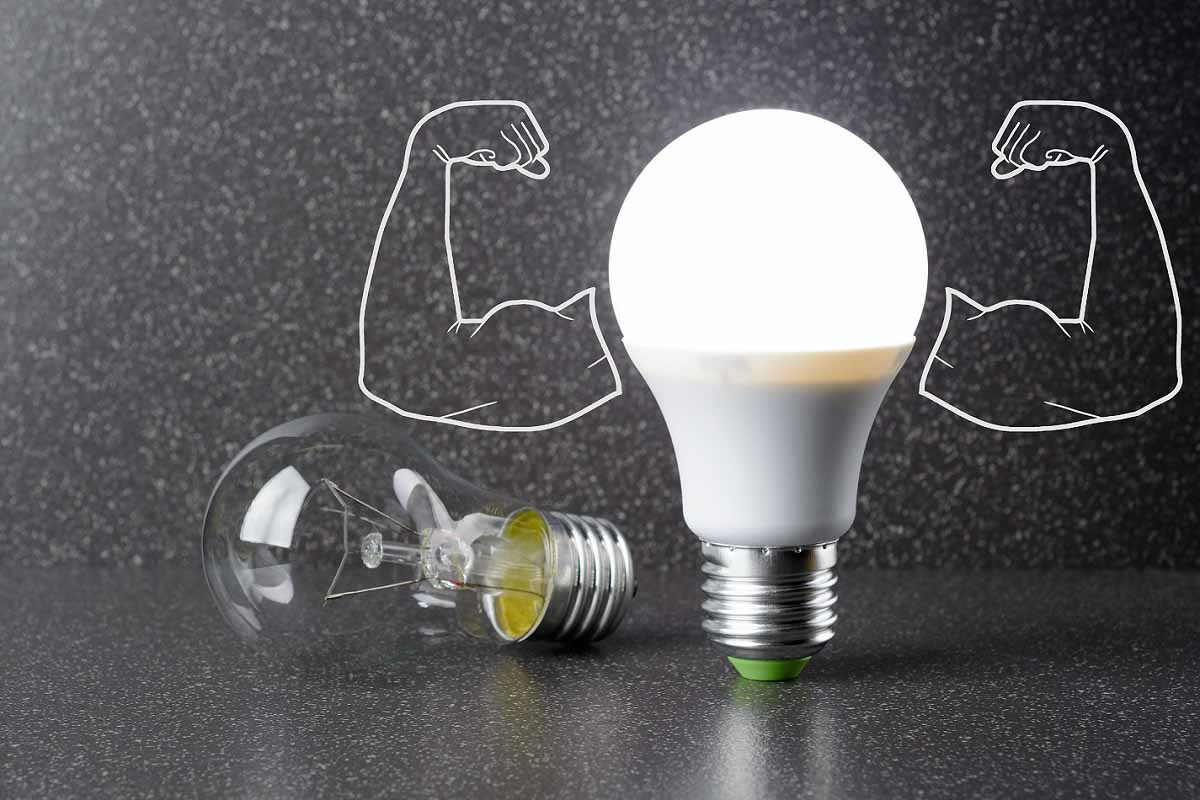
How energy-saving light bulbs are made
Constantly rising electricity tariffs are forcing the use of more economical lighting devices. Therefore, energy-saving light bulbs have become especially popular lately. These include fluorescent and LED models.
The operating principle of a fluorescent light bulb is based on ultraviolet radiation. To do this, mercury vapor or an inert gas is pumped into the flask, which is made in the form of a thin tube. Next, the walls of the flask are coated with a special substance - phosphor. The base with the thermistor is assembled separately - this is a device that ensures smooth start-up of the lighting device. For uninterrupted operation, the base is additionally equipped with a fuse, after which the entire structure is placed in a durable housing made of plastic.
LED light sources occupy a special place. They consume a small amount of electricity, but are highly efficient:
- Their production begins with growing LED crystals. To do this, they are placed on a special substrate made of a conductor with opposite conductivity.
- The second step is sorting the finished crystals according to their main characteristics.
- At the final stage, the prepared and sorted LEDs are placed in a durable housing.After that, output contacts are made on the base of the product.
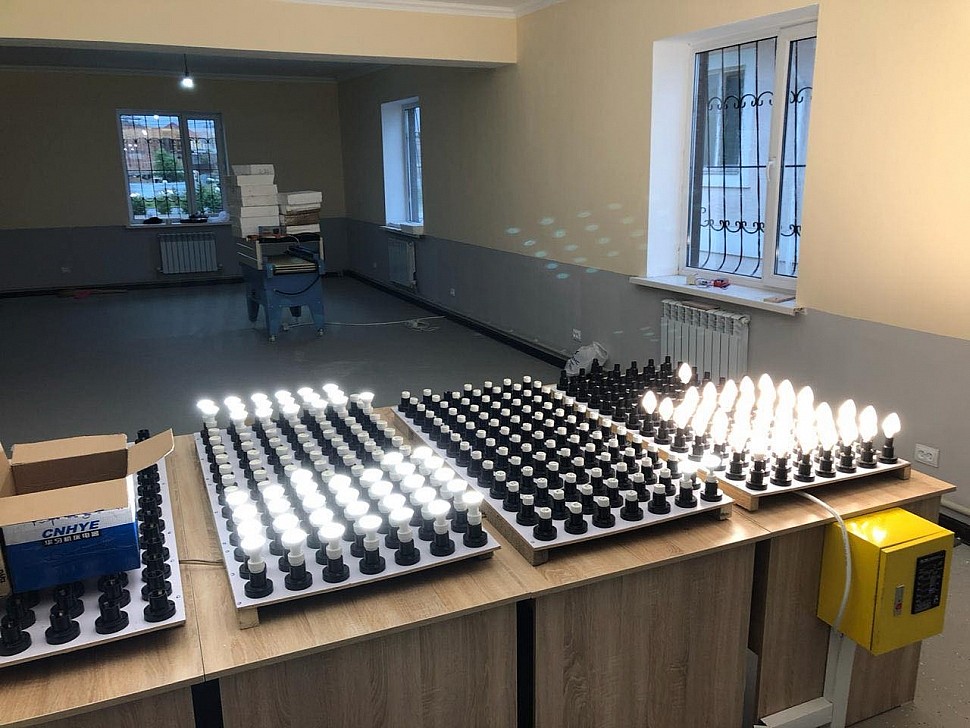
Modern technologies make it possible to reduce electricity bills. The main thing is to purchase high-quality devices from famous brands. They try to maintain the company’s image, so they scrupulously follow all stages of production.

In fact, they didn’t show anything, so you can’t write: “How they do it.”