Cutting hinges and locks with a router
To attach hinges and locks on doors, they usually use hand-held artillery - a hammer, a chisel and a drill with a feather drill. If the mounting is done not somewhere in a carpentry shop, but at home, most likely, it will not come to stationary machines. A hand router with a finger cutter can greatly facilitate and speed up work in this area. Especially if there are several doors.
The content of the article
The essence of the technique
Instead of hollowing out a groove in the wood with a hammer and chisel after marking the loop, we resort to another method. We are using finger cutter Let's make these indentations much faster and more beautiful.

Note: It is better to make a socket for a mortise lock using a feather drill, without making faces or reconfiguring the router. Next I will describe this technique.
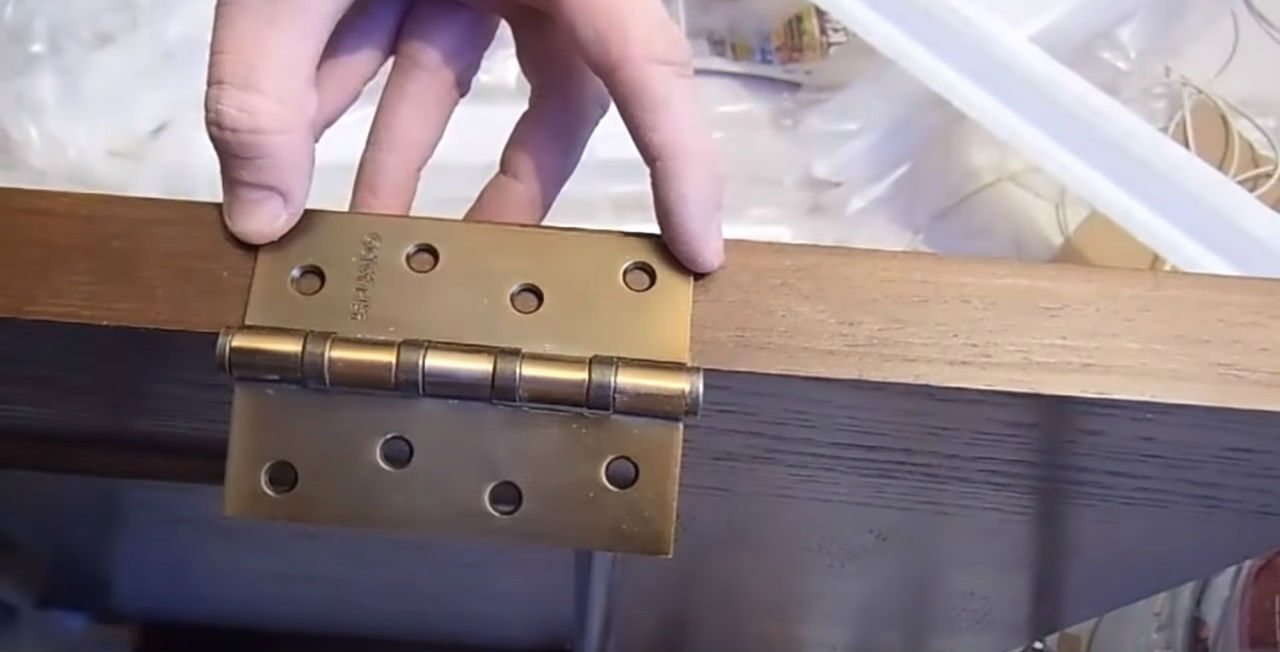
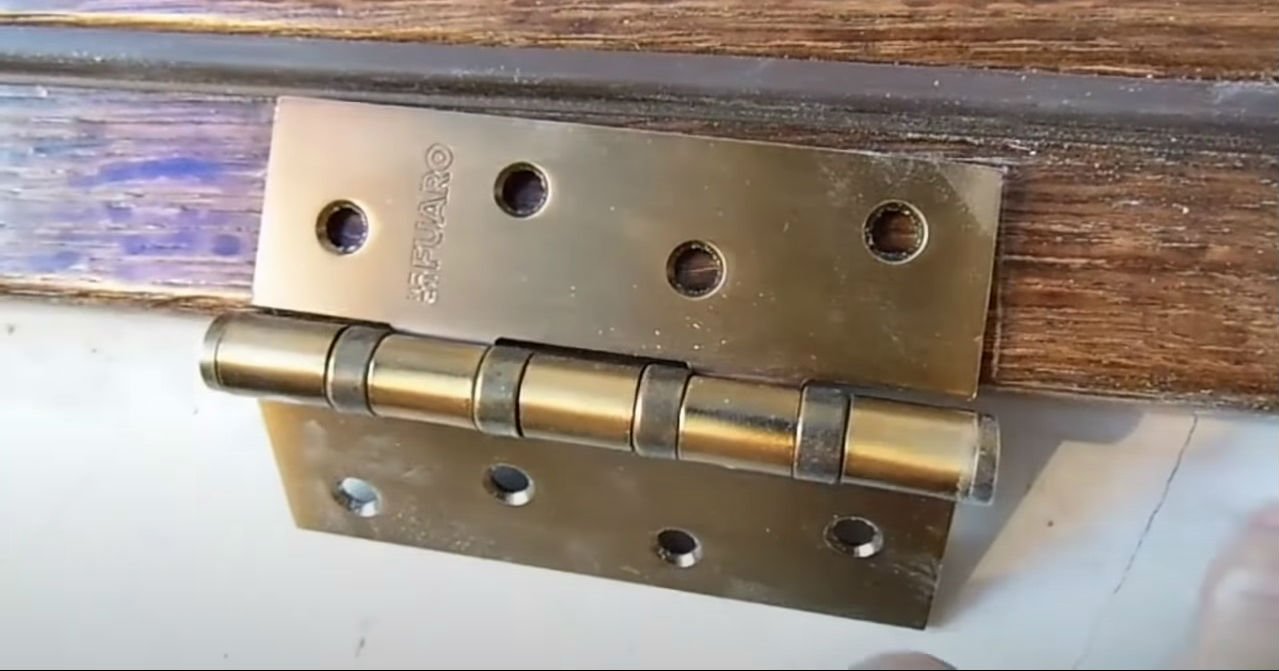
Marking for loops
I will not describe the making of templates for marking, since the hinges on different doors may differ in size and geometry. Therefore, we do this: we measure from the upper end of the canvas from the loop side down along the standing side to one and a half loop sizes. Let's say, if the loop has a size of 120 mm, we retreat 180, and do the same with the lower canopy.
If there are three loops (and this also happens when the door is quite massive), then the third canopy is placed according to the same pattern. It should be located at the top one and a half sizes from the top overhang, and not in the middle of the height of the door. Master this one right away simple diagramso as not to be confused with sizes and distances in the future.
The markings on the door frame are done like this. After it has been assembled in rough form, it is placed on a level place. Place the door leaf in it so that the gap at the top was about 2-3, and at the bottom - 7-8 millimeters, since the door tends to sag slightly on its hinges. This rule is especially relevant if the box has a threshold. On the sides, the gap between the canvas and the box should ideally be five millimeters on both the lock and hinge sides. Outline the position of the hinges on the end of the box (with the door inserted into it).
After the markings are applied with a pencil, I highly recommend lightly walk a chisel along its contour. This will greatly simplify the task during subsequent sampling. Pay special attention to areas where the chisel is located across the grain of the wood (if wooden doors are hung).
Attention! Don’t hesitate to fit the door into the dimensions of the frame! This advice is especially relevant if the door suddenly turns out to be not perfectly rectangular. It happens, take my word for it.
Lock markings
Just think about it height, on which the location of the door handle would be convenient for you. For some it is better to take 80 centimeters from the bottom of the door leaf, for others it is better to raise it to a meter. For a normal person 175 centimeters tall, it is usually comfortable handle height about 90 cm. This is where we start when marking.
We place the mortise lock on the door frame so that its bar is flush with the end of the door. Mark with a pencil the point where the handle will be located.
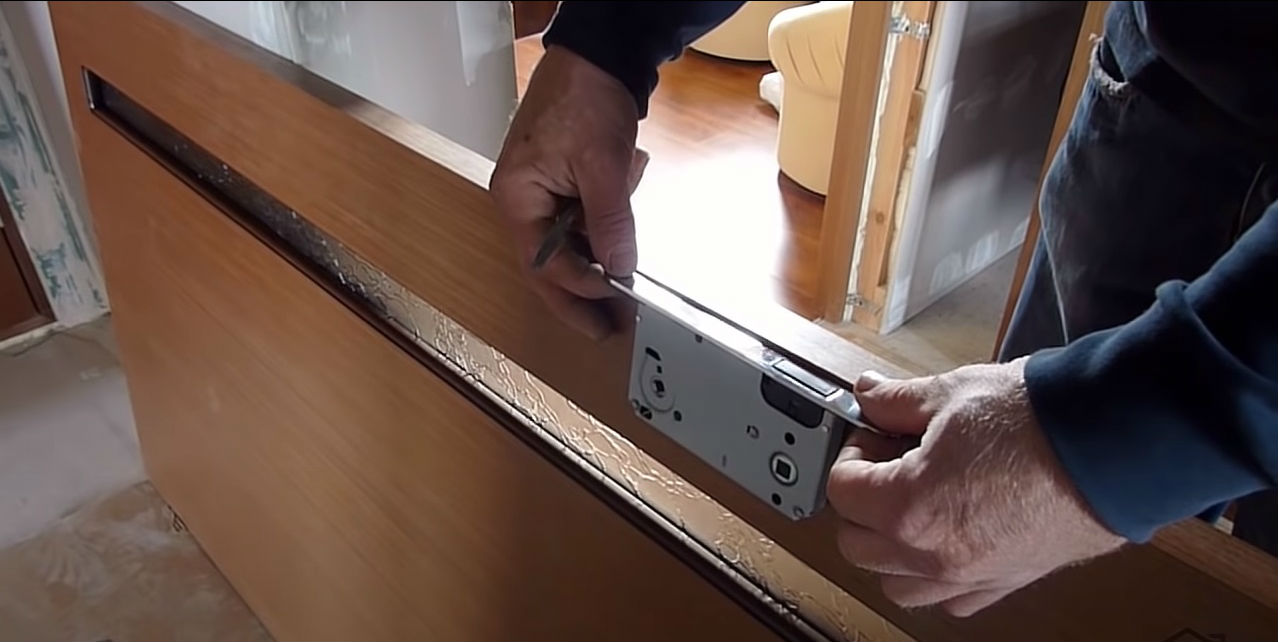
Next we insert door leaf in latches lock side up. We apply the strip to the end, outline it, making sure that it is attached to the door evenly, without distortions.After this, use a chisel to carefully knock out the outline around the perimeter of the marking. To clearly determine the location for the lock, I advise you to make auxiliary vertical markings on the lock end of the door, having found the middle of its thickness, as a rule, this is 16-20 millimeters. It will come in handy when drilling a socket with a feather drill.
Hinge sockets
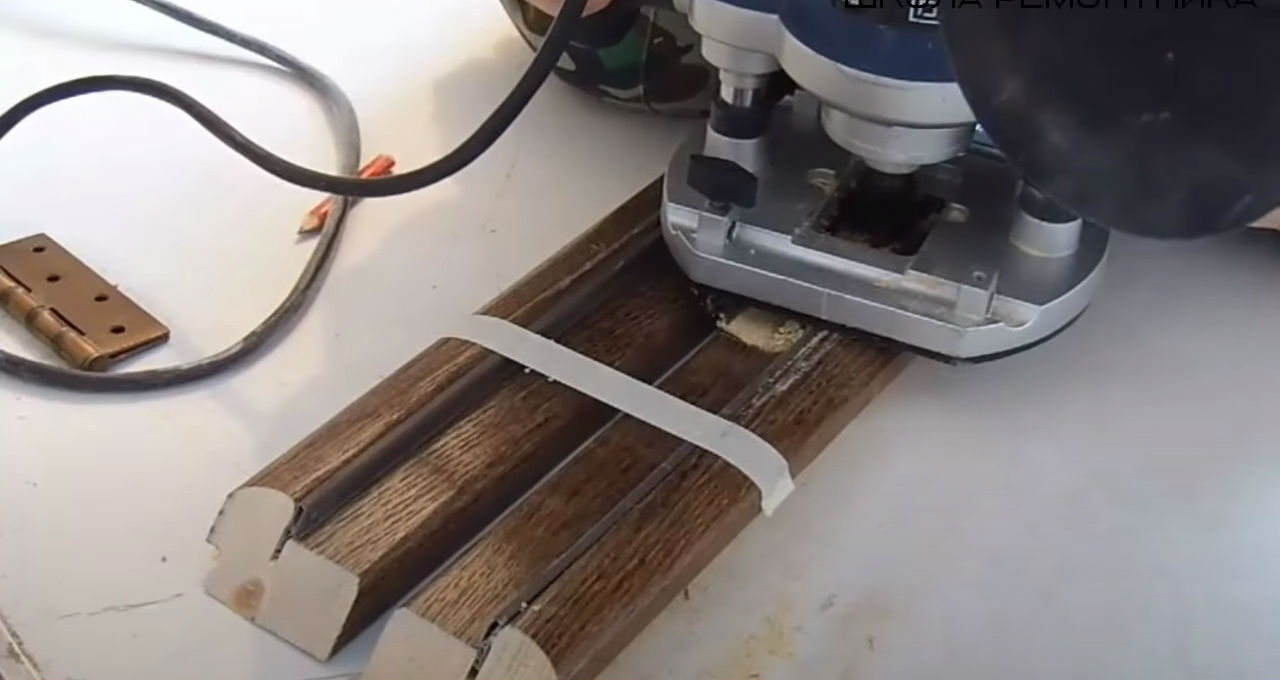
Let’s make a reservation right away: I assume that the reader has worked at least a little with a hand router and at least knows how to turn it on, adjust the speed and raise/lower the cutter. So, take an unnecessary block, adjust the output of the cutter to the depth of the loop from the router support and try to select a small fragment from it. We make the fragment size such that it is possible to measure the depth of recessing of the loop. Drive the router in the direction of rotation of the cutter - it's much easier to work this way.
We tried it on, figured it out - let's get down to business. Having made sure that the canvas placed in the clamps with the loop side up does not dangle, we select the mounting socket for the loop using the markings. Then we try it on so that it fits the dimensions and is completely recessed into the mass of the canvas.
Advice: if you don’t have enough experience, make a couple of test canopies, all on the same unnecessary block. This is a very worthwhile investment of your time and effort.
When hanging on a box, instead of a block, take the scrap formed during its assembly. The fact is that the selected quarter on the box, or, as it is also called, the fold, will not allow you to place the router platform directly on the plane where the hinge will be located. The milling cutter will have to be reconfigured. You’ll see exactly how when you start twisting a piece of the box in your hands.
I recommend: in order not to reconfigure the router several times, first attach hinges on all door leaves (if there are several of them), then start fiddling with the boxes.
Castle part
First of all, you need to choose and prepare feather drill. The diameter should be 2-4 mm larger than the thickness of the embedded part of the lock. It’s better to give a larger margin: it’s difficult to ideally hold the drill perpendicular to the end of the door; there will probably be a small error due to the fact that The drill may twitch slightly along different fibers. To ensure that the hole does not turn out to be too small, or, conversely, too deep, we wrap the perk with electrical tape at a level slightly larger than the dimensions of the recessed part. Markers and pencils are not very suitable for marking as they wear out quickly.
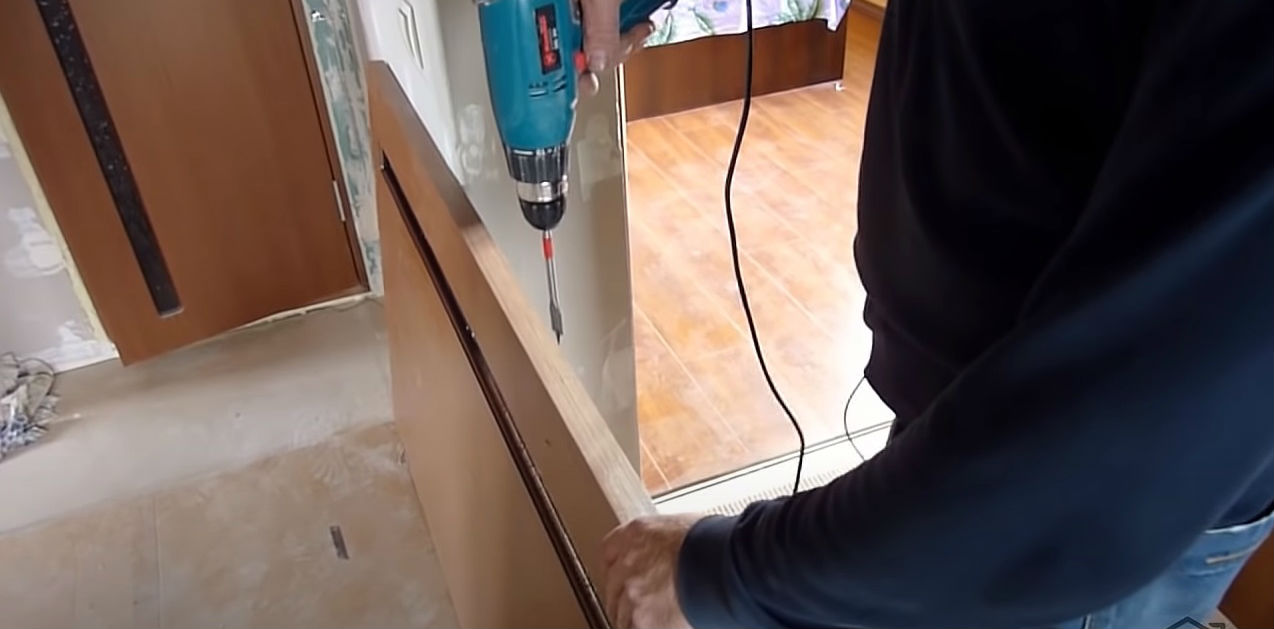
After the nest is ready, we are not in a hurry to choose a recess for the cover. Firstly, check if the lock fits into the slot, secondly, we set up the router on the block. And only then we select the recess.
The hole for the handle is drilled last. And then after we once again assessed the lock against the main frame and made sure that we had not made a mistake with the preliminary markings. Again, take a drill with a diameter of millimeters 12-16 — the handle will block the hole, and no one has canceled the error in measurements.
Common Mistake - the mating part of the lock on the frame is marked until the door is installed and the foam has dried. Don't do this! The answer will take its position only after installation, so do not try to calculate or guess it. There is no need to rush here, otherwise, most likely, you will have to interrupt it in place - for some reason the lock tongue will not fall into the slot intended for it.