Etching a knife at home
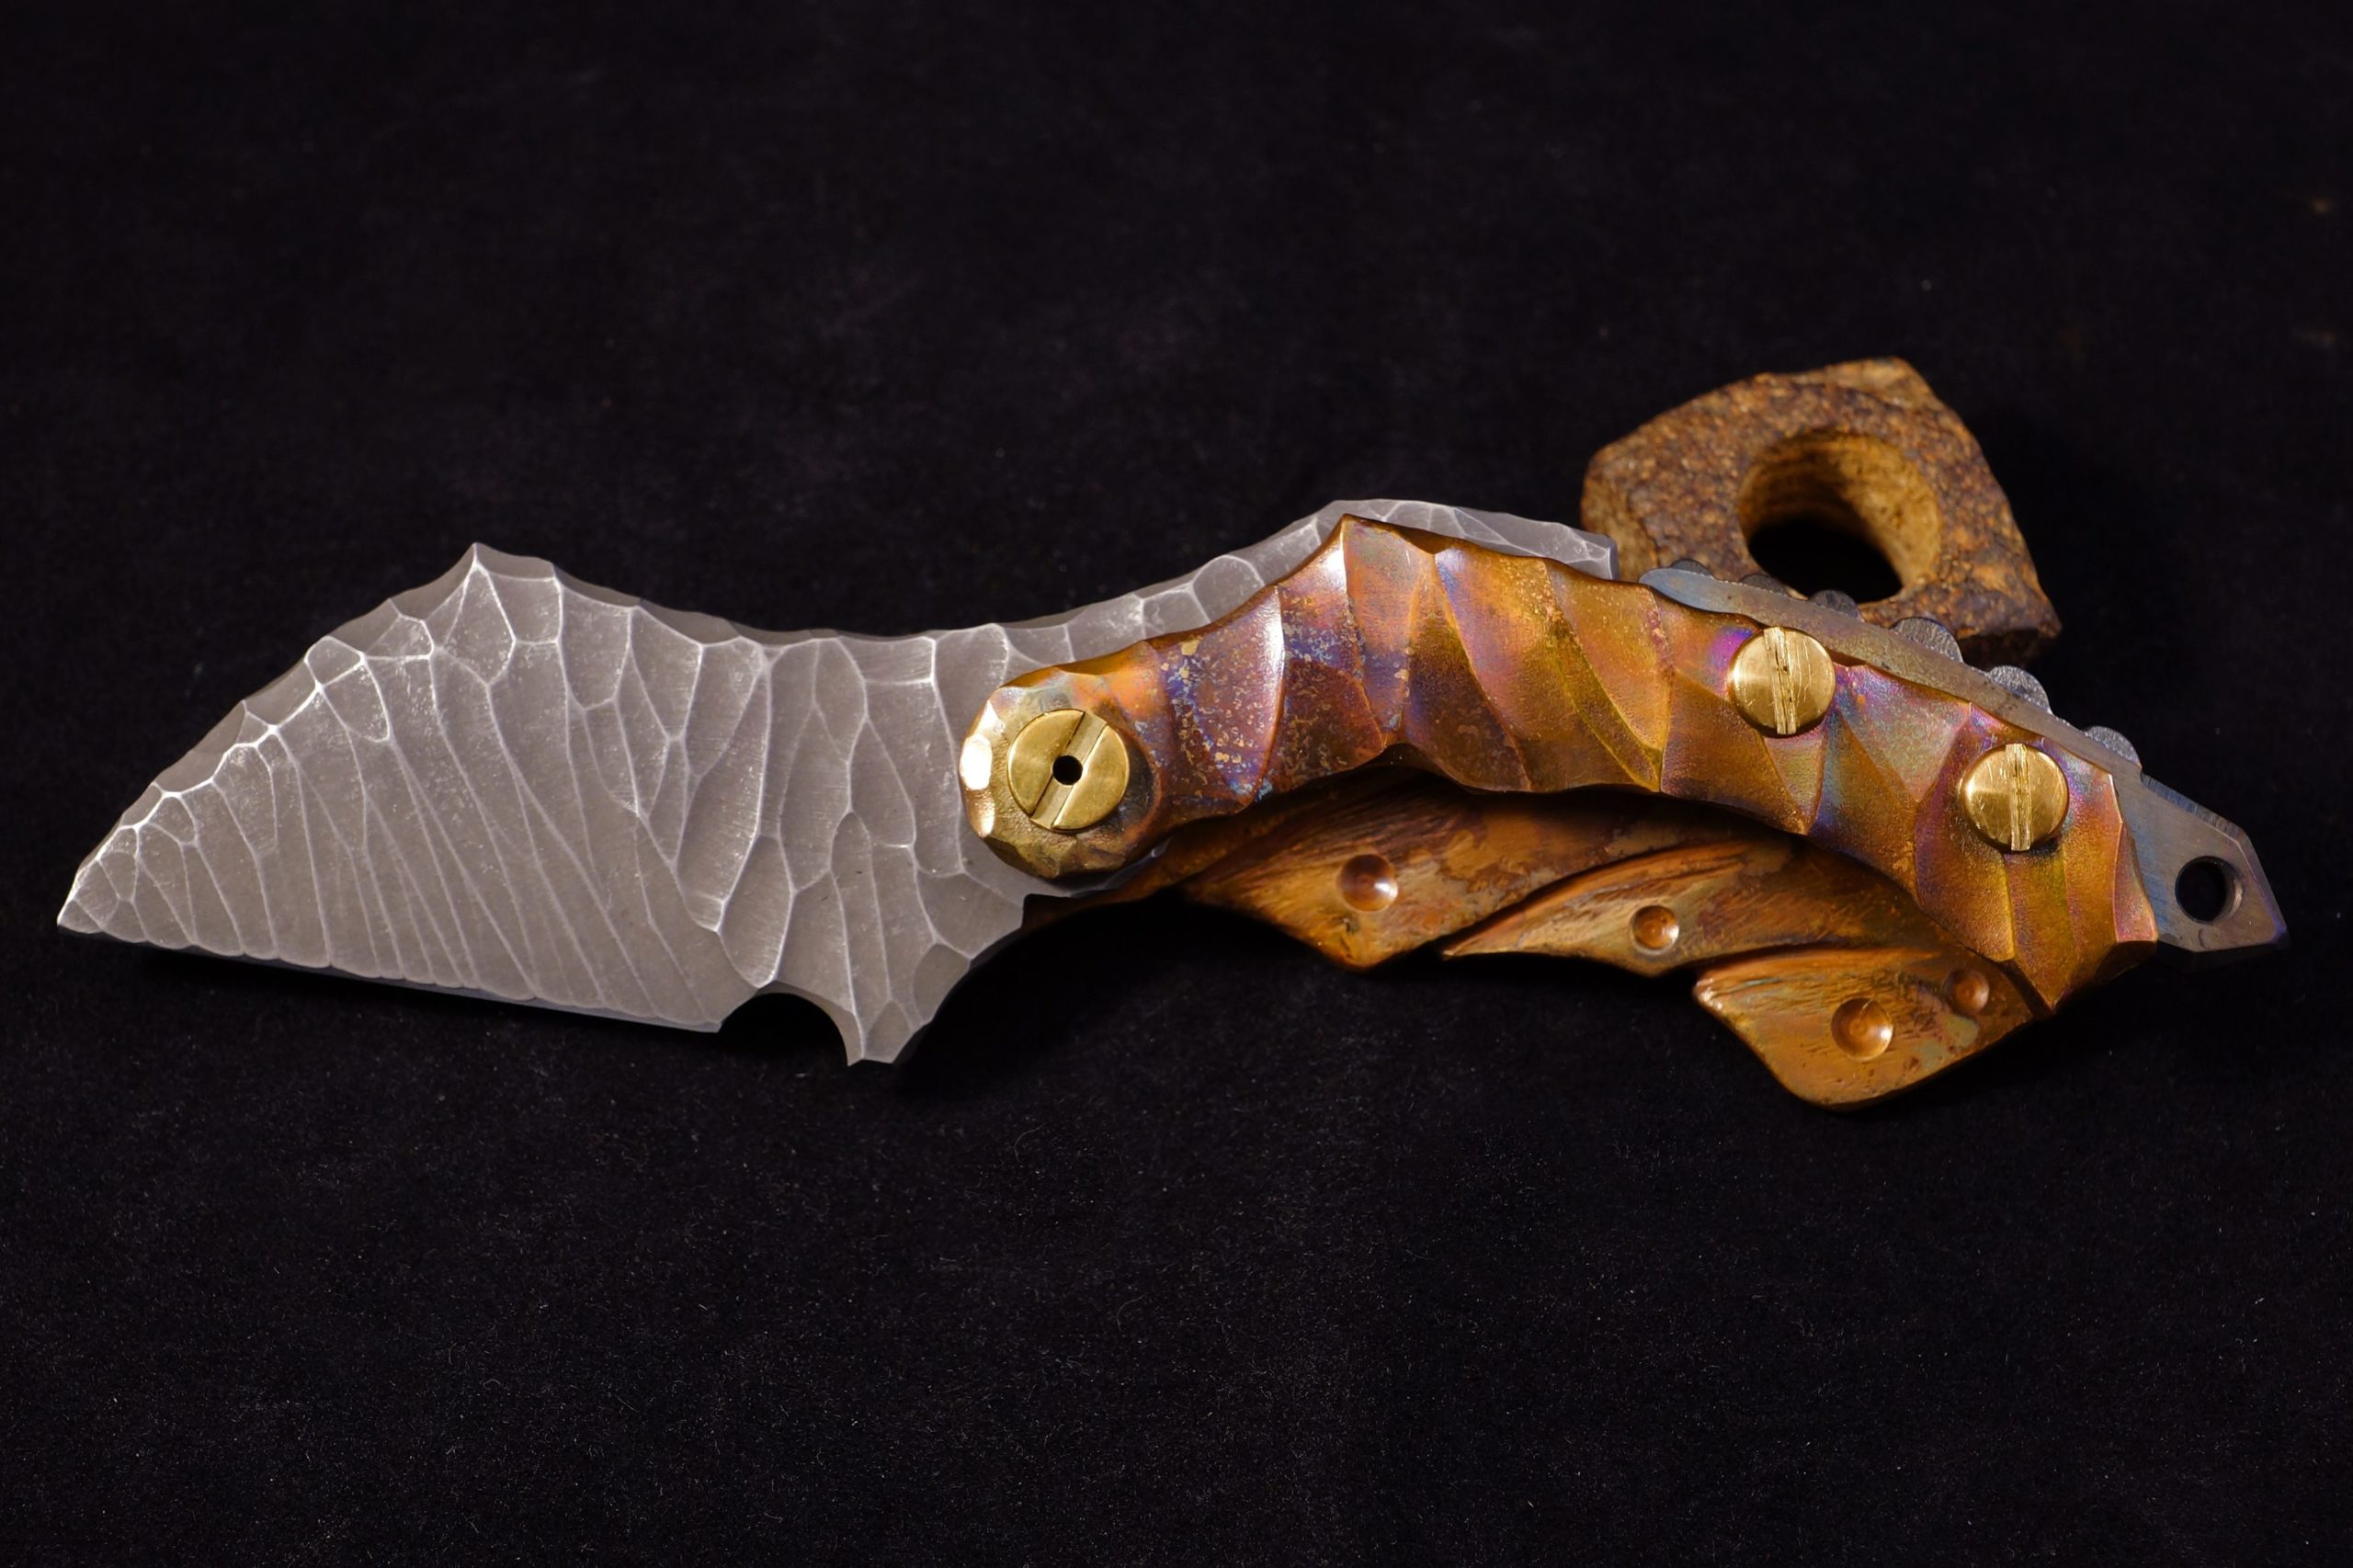
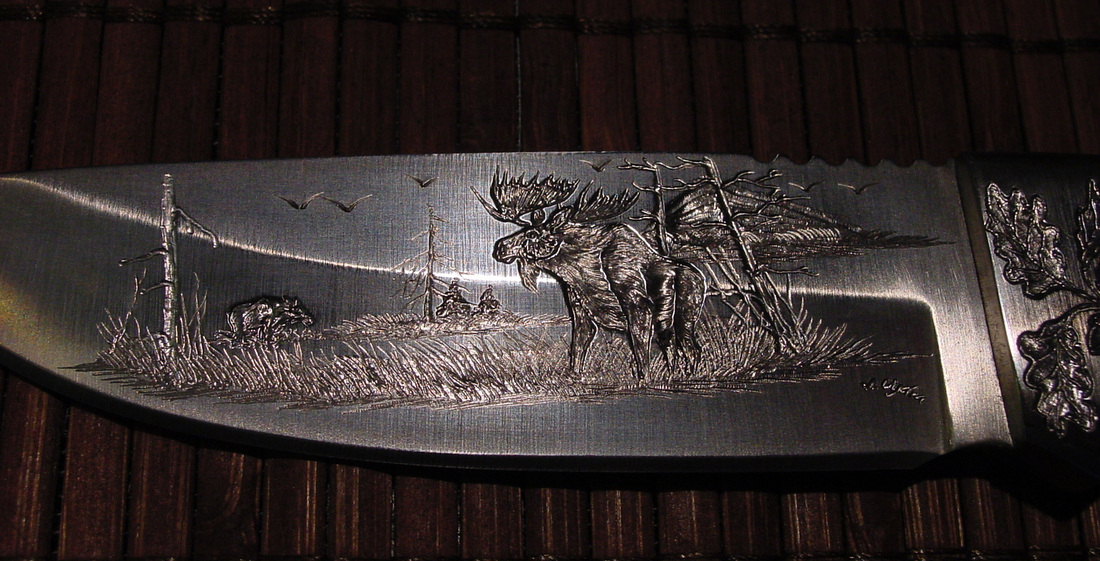
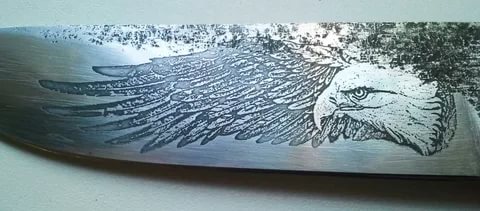
Everyone, of course, has seen expensive knives with ornaments or hunting scenes depicted on them. Sometimes such products are real works of art, it’s even a shame to cut them. And they cost like a spaceship. Is it possible to etch a knife at home without getting poisoned by the reagents? It turns out that it is possible. Today we will talk about relatively safe methods of etching knives.
The content of the article
The essence of the process
Methodology metal etching was developed back in the 16th century in Western Europe. The process consists of exposing the metal to an aggressive acidic or alkaline environment, due to which a characteristic dark film resistant to mechanical stress is formed on it. To apply the image, those fragments that will not be exposed to chemical attack are protected with inert compounds. Previously, wax was used for these purposes, today bitumen varnishes, GF-021 primer, or women's nail polish are used.
Etching methods
Let me make a reservation right away that different metals require their own aggressive environment, be it acid or alkali. According to the method of exposure to metal, the etching process is classified into:
- Electrolytic, also known as the electroplating method, - an electric current is passed through the solution into which the blade is dipped, and charged electrolyte particles are deposited on the surface of the blade.A quick, uncomplicated, relatively safe method that does not require large quantities of solution. In this case, there is no evaporation of caustic substances, the pattern on the blade is obtained without distortion.
- Chemical — etching occurs through the use of caustic, aggressive substances such as sulfuric, nitric or hydrochloric acids. Since the technique is not so harmless, it is better to leave it to professional chemists. To work, you will need a powerful hood, otherwise you can get a serious burn to your mucous membranes or chemical poisoning.
- Let us also mention an industrial method called ion plasma. It is used for the production of printed circuit boards and requires special equipment and premises.
For the sake of our own health, we will engage in galvanizing. This is perhaps the best etching method for home use.
Blade preparation
If the knife is collapsible, do not be lazy and disassemble it. In extreme cases, the handle can be protected from exposure to aggressive environments by wrapping it with electrical tape.
It is imperative to degrease the surface to be treated. For these purposes, gasoline, kerosene, white spirit, 646 solvent, acetone, and in extreme cases even alcohol are suitable. Cologne and a drink like “hawthorn” are not suitable for these purposes because they contain impurities. We carefully wipe the blade with a solvent, and after treatment we try not to touch it with our fingers.
Drawing options
We will look at not one, but two technologies at once. This independent drawing on the blade using a marker, and image translation using a laser printer. If art education doesn’t work out, it’s better to immediately move on to plan B.
The first option is more or less clear. Covered the surface acrylic nail polish, drew something interesting with a marker, and scratched it with a needle like a stencil.
To translate the image you will need glossy paper. We print an image of the required size on it, and - attention - make a mirror image of a picture in a graphics editor, especially if the drawing contains inscriptions.
We cut out the paper along the contour of the image and apply it to the plane of the blade. Some recommend pre-treating it with alcohol. Then well heated iron Carefully iron the paper together with the blade. The image should be transferred to the surface. Print immediately several copies of the picture - marriage in this matter is rather the rule rather than the exception.
If the enemy does not surrender, there is another option. We cover the blade with transparent acrylic varnish, print out the picture (in a mirror image!) on plain paper. Then we glue it directly onto the undried varnish. After the varnish has completely dried, soak the paper with water and roll it with your fingers until it disappears completely. Then, using the same needle, we carefully scratch the stencil.
Don't scratch anything unnecessary - all this will come out sideways during the etching process!
Etching process
For our purposes we will need:
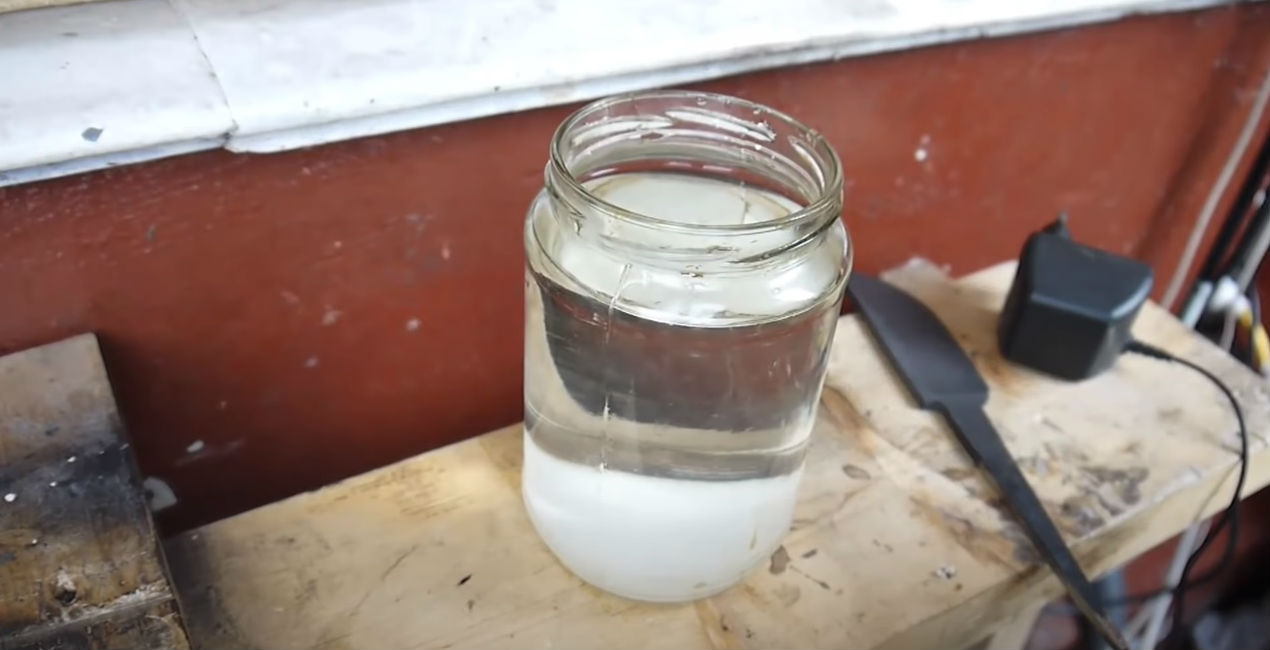
- half liter glass (not metal!) a jar of saline solution (three to four tablespoons of salt per 0.5 liter of water);
- power unit or a mobile phone charger;
- colorless varnish, preferably quick-drying;
- two wires;
- needle;
- a metal plate or bolt that fits freely in a jar.
After applying the rough design, we mark under the varnish (or on top of it), or rather, scratch out its contours with a needle, as carefully as possible.Next, we screw a plate (bolt) to the “minus” of the power supply, and a blade to the “plus”. We apply power and observe the chemical reaction of the exposed areas of the metal with the saline solution.
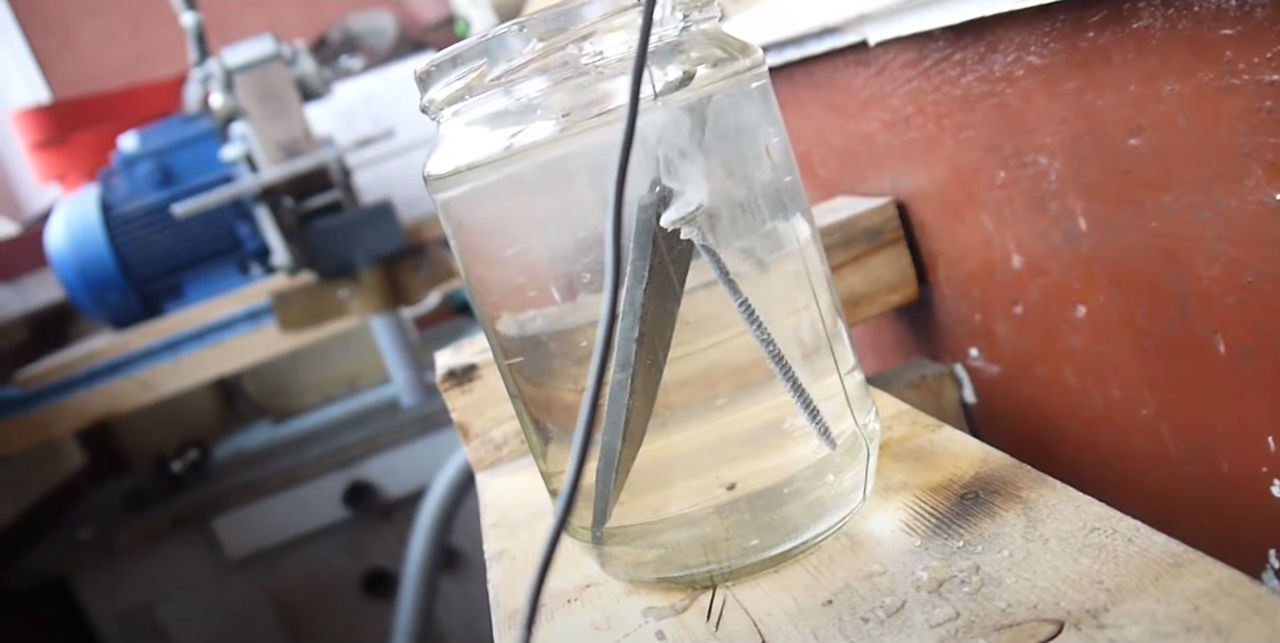
I’ll warn you right away - the charger in this mode will not last long. Therefore, do not rush: turned it on for about fifteen seconds and let it cool down for a couple of minutes. We repeat the cycle several times. The duration of the process directly depends on the power of the charger.
Final stage
At the end of the etching process, it is necessary to get rid of the varnish applied to the blade. This is done using a stationery knife. Then, if necessary, the knife is sharpened and polished. To speed up the polishing process, a felt wheel is installed on the sharpening machine.
That’s all, actually, nothing complicated again. After several attempts, you will definitely get something useful.