DIY wooden napkin holder
A napkin holder is not only a necessary attribute in every kitchen that holds paper hygiene products. A handmade accessory becomes a real decoration and stylish addition to the decor. And it’s not difficult to make - just have pieces of plywood, drawings and the necessary equipment on hand.
The content of the article
How to make a napkin holder with your own hands?
A decorative device for paper accessories will become a decoration not only in everyday life, but also on the holiday table. Plastic and glass glasses with napkins folded into them are a thing of the past. Today such a presentation is considered bad form.
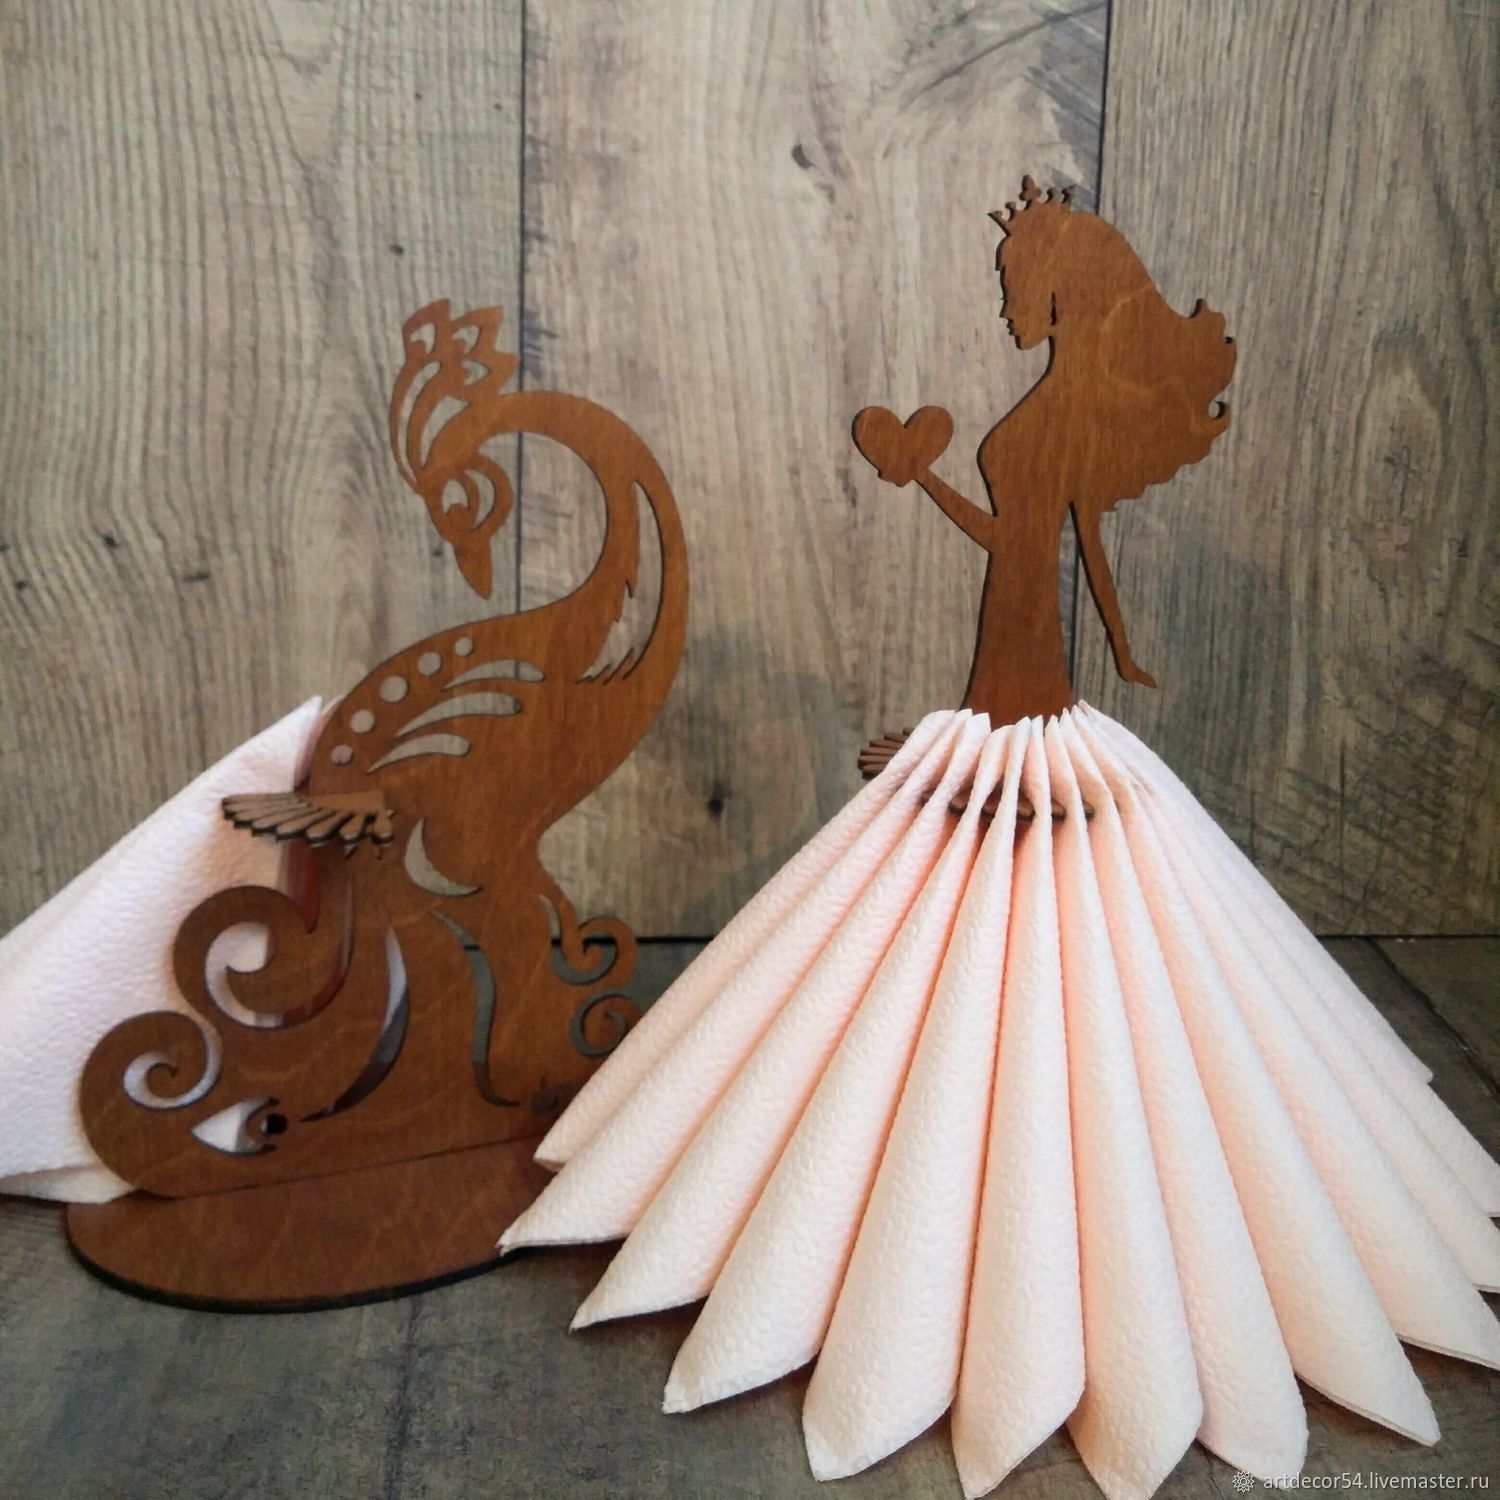
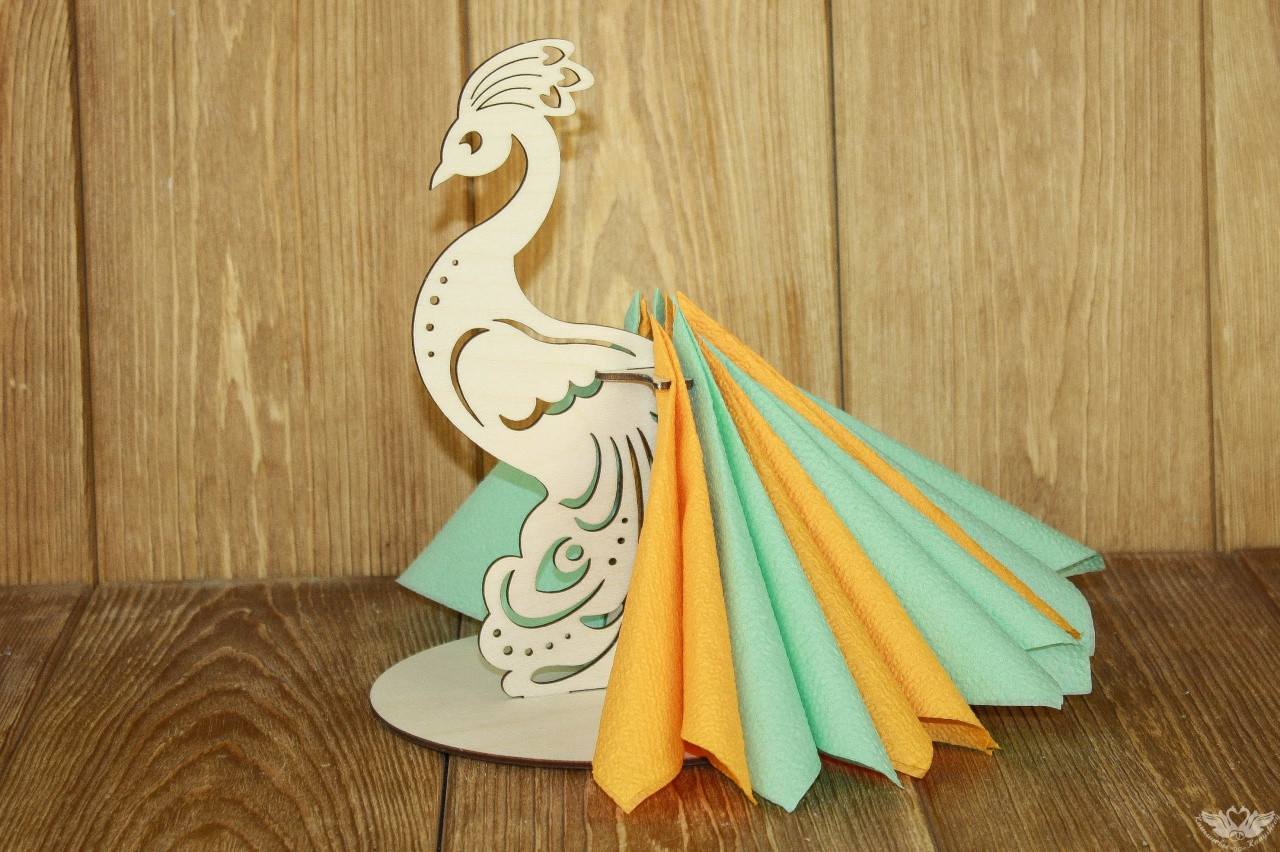
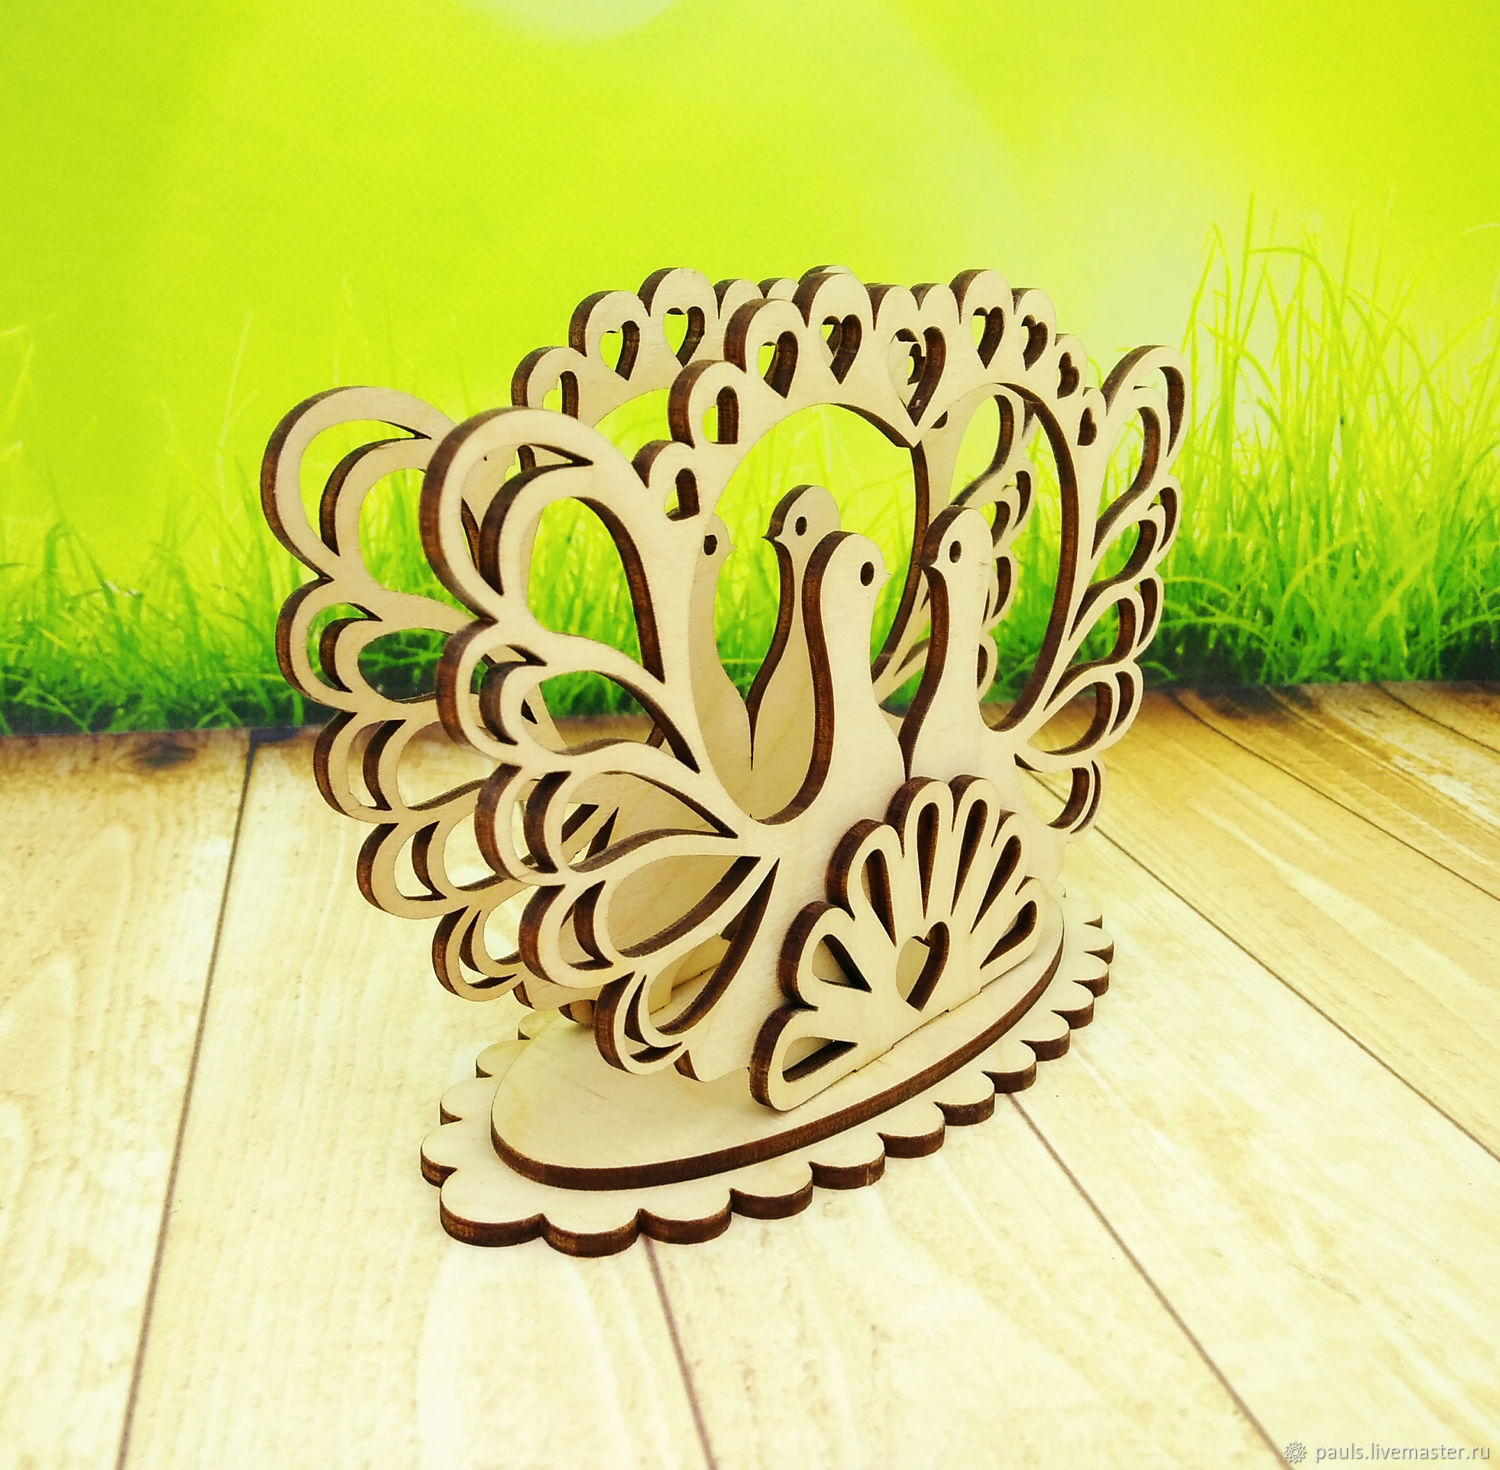
A napkin holder made of plywood looks fresh, uncluttered, attracts attention and plays a decorative role.
Despite the abundance of products on the market, many people prefer to make the device with their own hands. In this case, you need to remember to be careful, prepare drawings of the future product and cut them out as diligently as possible, holding the jigsaw strictly at an angle of 90°.
What tools will you need?
To make an accessory for the table you will need plywood. When purchasing, pay attention to the grade and general condition of the tree. It is better to take the first or second, and most importantly, the boards should not be too rough, have no defects or be damaged.
From the toolkit you will need:
- a simple pencil;
- sandpaper;
- sheets of cardboard;
- jigsaw;
- needle file;
- varnish for wood coating;
- wood glue;
- brush;
- ruler;
- electric burning apparatus.
Having collected everything you need, we proceed to the sketches.
Plywood napkin holder: drawings
The first thing to do is to create sketches of the future device in order to subsequently transfer the markings onto wooden sheets. For novice craftsmen, it is better to take classic models that do not have to be artistically cut out.
Experienced owners can decorate the napkin holder, giving it complex shapes.
Having drawn sketches on sheets of cardboard, clearly checked the dimensions and marked them on paper, we proceed to transfer the points onto pieces of plywood. We do this with a simple pencil.
Step-by-step manufacturing guide
Having depicted the silhouette of the future accessory on the tree, we begin cutting. We recommend using a jigsaw, which will not damage the edges of the cut, leaving them smooth and beautiful. Hold the tool strictly at a right angle.
If there is a stand for a napkin holder, choose thicker plywood. Suitable material 20 mm.
Next, we begin assembling the product, connecting pieces of plywood into grooves. The result will be a beautiful kitchen accessory. After assembly, it can be placed on the table. However, to make it last longer and become even more attractive, it is better to varnish the product.
To do this, take a flat and wide brush. It does not leave streaks or defects, and applies the composition evenly and in a thin layer. Using gentle, leisurely movements, distribute the varnish over the entire surface. Then let it dry completely. This completes the work.
How to decorate a napkin holder?
Fantasy in this matter has no limits. Some craftswomen prefer to decorate a fresh device with decoupage. This solution is perfect for stylish modern kitchens or rooms with an eclectic design.
If a person knows how to draw, you can get by with acrylic paints. With minimal drawing skills, draw elementary patterns along the body of the product with a pencil, and then draw them with bright colors. You can do electric burning - it always looks great.
It is not forbidden to use beads, rhinestones, sparkles and other elements of bright life. Do not deny yourself the pleasure of pleasing your eyes. Every day you will see an item that was lovingly crafted by hand on your desk.