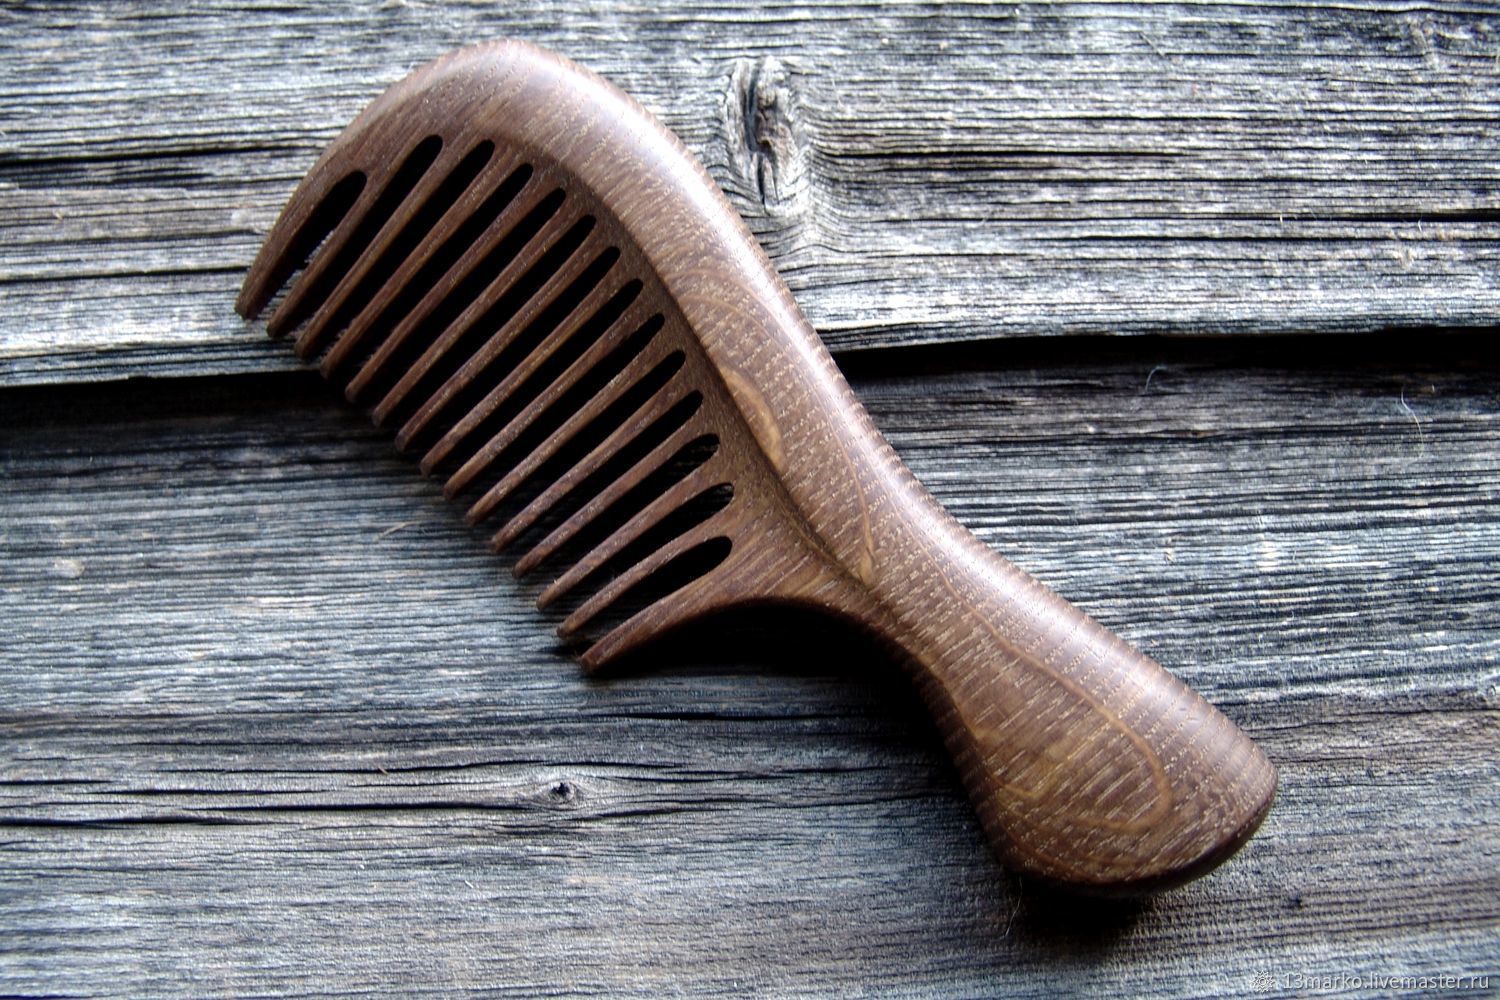
DIY wooden cutting board
Working with wood is a very interesting process. The material itself is widespread due to its low cost and practicality. It makes good cutting boards, which we’ll talk about today. Making them from wood yourself is a piece of cake.
The content of the article
Which material to choose
The cost of wood varies depending on the species. The cheapest and most common species are pine and spruce.
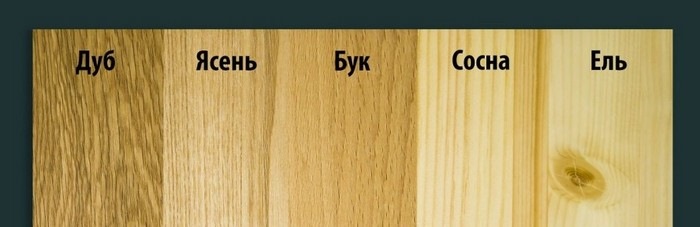
All variations of mahogany can easily be considered expensive. What material you are taking you - depends only on your financial capabilities.
Preparatory work
To make a kitchen board, first make a drawing of the project. Otherwise, there is a high probability of damaging the product.
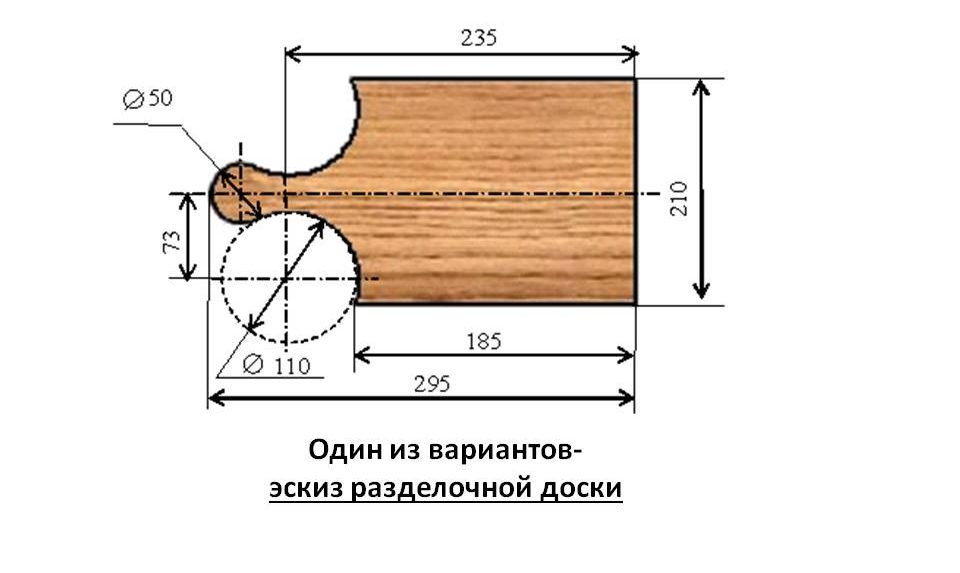
When the drawing is ready, you can safely choose the workpiece. It is worth noting that the wood fibers must be positioned strictly along the product. If this fact is not taken into account, the likelihood of crack formation increases.
As for the tools used, you will need a full set of mechanics and carpenters. There are no special requirements, since there are no complex manipulations in the work process.
Instructions for use
You will have to act with your own hands slowly, step by step. Then you will like the final result.
- The first step is to secure the workpiece on the workbench with the plane facing up.
- After this, you need to take a plane and plan the product so that it is perfectly even.
- You can check the quality of the work done using a ruler or square.
- Then the workpiece is removed from the workbench and its thickness is marked. This is done with a thicknesser or a regular ruler.
- When the thickness is marked, it is necessary to process the plane in such a way as to achieve the desired result.
- As for the edge, it also needs to be refined.
- When the dimensions of the workpiece have reached the level required, you can begin to apply markings.
- Afterwards, they get rid of excess parts on the workpiece. The easiest way to do this is with a jigsaw with a thin blade. However, you can also use a hacksaw.
- The next stage is finishing. To do this you need to use several types of sandpaper.
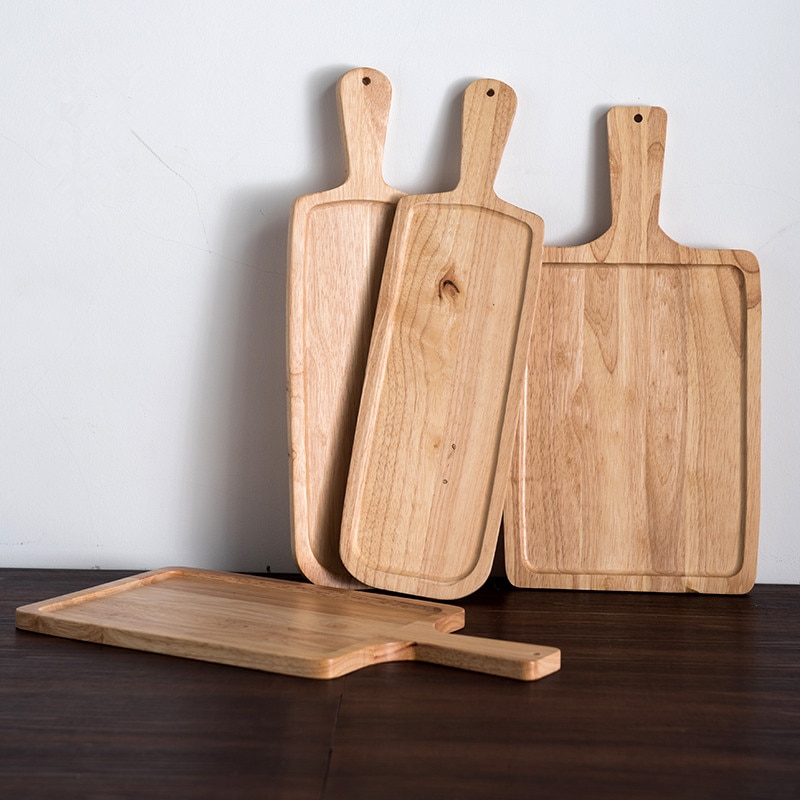
- It is best to round the corners on the saw cuts so that the product fits well in the hand. This must be done carefully and carefully, since the appearance of the board depends on this.
- When this stage is completed, you can coat the product with wood varnish. This is best done in several layers.
You can decorate the cutting board in other ways: painting, burning, etc. The main thing is that you like it yourself.