DIY bottle decoupage
Many people don’t imagine what beauty can be created from scrap materials and an ordinary glass bottle. Unique items as a gift or for decorating your own apartment will attract the attention of guests and make them look at the craft in admiration. Decoupage is a well-known method of decorating objects, which is only gaining popularity today.
The content of the article
DIY bottle decoupage for beginners: design options
A beginner in needlework cannot always immediately understand how, for example, to create a masterpiece from paper napkins and a glass bottle. In fact, everything is extremely simple. The main thing is to show creative thinking and find a container with an unusual shape.
Decorating the simplest bottle in this way is not difficult. Act according to the recommendations and the result will exceed all expectations.
There are many options and techniques for decoupage - each of them is a separate branch with its own rules and features. We will tell you popular decorating methods that are accessible even to a beginner.
Fabric
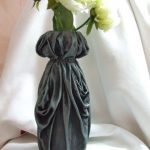
Unique motifs are created using skillfully draped pieces of fabric. A flirtatious skirt of a French matron or a voluminous panel in original colors are easily displayed in a craft. You can use old leftovers or unwanted items.
Before gluing to the bottle, the fabric is thoroughly impregnated with the composition and, without waiting for drying, is distributed over the surface. Form your composition right away.After hardening, you can cover it with acrylic paints, glitter, pieces of foil and fix the result with varnish.
Champagne for the New Year
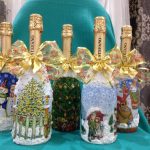
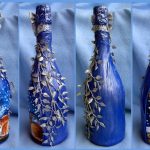
We suggest decorating the New Year's drink with voluminous snow and spruce branches, which will fill the space around with an unforgettable aroma. To work, you will need available items, such as a dish sponge, acrylic paints, adhesive, plaster, as well as various decor. It is recommended to prepare a paper napkin with a thematic design.
Next we proceed according to the scheme:
- Remove labels from the container and degrease using nail polish remover.
- Spread a small amount of primer over the glass in several layers.
- We straighten the napkin with an artistic design and tear it in half.
- If it is multi-layered, remove all of them except the top one with the ornament.
- We measure out the required amount and remove the excess from all sides.
- Apply acrylic glue-varnish to the glass with a brush and wrap the bottle with prepared paper.
- Cover with another layer of glue, paying special attention to the edges.
- Dry with a hairdryer.
- Apply acrylic paint to a sponge and distribute it along the bottom of the bottle, creating an imitation of snow.
- We also apply blue to the sponge and paint the neck of the container, stepping slightly onto the edges of the napkin - this will ensure a smooth transition.
- Cover with varnish.
- Next, mix plaster and PVA glue in a 1:1 ratio.
- Using a thin brush, apply to the places in the picture where you would like to see voluminous snow.
- You can sprinkle with colorful glitter.
All that remains is to decorate it with a satin ribbon bow and present it as a present.
Decoration with napkins
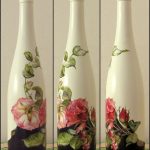
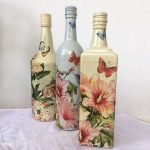
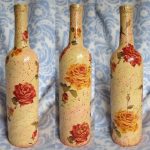
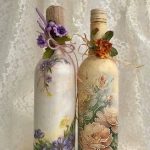
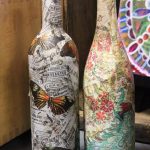
For beginners, an excellent way to decorate is to use paper products. Today you can find a variety of products with beautiful patterns on sale.Use the entire design or create an original decor by arranging elements of different napkins.
The work will not take much time, but requires basic technique. To begin with, the bottle is washed, degreased and dried. Then primed for better adhesion to decorative materials. Afterwards you need to treat the surface with an adhesive composition and cover it with a layer of napkin with a pattern. Secure the result with additional glue, moving from the center of the picture to the edges.
At the end of the work, we coat the container with varnish: this way the result will last for a long time. It is allowed to use decorative finishing in the form of wrapping the neck with twine or thick rope, satin ribbons or artificial plants.
Decoupage with rice paper
Delicate work, as the material is very fragile and requires careful handling. This finish is as environmentally friendly as possible, since rice paper is even used in cooking. A three-dimensional ornament created using pieces of material glued to PVA glue or simply to a moistened surface looks interesting. For decoration, you can use parts of napkins with interesting patterns or paint them with acrylic after drying. To secure, the container is coated with varnish.
Master class on tights
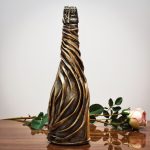
Nylon underwear helps you create beautiful and unusual crafts. The material is easy to drape and folds into attractive patterns. The step-by-step guide to making the craft is as follows:
- Prepare the container by removing the stickers and degreasing the glass surface. Also carry out preliminary priming.
- Cut off the top part of the tights, leaving only the stockings, and soak them generously in glue.
- Wring out so that there are no dirty streaks on the product.
- Place on the bottle and straighten it, beautifully decorating the top and bottom with original folds.
- The craft needs several days to dry completely. After this they are decorated with acrylic paints.
- Decorative inserts, sparkles and beads are used.
- Secure the result with varnish.
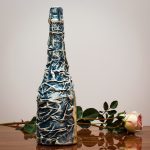
The convex image on the bottle looks original and unusual. This decor will give the room a unique appeal that will appeal to lovers of creativity.

