DIY cutlery stand
The cutlery stand allows you to store tablespoons, teaspoons, forks, and knives used by the family every day, separately from each other. Unlike trays designed for kitchen drawers, coasters are installed on kitchen counters in the dishwashing area.

The content of the article
What to make a stand for devices from
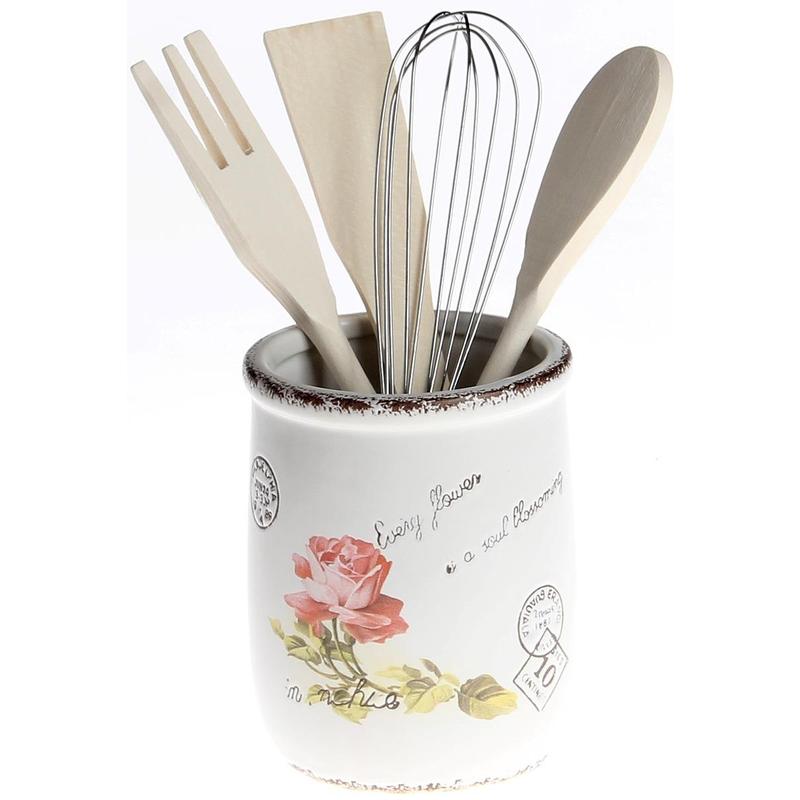
Manufacturers offer ready-made stands made of wood, plastic, metal, ceramics, or combinations. You can also make your own kitchen accessory from these materials, but only if you have the skills to work with them, special machines and tools.
Simpler options are made from scrap materials: tin cans, wooden boxes, kitchen boards. Additionally, you may need: acrylic paint in aerosol cans, jute thread, thick fabric, pieces of leather or suede.
Preparatory work
First, choose 4-6 containers of the same size. The height of the cans should be 2/3 of the length of the cutlery. First, they are thoroughly washed, dried, and the upper part is smoothed out from burrs using pliers. Then they are painted with acrylic paint, which will protect against corrosion.
Reference! For work, it is better to use paint in cans, which lays down in an even layer and makes painting the inner surface easier.
To properly cut the board, place it on the table and place 4 or 6 cans on it (2+2 or 3+3). A second plank is laid between them, which will serve as an intermediate support. They mark, cut, sand, paint.
Place the jars on the base, mark holes in the center using a long nail or screwdriver and hammer. Small holes are made on the board in the marked places. In this way, the cans will be attached to a wooden base.
Similar operations are performed with an intermediate support installed between the banks. In the upper part of the containers adjacent to the base, the fastening point is also marked with a nail.
You can use jute rope as decoration by wrapping it around the top and bottom of the cans in 3-4 turns.
Cutlery stand: step by step
There are several ways to make a placemat.
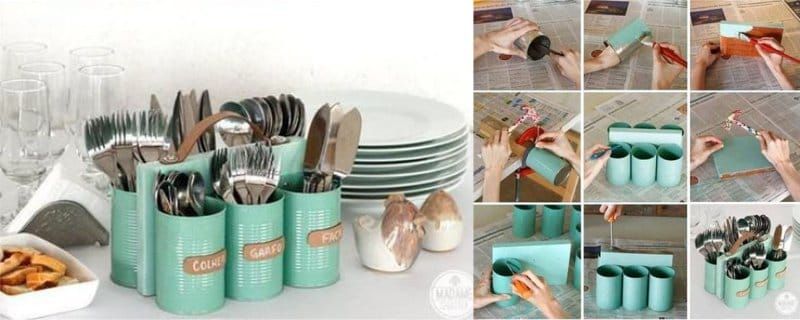
Stand made of tin cans
After preliminary preparation of materials, all that remains is to assemble the entire structure together. This is done in 3 steps:
- Using self-tapping screws, the cans are secured to a wooden base at the designated points.
- Install a second board between the cans and secure them with self-tapping screws.
- A ready-made furniture handle or one made of leather is attached to the end of the board for easy carrying of the stand.
Attention! As an intermediate board, you can use a ready-made kitchen board with an elongated upper part and a hole cut in it for mounting on a hook. It will make it easier to carry the stand without a handle.
For jars without jute decoration, you can use small signs cut from the same leather as the carrying handle. Write on the sign the purpose of each container (forks, spoons, knives).You can draw some small drawings (smiley faces, spoons, forks, figures). Glue with special glue.
Stand made of kitchen boards
To work you will need 3 identical kitchen boards, thick fabric with any pattern (checkered, flowers, polka dots), braid. Assembling a kitchen accessory step by step:
- A rectangle is cut out of fabric along the width of the board, 2/3 of the length of the cutlery in height.
- Place the prepared fabric on a board and decorate the top with braid.
- Using small furniture nails or a stapler, attach the braid with fabric to the wooden base.
- Boards with pockets are hung on 3 separate hooks or on a ready-made hanger for kitchen utensils.
Three boards hanging next to each other with pockets for knives, spoons and forks look unusual and original. If the material is selected in the right color scheme, then the set will definitely become a decoration of the kitchen.