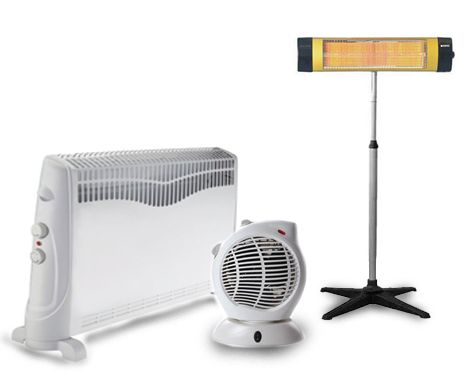
DIY infrared heater
Heating in houses is turned on in late autumn, and, unfortunately, it is turned off in early spring, when temperatures outside are still low. As a result, the apartments are cold, and the heat quickly escapes through the cracks in the windows. What to do in such a situation?
Fortunately, there is a way out, and it is to use an infrared heater, which you can make yourself, without having any professional knowledge. And in the material below we will talk specifically about making a heating device with our own hands.
The content of the article
Features of self-production
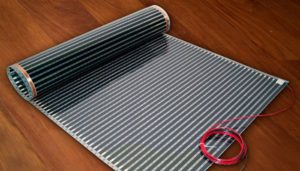 A DIY infrared heater does not heat the air in the house compared to conventional devices. During operation of such equipment, objects exposed to infrared rays heat up. And they are the ones who give off heat and heat the air in the room.
When deciding to make a heating device yourself, you must take into account that its main elements are: a reflector (serves as a reflector) and a heating part (emitter).
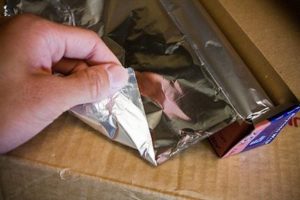
Attention! To check the effect of the reflector, you need to take food foil and hold it near your hand for 1–2 minutes. After this time, you should feel warm, which will indicate the effective operation of the part.
An integral part of purchased devices is a controller, through which the required degree of heating of the emitter is set. In self-made installations it may not be there, but then it will not be possible to set the optimal temperatures.
But the main feature of self-made devices is their affordable cost. In fact, the user will not need to purchase expensive parts, since most components can be found in the garage, on the mezzanine and in the tool box.
There are three ways to make a heater at home, and now is the time to talk about them in more detail.
Heater made of glass and foil
 How to make an infrared heater with your own hands? In addition to two identical pieces of glass and aluminum foil, you will need to prepare:
- Paraffin candle;
- Sealant;
- Wire with plug;
- Epoxy adhesive;
- A clean napkin.
At the first stage, we clean the pieces of glass, and then move them exclusively with one side over the lit candle. The glass should be uniformly smoked. They will become a guide.
Important! To ensure that the soot falls evenly, it is recommended to cool the glass a little before starting work.
Then we take a cotton swab and make a transparent frame around the perimeter of the glass, the width of which will not exceed 5 mm. We form 2 rectangles from foil with a width equal to the width of the conductor layer. This foil acts as an electrode.
At the next stage, the glass plate is placed with the smoked plane up, and generously smeared with epoxy glue. Foil is placed on the edges. In this case, its ends should extend slightly beyond the boundaries of the glass.
The resulting structure is covered with the second half of the glass, smoked side down, and then we seal the perimeter of the resulting component. This is followed by measurement of the conductor resistance, and based on the data obtained, the power is calculated using the formula: N = R x I2, where N is power (W); R – resistance (Ohm); I - current strength (A).
If the power indicator is satisfactory, we connect the device to the network and enjoy the optimal temperature in the apartment. In other cases, you will need to disassemble the device again and look for where the mistake was made.
Device made from an old reflector
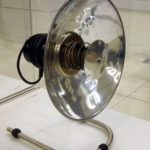 To get started, we will need a nichrome thread, a reflector originally from the USSR, a steel rod and a fire-resistant dielectric. Initially, we clean the reflector from contaminants and inspect the integrity of its elements. The length of the spiral on the cone is then measured.
Afterwards, a steel rod is taken, onto which a nichrome thread is wound in increments of 2 mm. At the end of this procedure, the resulting spiral is removed and placed on a dielectric. Current is connected to both ends.
As soon as the coil heats up, the voltage must be turned off and placed in the groove of the heater cone. Then we connect it to the power terminals and begin to use the heater we made ourselves.
Heater based on laminated plastic
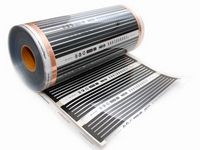 To make a heater we take:
- 2 sheets of multilayer plastic 1x2 m;
- Graphite powder;
- Epoxy adhesive;
- Wooden frame;
- Plug for sockets.
Initially, we make a solution that includes graphite powder and glue 1 to 1. Then we apply it to the plastic in a zigzag manner from the rough side. This treatment will act as a high resistance conductor.
Then we glue two sheets of plastic together with the sides where the prepared solution was already applied. The manufactured structure is placed in a frame, and then terminals are connected to it on both sides. After the solution has completely dried, the wiring is connected to the terminals and the device is ready to connect to the network.

