Sharpening a hacksaw on wood with a file yourself
This is the age of space technology; we have been flying into space for several years now. Some even claim that they managed to walk on the Moon. And the question of how to sharpen a hacksaw keeps coming up. It seems that every home is full of all kinds of power tools, but no one throws away the good old hand saws, and they need to be sharpened periodically.
The content of the article
How to sharpen a hacksaw yourself with a file
Sharpening a saw is not the quickest or easiest task. The main thing here is to take your time and be careful.
General requirements for sharpening
To facilitate this difficult procedure, using exclusively high-quality files and needle files that have sufficient sharpness. If you need to sharpen your saw very often, it would be better to buy a separate set for this.
Attention! Before you start sharpening, you need to inspect the teeth of the hacksaw. If their color is darker than the rest of the fabric, it means they are hardened. You can't sharpen a tool with teeth like that.
When sharpening, you need to try to remove the metal as evenly as possible. Each of the teeth is processed with a needle file the same number of times. This is independent of initial wear. The sharpening angle does not change in any way. It remains the same as set by the inclination of the file.The latter needs to be moved away from you - this is the only way the metal can be removed effectively and the tool is easier to control.
Required Tools
What will be indispensable is a workbench and a vice. Only they are able to reliably hold the saw while sharpening takes place.
To work you also need to prepare:
- Wiring tool. If there is no special device, ordinary pliers are quite suitable as a replacement. The only thing is that you will have to approximately determine the distance at which each tooth is from the center.
- A sharpening stone and sandpaper, a set of different files with needle files will not hurt.
- Hammer.
- Lamp.
- A caliper and protractor may be useful.
Process steps
Sharpening a hacksaw is a multi-stage operation that must begin with preparing everything necessary for the job.
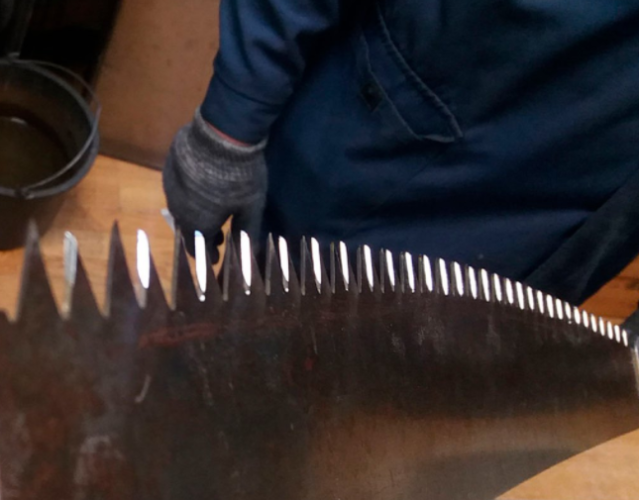
Preparation
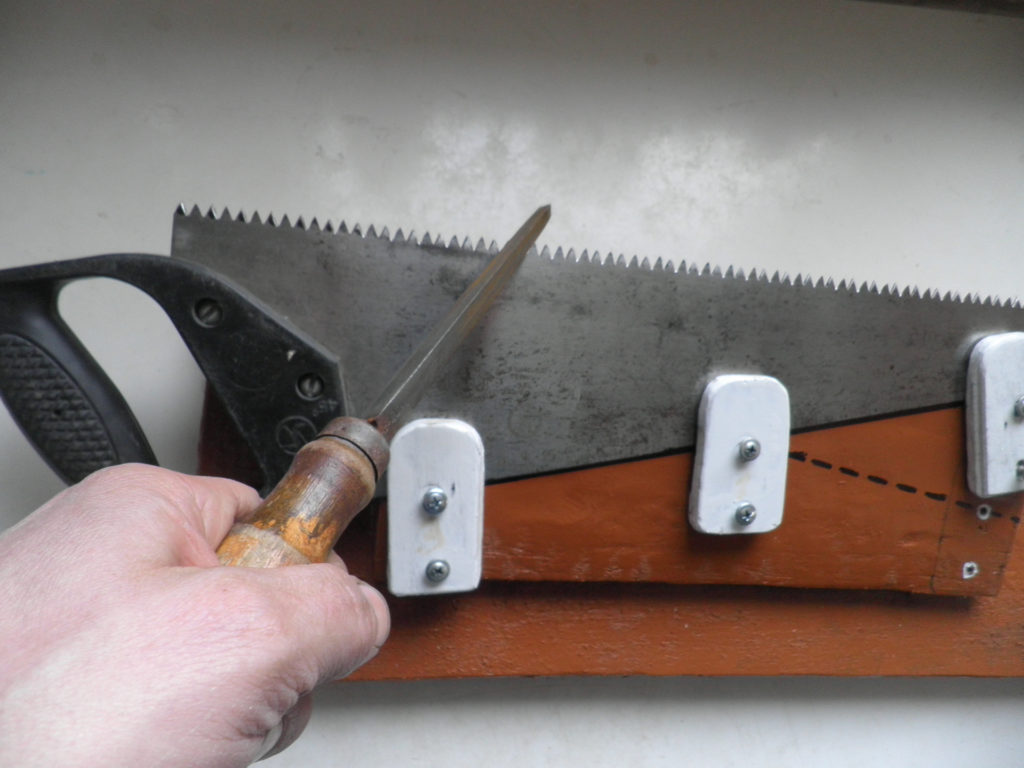
Before proceeding directly to sharpening, you need to secure the saw blade in a vice. Of course, you can place it on your lap or on a chair, but it will be inconvenient to work this way. The workplace needs to be well lit, and to avoid injury to yourself, you should wear gloves.
To sharpen a saw well, you need to equip yourself with only high-quality files. As a rule, a tool with three sides is used for this, but there are also four-sided ones. These are used when you need to sharpen a garden hacksaw, which has fairly fine teeth.
It is necessary to go along the edges of the incisors with a file with a fine notch. If it is not new, then it should first be cleaned with a steel brush.
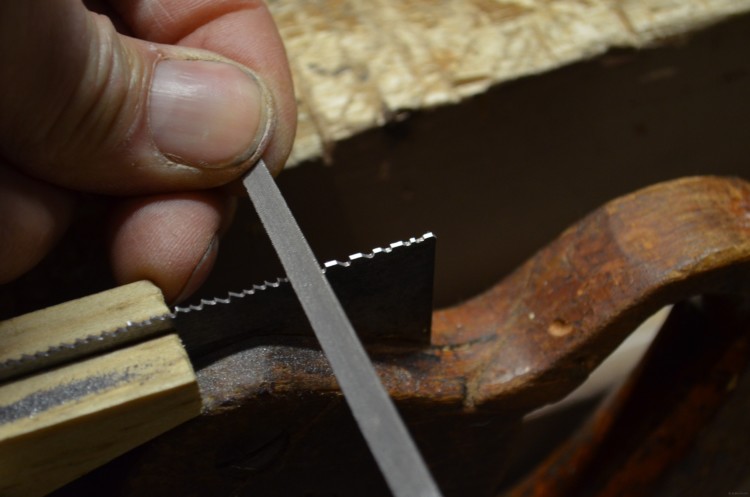
Sharpening begins by removing a small layer from the teeth. During operation, the tool must It is good to cling to them, but not to slip. If there is no clutch, then you should not sharpen the saw with such a file.A similar effect is observed if it has overheated teeth. The file should be replaced. When the new ones fail to process the saw, then it’s time to buy another one.
Sharpening
You need to be able to sharpen correctly. The handle of the file lies in the right hand, and the left hand should be held at its end. The tool should move smoothly and evenly; its movement should be directed away from you.
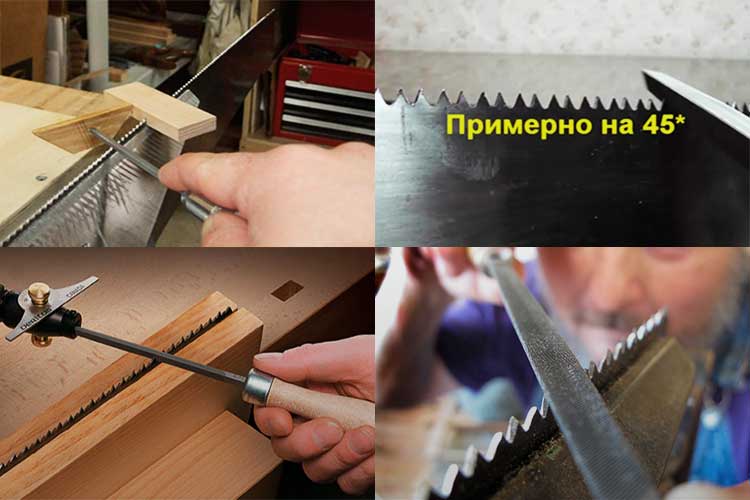
During the work process, it is necessary to pay attention to the uniformity of metal removal. To do this, you need to make sure that the movement on each tooth is one pressure and an equal number of times. If you follow the entire procedure, then after sharpening the teeth will remain the same height, there will be the same pitch and angle between them.
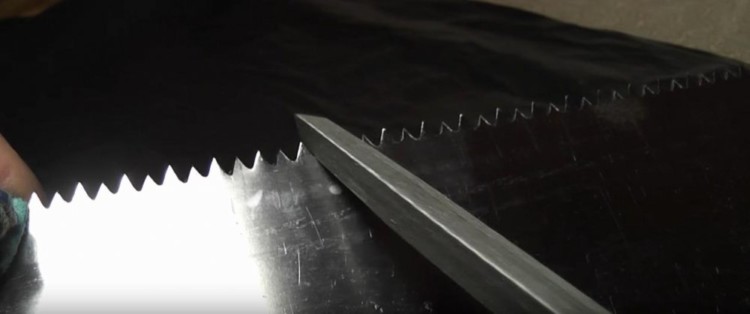
After sharpening, there will certainly be burrs on the edges of the teeth. They are removed with a moistened whetstone or a file with a fine velvet notch. Unremoved burrs make the teeth less sharp, and they become chipped during sawing. All this reduces the quality of work.
Once the sharpening process is completed, you need to take a piece of wood and check the quality of the finish on it. You should carefully inspect the saw teeth. A well-sharpened tool should not have any shine on its incisors.
Teeth setting
To prevent the hacksaw from jamming while cutting wood, its cutters must be spread apart. Then she will walk smoothly and effortlessly. If the saw has been used for a long time, it will most likely be necessary to make a routing before sharpening.
This process is as follows. Each of the teeth bends evenly. The slopes should alternate. Once all this work is completed, there will be free gaps on both sides of the canvas. Thanks to this, the sharpened tool will work more efficiently.
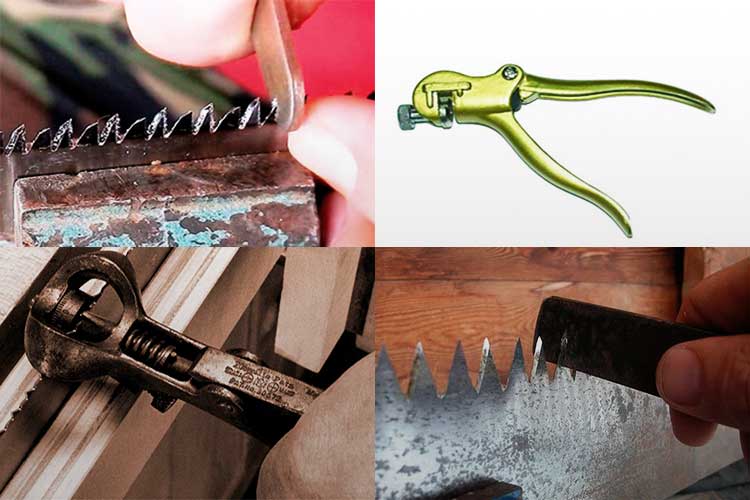
The farther the teeth are bent, the easier the hacksaw will move during operation. And it will get stuck much less often. However, it is worth having a sense of proportion and doing without fanaticism. You can bend the teeth so much that you won’t be able to saw.
Important. There is a standard according to which the teeth are set: the value of this parameter should not be more than two millimeters. If the hacksaw will be used on dry wood, then it should be thinned by 0.3-0.5 mm. If on damp wood - by 0.5-1 mm.
How to determine if sharpening is needed
Experienced masters always know when this moment comes. Usually this can be indicated by a sound that changes its tone. And the edge of the teeth becomes a different color. A well-sharpened saw has teeth whose sharp edges are equally worn.
Signs that it’s time to sharpen your hacksaw:
- it cuts heavily and unevenly;
- cut edges are uneven;
- keeps leaving the line.
If the saw already requires sharpening, then it often gets stuck and you need to spend a lot of effort to complete the work started.

