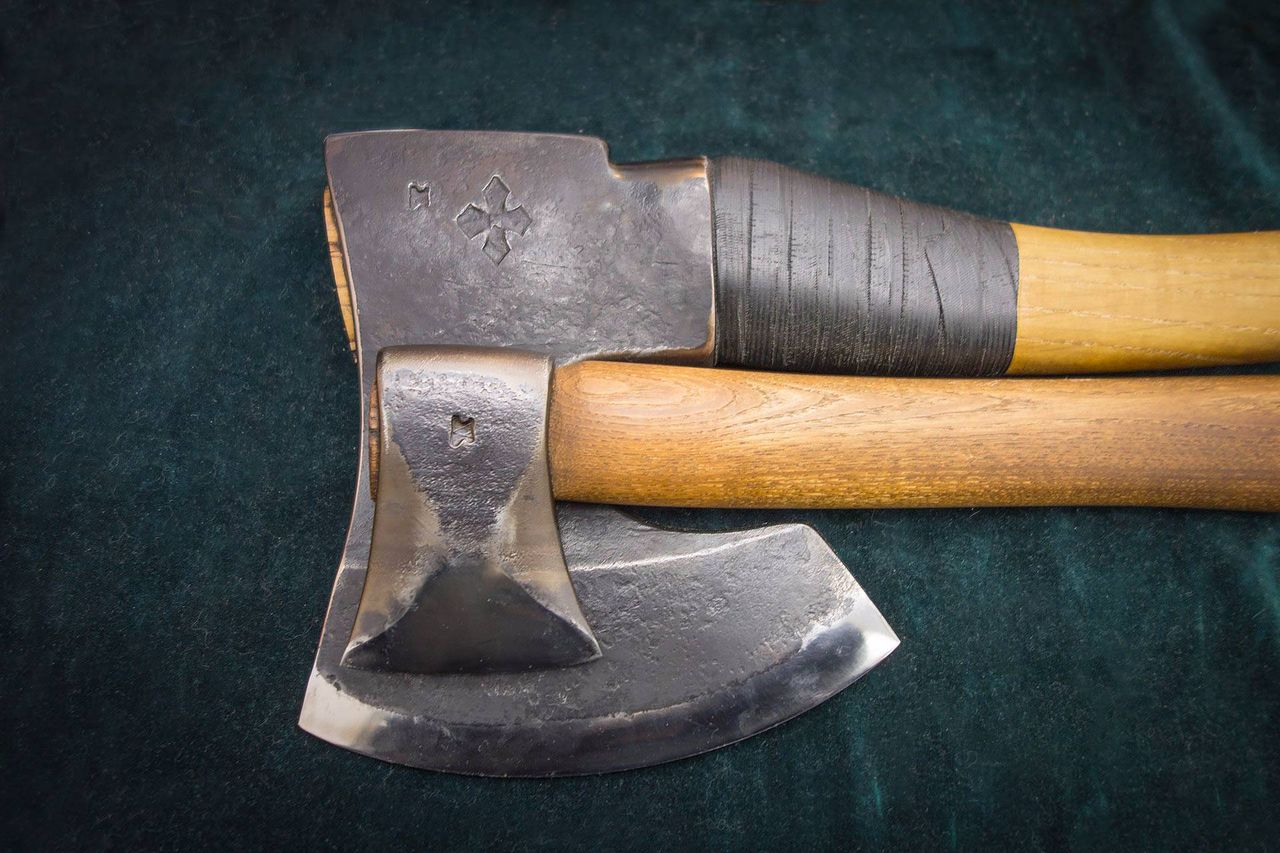
DIY Scandinavian ax
A Scandinavian or Viking ax is an excellent decoration or a valuable gift for a collector. However, such a product completely retains its operational properties. Its main feature is that the blade is shaped like a crescent and is located along the handle. Creating such a homemade product with your own hands is possible from ordinary ax. Let's figure out what needs to be prepared and what the sequence of stages of the process is.
The content of the article
What is needed to make a Scandinavian ax
In addition to the main “raw materials” (working part made of metal and wood for the handle), you need:
- grinder equipped with circles for working with metal - cutting and flap;
- durable knife;
- clamps and bench vices;
- sandpaper with different roughness;
- varnish brush;
- welding;
- small electric drill, small diameter drills.
For registration, you need to prepare adhesive tape. You will also need a stationery knife, a pencil or pen for drawing, and varnish for coating.
Additionally, to create a cover, you will need leather, scissors, as well as an awl, needles and thread.
DIY manufacturing process steps
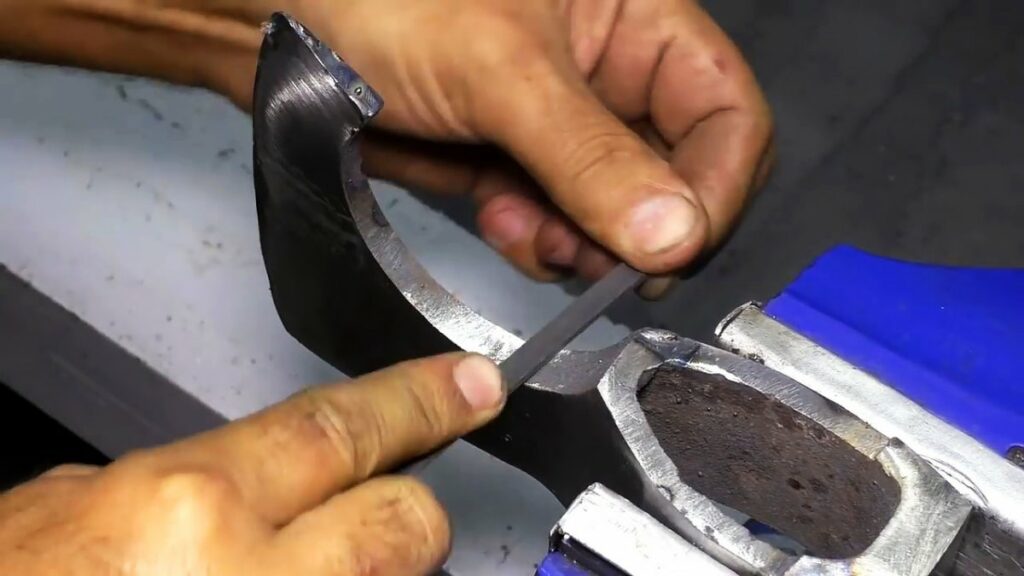
First of all it is necessary to give the desired shape to the head of the instrument. A contour should be applied to it - the front corner of the blade is made narrower, and the back part is rounded inward.Using a grinder, a cut is made according to the basting, followed by sanding until a mirror shine appears.
The next step is registration. Not everyone can apply a design to metal by hand, so it’s worth taking care to print out the sketch. The pattern is complemented by edging around the perimeter. To protect the applied image, the head of the instrument is covered with tape.
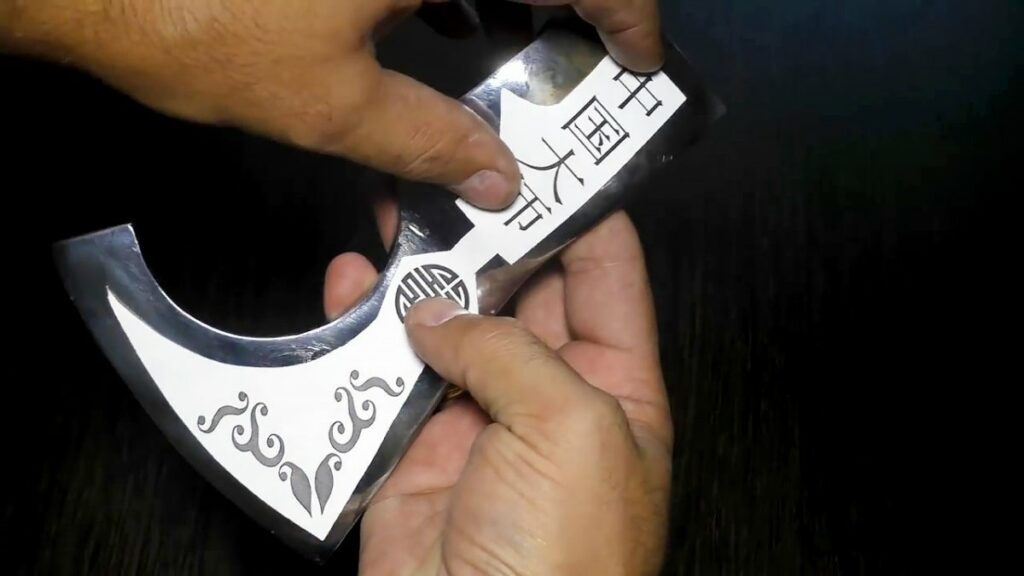
On those elements of the design that need to be processed, the tape is cut off. You should work carefully and use a sharp knife - if the adhesive tape is damaged, this step will have to be performed again.
Now it's time for etching. First, the entire metal part is painted. Etching should begin when the paint has set but is not completely dry. Before doing this, you need to once again make sure that all the cut lines are even, because later it will be impossible to correct anything. Further:
- Take a container for electrolyte - it should completely accommodate the product being processed.
- An electrolyte is prepared - about 800 grams of salt and 3-4 liters of water - this amount will cover the entire metal.
- The “+” of the welding machine is connected to the latter.
- The frame is fixed to “-” to increase the electrode area.
- It is checked that there is no contact between the metal product and “-”, and the device turns on.
- The electrolyte should almost boil - after 2 minutes, take a break for 1 minute to allow the device to cool down.
- Such cycles need to be carried out 4–5. In the process, the unpainted metal is etched away.
- It is necessary to evaluate the depth of processing. If it is insufficient, you will have to repeat it.
After achieving a good result, the paint is removed with sandpaper. Before this, the metal product is washed and dried.
The processing of the instrument head ends with polishing with a grinder.Now you need to install the handle.
Making the wooden part
If the ax will be used and not just hung on the wall, you need to choose a specific variety tree. Oak, ash, maple, and beech are best suited.
When planing, the sequence is followed: first, the tail is created, the throat, then the body of the axe, and the eye with curves. The back should be the required width. A hole is provided where required. A roundness is made.
The wooden part can also be decorated with a pattern. The selected image is drawn in pencil and then completed using a drill.
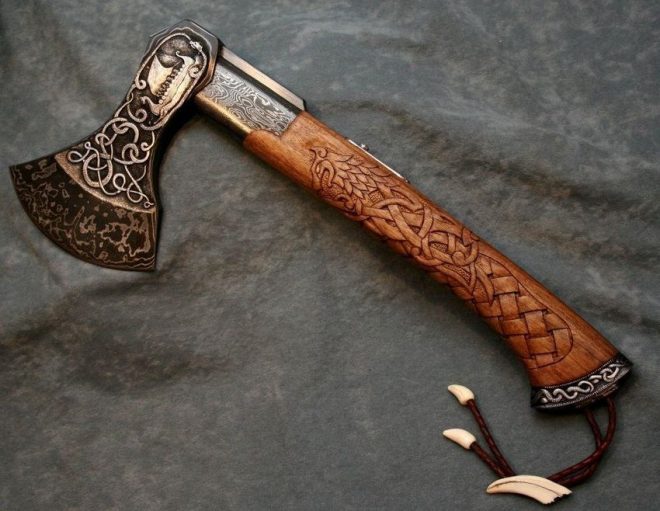
Making braid and cover
These elements have not only a decorative, but also a protective purpose. The case is created for the entire instrument or separately for the head. A sheath is made to protect the blade, and a whip covers the handle.
Take leather or a budget option - leatherette. The braid is made simply - it is wrapped around the product. Stripes can be of different widths. To ensure a comfortable grip, it is better to cut thick material into the wood.
The sheath is made in the desired shape so that it wraps around the sharpest part. Stitching with a thick thread is used, alternating colors can be used. It is better to make holes on a flat surface: this will eliminate unnecessary bends.
It will be easier to manipulate rough skin if you apply oil to treat it in advance.
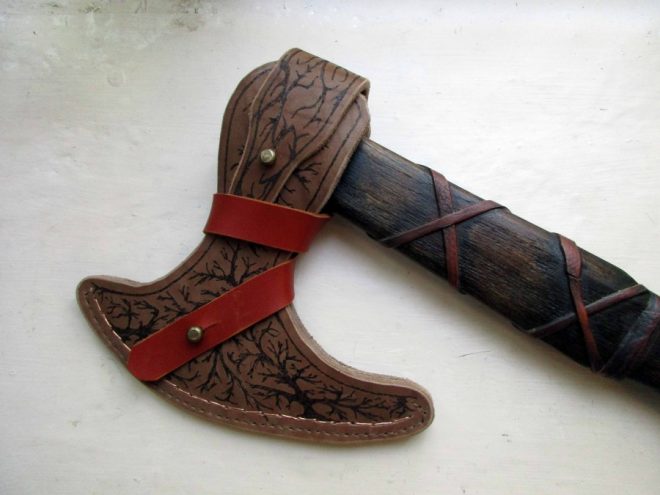
The wood, together with the braid and sheath, is coated with varnish or linseed oil. This will serve as protection from moisture and external influences, and will also create an interesting visual effect.
To install you need to take a wedge. Wooden or metal will do. The handle is driven into the head opening and secured with a wedge.
During the creation process, you must remember to use personal protection. When forming the ax handle, you should make cutting movements in the direction away from you. When manipulating paint, you must take care to ventilate the room or perform all work outside.


