How to properly put a chain on a power saw? Installation and dismantling
Figuring out how to properly put a chain on a power saw is quite simple. First, take the bar, install the chain, make sure the teeth are in the correct direction, then pull it onto the saw and secure it with a nut. The main installation steps with photos and descriptions of actions, as well as sharpening methods are described in this material.
The content of the article
Instructions
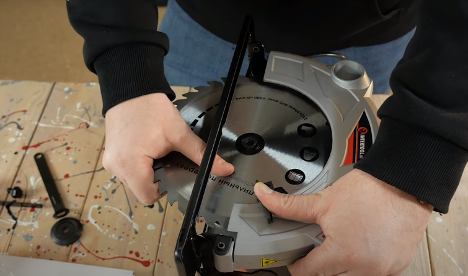
To understand how to tension a chain on an electric saw, you just need to follow a simple algorithm. The main stages are:
- Take the tire and carefully hold it.
- Put on the chain.
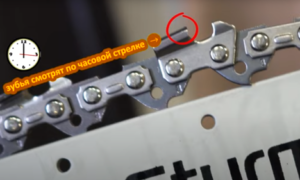
- Make sure that the teeth “look” forward.
- Straighten the chain.
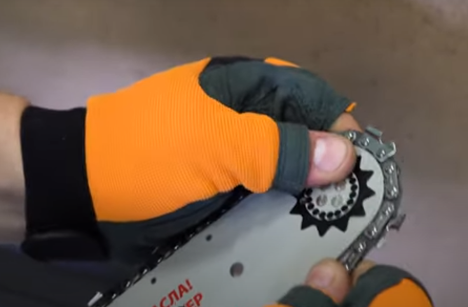
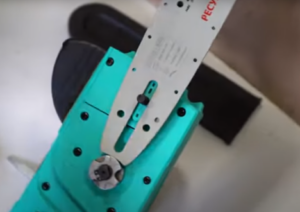
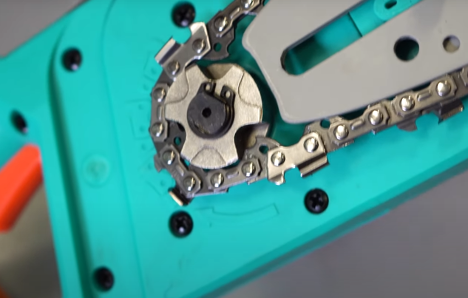
- To figure out how to tighten the chain on an electric saw, you need to make sure that it rests on the sprocket.
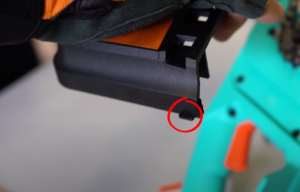
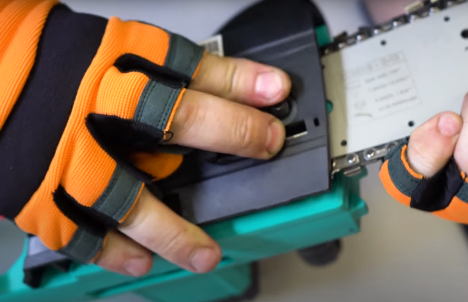
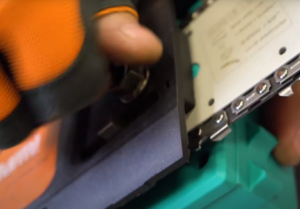
- Install the cover, making sure it fits exactly into the special groove.
- Since the spring is very strong, it must be held on one side and wound on the other.
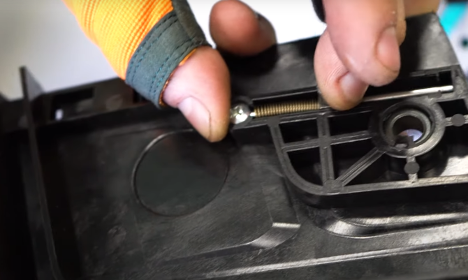
- At the same time, get the pin into the groove of the tire.
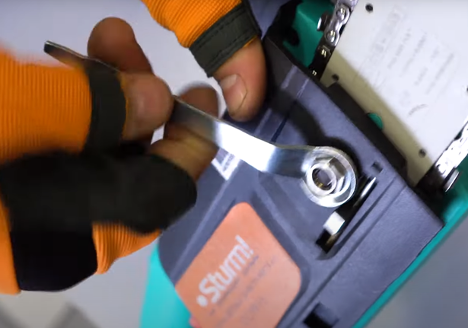
- Tighten the nut, but not all the way. This is the correct way to properly install a chain on a power saw.
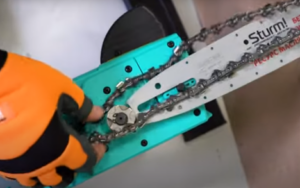
- Spin the chain - this allows you to make sure that it is seated correctly in both the bar and the sprocket.

- Finally tighten the nut. After this, it is clear how to put the chain on an electric stove - it is not difficult to do, but you need to control each stage to ensure correct tension.
How to sharpen a chain
With use, the chain inevitably becomes dull. This is especially common in cases where the tool is used in work on a daily basis.Therefore, it is normal to regularly sharpen the electric saw chain. You can do it yourself at home. To do this you will need the following tools:
- a flat file - it adjusts the depth stop;
- round file - must have approximate lines marked on the surface;
- calibration device;
- a mandrel that is used to correctly determine the angle.
The main way to sharpen an electric stove chain at home involves using such a simple device as a file. The algorithm of actions is as follows:
- First, the chain is pulled onto the saw and secured with a clamp.
- Adjust the sharpening angle. To do this, use the slots that are located on the tire.
- Insert the file into the hole so that it presses well.
- Mark the first tooth (where the sharpening process begins) separately, so as not to confuse anything later.
- Move the chain away from you.
- Loosen the clamp and slide along the tire towards you.
- Reinsert the file into the hole and repeat these steps.
- At the end of the work, you need to make sure that the chain tension on the electric saw is maximum. The tool is then ready for use again.
Sharpening can also be done on a special mill. To do this, the cutting element is fixed and the machine is connected to the network. Motors that are installed in the carriage perform rotation. After this, the carriage must be lowered using the handle. The disc is pressed against the cutting edge and sharpening begins. Then the carriage is raised and the fastening is loosened, after which the element is rotated “through the tooth”.
It is clear how to put a chain on an electric saw. This can be done manually without using special equipment. But if you don’t have anything at hand, you can even sharpen the teeth.This is done using a drill or a regular screwdriver. This method allows you to quickly achieve results, although the quality of the work will be low. Therefore, it is better to use files or have them sharpened by a master who has a professional machine.