How to make a shovel for the garden
A shovel is an indispensable tool for working in the garden. I want it to be of high quality, last a long time and not cause trouble when using it. You will have to spend a lot of money on a good shovel, so the best option is to make it yourself. It's not as difficult as it seems if you carefully understand the assembly.
The content of the article
Choosing a handle for a homemade shovel
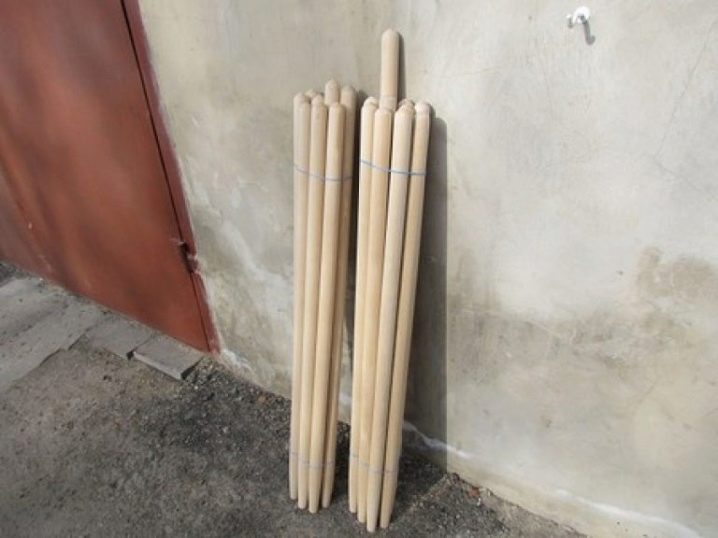
Most often, cuttings from birch or pine are found. You can find these in every hardware store. Outwardly, both types are similar, but in reality they are very different:
- Pine holders cost less and are also light in weight. The disadvantages usually include low strength. Most of the cuttings in our country are made from pine, so there are many of them in stores and they are available to everyone. But it’s better not to save money and buy a more durable part.
- Birch cuttings are stronger and therefore last longer. Their disadvantage is their heavy weight. Although in reality this is not always a disadvantage. It all depends on the working conditions. After all, when digging a bed, a heavy shovel is a bad choice, but when digging rocky soil or chopping roots, this will only be a plus.
Better materials for cuttings are oak and ash, but they are more difficult to find and the cost is very high. Ash holders are recommended because they combine two important qualities: lightness and strength.Oak ones are durable, but cannot boast of low weight.
Nowadays many holders are made of metal alloys. Shovels equipped with them will last a long time. Metal cuttings are strong and light in weight, but their price is far from low.
The best shovel for regular work in the garden is the one with a birch handle. It is inexpensive, and with careful use it will not break for a long time.
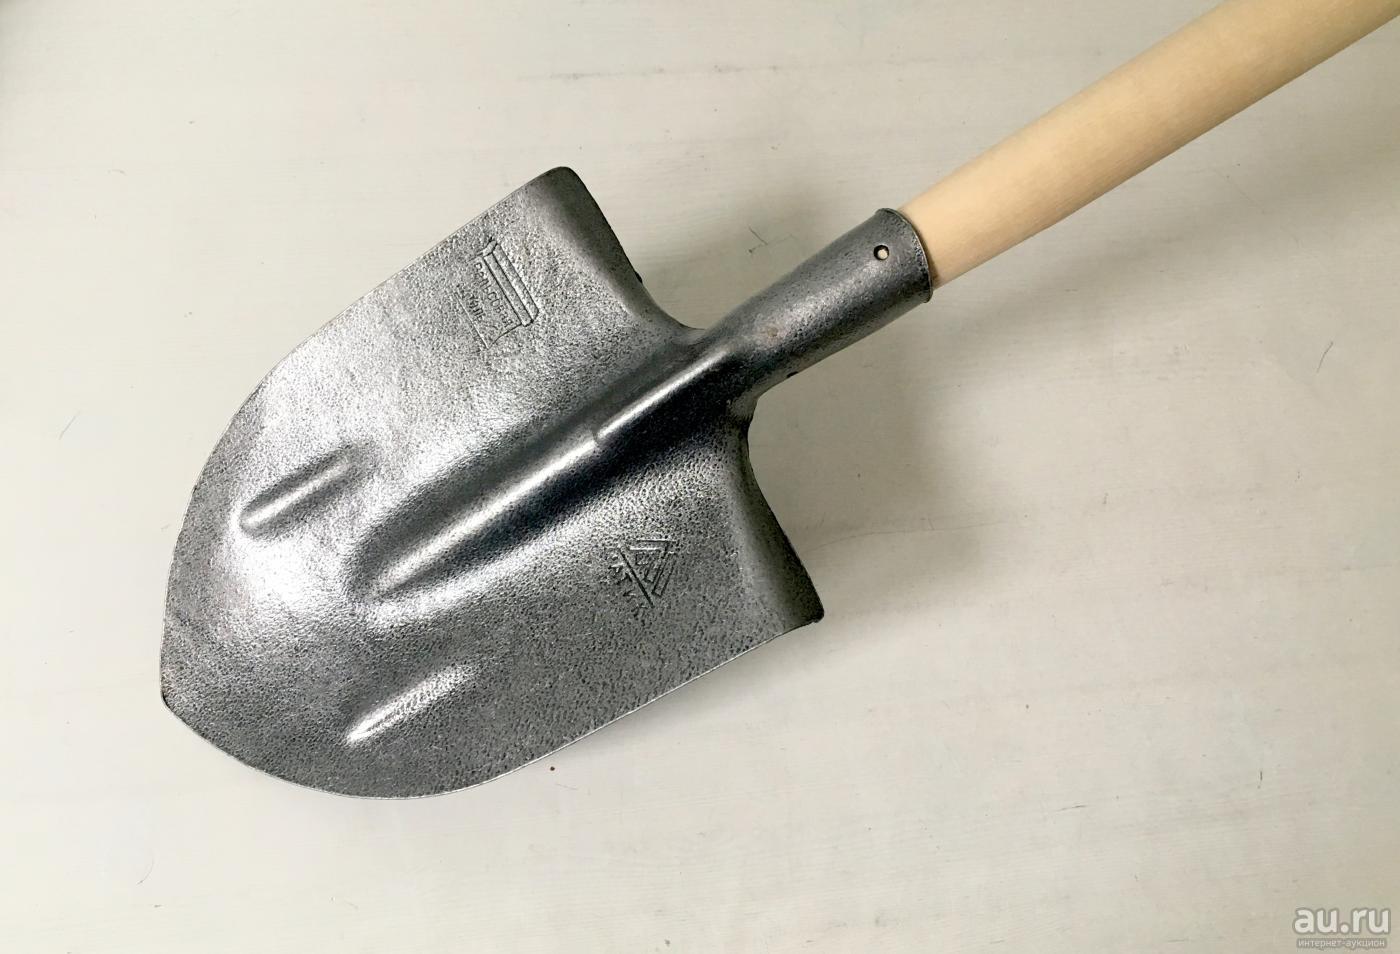
Choosing a blade for a shovel
There are more than twenty varieties of shovel blades. They are all made from different metal alloys and have different properties.
Most often, people buy shovels made of rail steel. Such fabrics are durable and are not damaged under heavy loads. They can be sharpened without problems and are also resistant to rust.
Titanium blades are also quite common due to their strength. Their disadvantages are fragility and lack of flexibility. You cannot hit or heavily load such a shovel. But it is ideal for digging up beds.
Increasingly, gardeners are buying garden tools made of stainless steel. This material really does not corrode, and is also light in weight. Its disadvantage is its low strength, which is why the shovel will bend when digging hard soil.
Tools with a rail steel blade are suitable for almost any job. But for digging up loose soil, the best option is a stainless steel shovel.
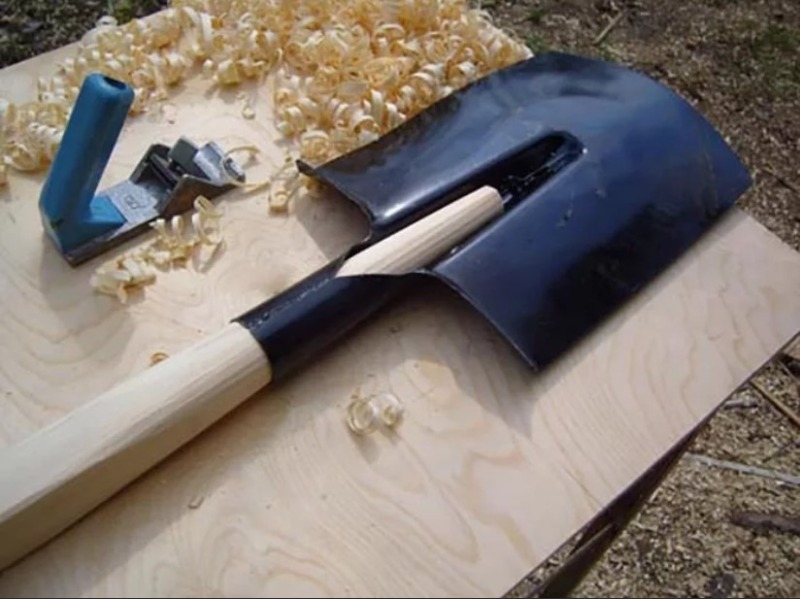
Preparing for DIY assembly
After selecting the handle and canvas, you can think about assembly. Before you start, you should prepare each element:
- The cutting is thoroughly dried, because it was probably stored wet in the store. To dry, a few weeks of being outside in a covered place is enough.
- After drying, the holder will need to be sharpened. You can use a sharp ax for this, but be careful not to remove too much. Then the cutting is processed with a grinder using a special grinding attachment. Finally, it is adjusted with sandpaper. The main thing is to ensure that the holder fits tightly into the hole in the blade.
- Before attaching the blade to the handle, you will need to paint it. Many people skip this step, which is not worth doing. A painted cutting will not absorb moisture after getting wet, which means it will not gain weight. Painting will also extend shelf life. This procedure can be carried out with ordinary stain. You can buy it at every hardware store at a low price. The stain is applied to the surface of the cutting in a couple of layers, and then left to sit for half a day. Then you can additionally coat it with varnish.
Features of assembling a shovel for a garden
When assembling this tool, it is worth considering some nuances:
- the handle must fit tightly into the hole in the blade, otherwise the shovel may break or bend under load;
- before the final connection of the two elements, it is better to moisten the tip of the holder with hot resin - this will make the fit stronger;
- after inserting the handle into the blade, the tool is turned over and lightly hits the end side of the holder on a durable surface;
- Many canvases have small holes into which screws are screwed for a more reliable connection of parts.
If the structure turns out to be shaky, it is easy to seal it with roofing material or a simple bandage dipped in liquid bitumen or resin.
Finally, you can add a handle to the end of the tool. This detail is optional, but will be a useful addition and will greatly facilitate further work.You can purchase a pen at almost every hardware store. And it is attached with simple screws.