How to properly place a shovel on a handle
A shovel is an indispensable tool in the household of every gardener. In order for it to serve for a long time and efficiently cultivate the land, it is necessary to correctly attach the metal part to the wooden stalk. This is quite easy to do if you know the basic nuances of the process.
The content of the article
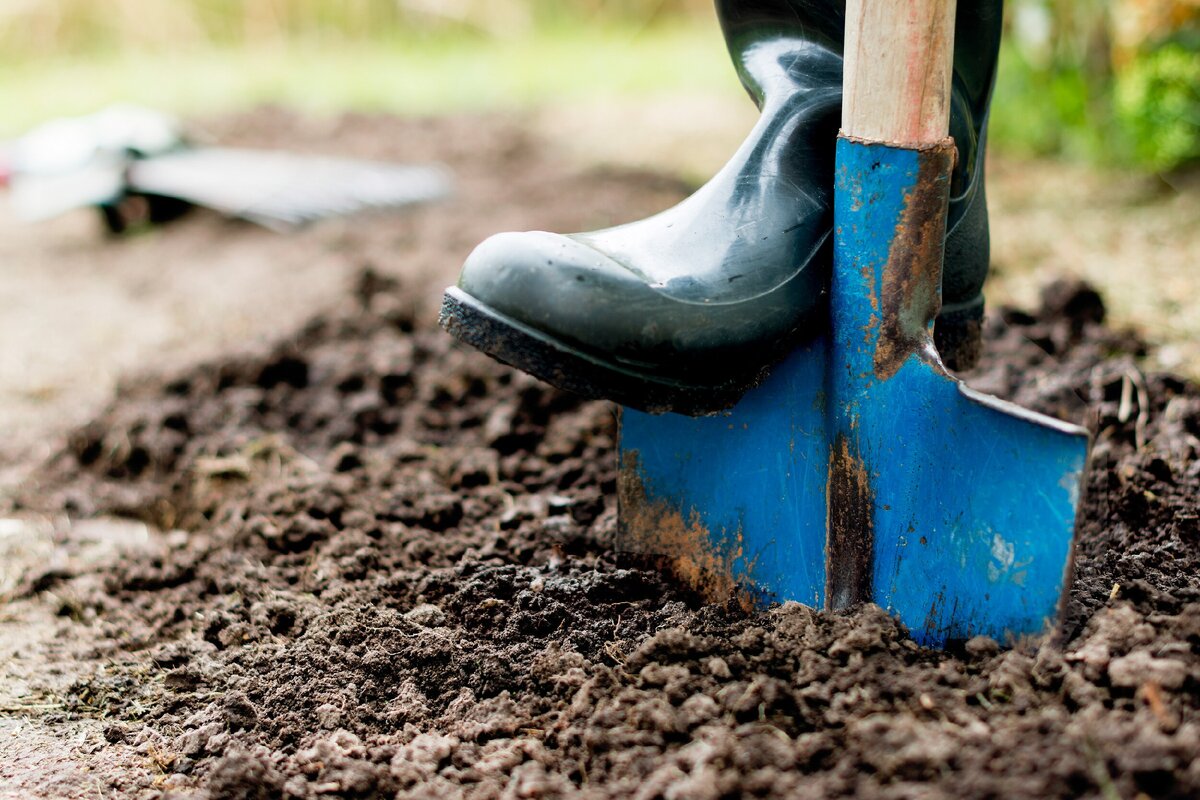
How to properly attach a bayonet shovel to a handle?
First of all, we go to the store and buy parts of the future device, paying attention to the length of the handle. It should correspond to the height of the gardener, so that during work he does not have to bend over and make great physical efforts.
A person will have to be patient to do everything correctly and efficiently.
How to choose a cutting?
Usually the main mistake gardeners make is haste. Arriving at the store, they buy the first handle they come across, not paying attention to its characteristics and appearance. You can't do that.
Pay attention to several parameters:
- The quality of the wood and the thickness of the shaft. They are selected for a specific type of shovel. So, for example, the universal one is attached to a thick base, and the digging one is attached to a thin one (to make it lighter).
- Wood moisture. If the manufacturer does not wait for the material to dry, then over time the cutting will change shape and crack. To avoid trouble, choose a handle whose humidity level does not exceed 15%.
- Material.Untrained people are unlikely to immediately determine what type of wood the handle is made of. The price largely depends on this parameter.
Birch is considered the best material for making cuttings. It is durable and strong, will last for many years without damage to the required tool, provided that the metal tip is correctly fitted.

How to attach a cutting to a shovel?
Undoubtedly, working with a high-quality tool (without backlash or scrolling) is much more convenient and easier. We advise you to strictly follow the algorithm:
- Sharpening. We measure the handle and the diameter of the nozzle. Then use sandpaper to remove the excess wood to create a cone-shaped shape. Some people use a knife, but in this case the edges will be uneven and will not fit well into the holder.
- Drowning and protection. Protect the treated area of wood with impregnation. This is necessary so that the wood does not rot in the coming years of use. Next we place it in epoxy resin. It will serve as an additional source of fastening and protect against destruction.
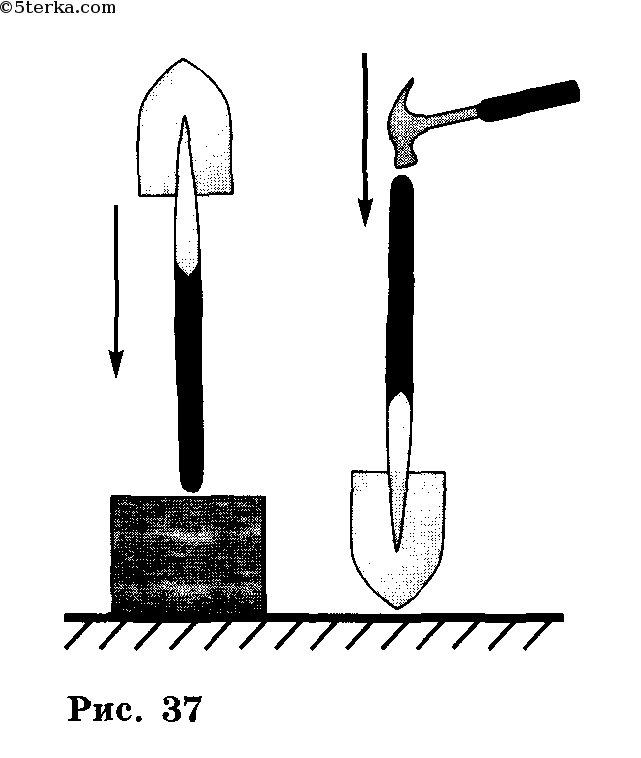
- Installation. Without allowing the resin to dry, we place the scoop on the handle and rotate the shovel so that the scoop is pointing up. Next, sharply hit the metal nozzle on a strong surface, such as concrete. After 5-7 blows, the shovel will sit in place.
All that remains is to screw in the self-tapping screw to prevent the handle from jumping out, and also to let the epoxy resin dry for 24 hours. Use the tool for its intended purpose.


