DIY miracle shovel
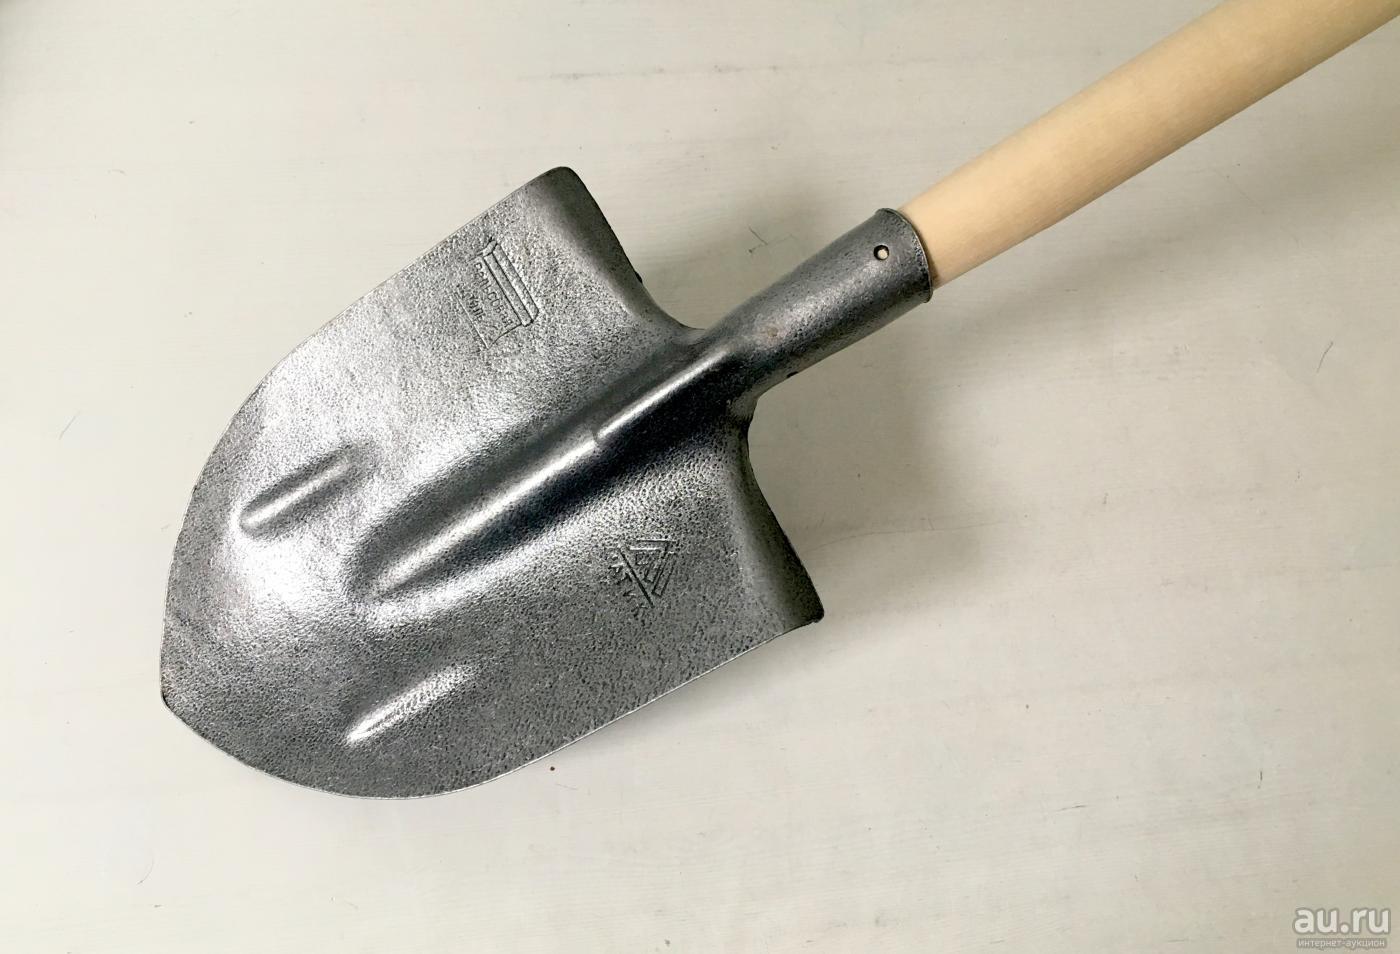
There is always a lot of work on a personal plot, but the most time-consuming process is the annual digging, cultivation and weeding of the soil. Using a regular shovel requires a lot of effort and puts a lot of stress on the spine. Innovative ideas also help farmers. An example of this is a garden ripper, which summer residents call a miracle shovel.
The content of the article
Design features and operating principle
The device is based on a quadrangular support frame with a pair of attached rippers. One of them is leading, the other is auxiliary.
The main ripper has a hinged mount and is similar in appearance to conventional forks. The auxiliary loosening rods are rigidly mounted and installed so that when digging they fall exactly in the center of the distance between the forks.
The rear ripper has a special stop, with the help of which part of the effort applied to lift the soil is transferred to it.

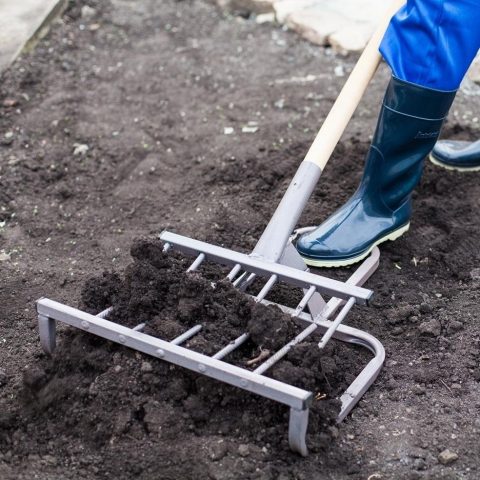
When plowing, the support frame is placed on the soil and the stop is pressed to stabilize the miracle shovel. The tines of the forks are stuck into the ground and, pressing the handle, they are raised, plowing. The soil breaks into large lumps and crumbles against the teeth of the auxiliary ripper.
If the ground is dense, then you will need to apply a minimum of effort; you just need to press on the crossbar at the bottom of the structure.
Then they step back a step, move the support frame closer and repeat the operation.
This simple device allows you to efficiently process a large area of land in a short time without overwork.
Advantages of the miracle digger:
- if a large number of weeds grow in the area, then it will become easier to fight them, because the tines do not cut off the roots of the weeds, but pull them to the surface;
- the width of the dug bed is up to 35–40 cm, which means that they will be processed twice as fast;
- a person does not need to bend down, unlike working with a conventional shovel;
- there is no need to lift heavy damp soil on the bayonet of a shovel, so your hands won’t get tired either;
- if the layer of humus is insignificant, then it will remain on the surface and will not be buried to depth.
You should not try to dig soil with a miracle shovel during a dry period. The tool may break, and the land will remain uncultivated.
How to make a miracle shovel
The ready-made options presented in stores selling garden tools are highly expensive. Owners of small summer cottages rarely buy such equipment, preferring to make it themselves. After reading the recommendations and step-by-step implementation of the miracle shovel, even a beginner can handle the job.

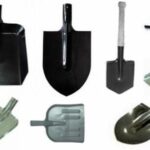
Material selection
At home, it is more advisable to make a simplified type of garden tool without moving parts.
If the craftsman has a welding machine, it is better to make a metal shovel. There is also another option - from plastic pipes. It is not advisable to assemble the ripper on movable bolts yourself, because they will often become loose and the nuts will have to be constantly tightened.
But no matter what material the miracle shovel is assembled from, the support frame must be welded.
To make the frame, a metal profile with a cross section of 30*30 mm is used. Sometimes craftsmen use corners. The shelf width is 30 mm, the profile thickness is about 3 mm.
The handle lock can be made from a round tube, and the wooden handle can be taken from a shovel.
For teeth, it is recommended to purchase high-quality structural steel. Experts usually make forks from rods with a cross section of 7–8 mm.
To work you will need:
- drawing;
- welding machine;
- hacksaw for metal;
- square metal pipe;
- measuring tool;
- metal fittings.
Since everything goes to work for a thrifty craftsman, you can use old items here too: a metal part from a bed is suitable for creating a support frame, and a fishing spear lying around is suitable for a pitchfork.
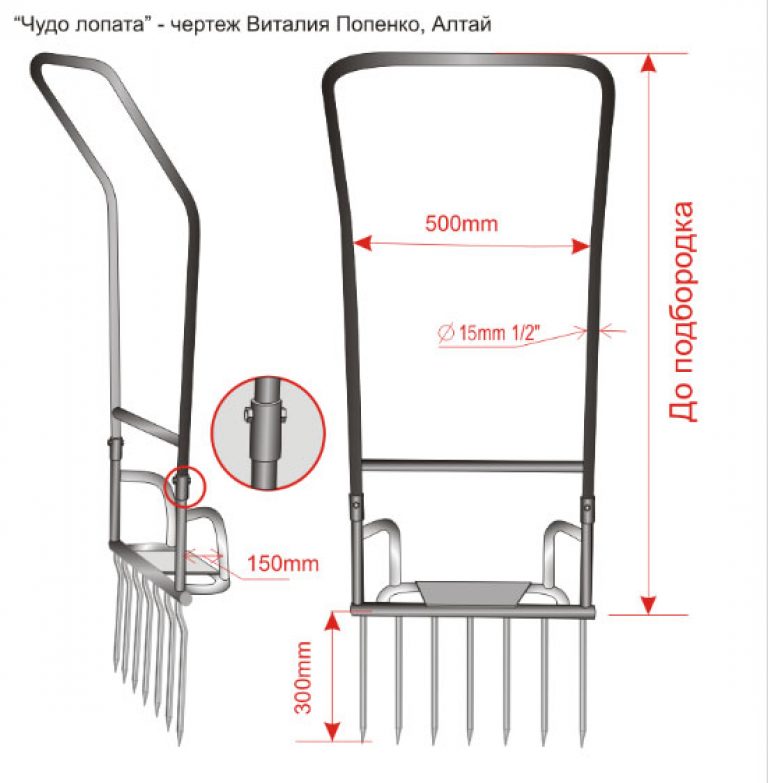
Dimensions
Manufacturers produce these products in size ranges. For women, equipment of small dimensions and weight is offered. For men - more voluminous options.
The average sizes are:
- working plane width - from 45 to 60 cm;
- the length of the working fork rods is 25–30 cm;
- the gap between the rods is 7–8 cm;
- The recommended handle length is up to shoulder level.
The remaining dimensions are selected based on the selected material and design.
Manufacturing stages
When all the pieces are prepared, you can begin assembling the classic version of the miracle shovel.
Work progress:
- Metal rods of selected length are cut and ground to make bayonets.
- The supporting bar is cut from a square pipe, then holes are drilled in it at equal distances for the teeth.
- The base of the cutting is cut out of a metal pipe.
- To create a stop, the profile is molded into an arched shape and attached to the supporting bar.
- At the last stage, the parts are connected and welded.
The homemade miracle shovel is ready. It can be painted for a more aesthetic appearance. With careful use, it can last for more than one season. This practical tool will provide invaluable assistance when performing gardening work.