How to disassemble an angle grinder
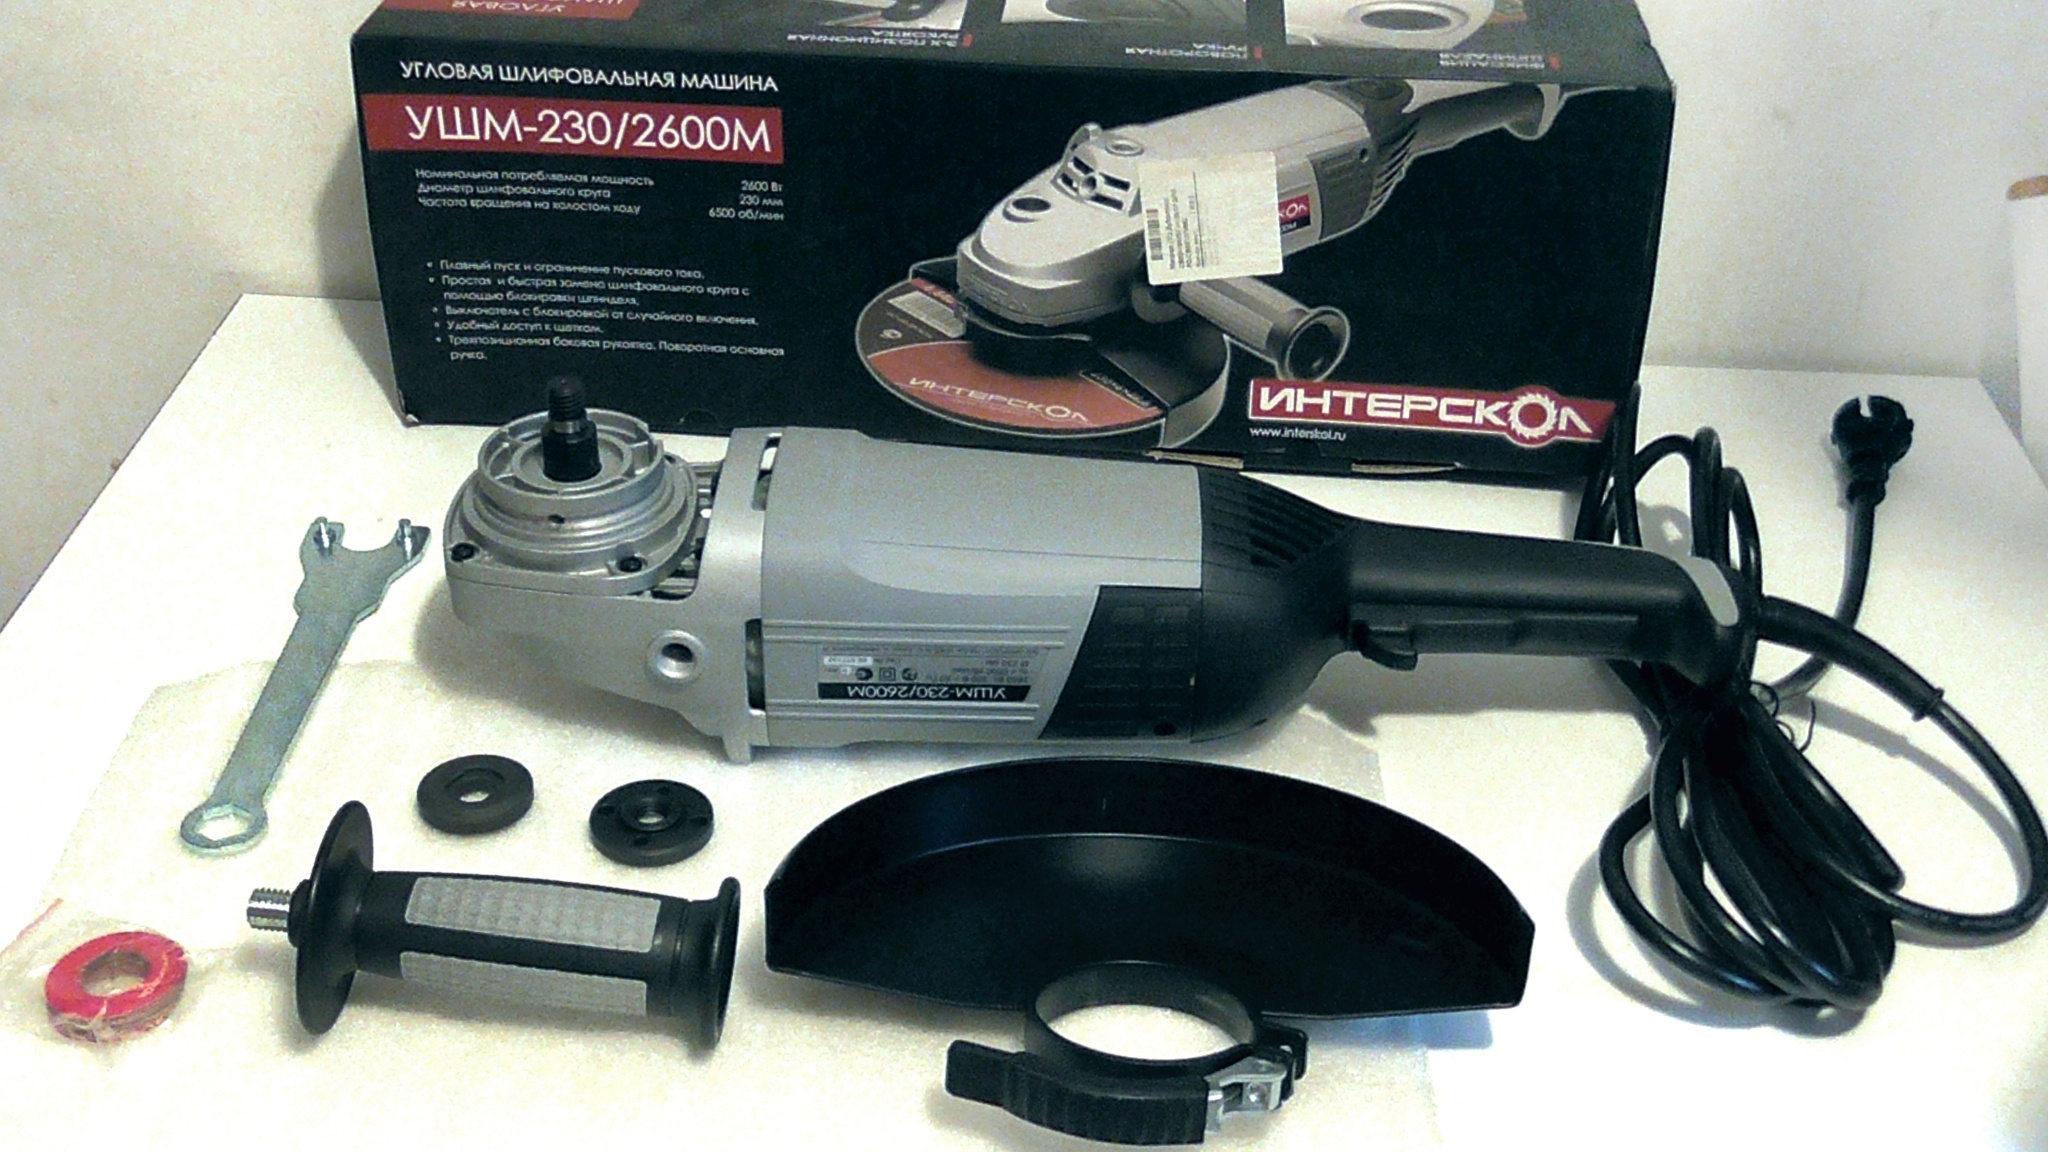
An angle grinder is one of the main tools of a craftsman. An angle grinder converts electrical energy into mechanical energy, due to which you can saw, cut, grind or even drill. It consists of two parts: mechanical - gear unit, and electrical - electric motor. Grinder repair in the workshop it costs a lot of money and does not always justify itself. So before you despair, try to fix the problem yourself.

The content of the article
How to disassemble an angle grinder
Troubleshooting is simple: everything is already provided by the manufacturers. Main - act carefully and do not overdo it, because the grinder contains fragile plastic and aluminum elements.
When it is necessary?
The problem with an angle grinder is its erroneous use: intensive or extreme. Exists standard set of faults. These include:
- Lack of power - cable break or button failure.
- Movement at low speeds means closing the turns of the rotor winding.
- Overheating - overload, violation of work-rest regimes. Sometimes dust gets clogged up in the engine.
- Smokes - short circuit in the rotor or starter windings, dust.
- Lack of rotation - jamming of the gear of the gear unit or destruction of the bearing.
- The spindle lock button is broken - the rod is worn out or there is dust inside.
- Noise and rustling - abrasion of gears or lack of lubrication.
- Vibration – bearing failure.
- Sparks, burning smell - wear of graphite brushes.
- Operation at high speeds – short circuit of the starter.
Correct electrical diagnosis is very important. The success of the whole business will depend on this.
Tools
Investigating the problems of an angle grinder will require a standard set of devices. These include:
- Screwdrivers and wrenches.
- Pliers, hammer.
- Gas key.
- Multimeter or indicator screwdriver.
Essentially make the work of a vice easier, and a pre-prepared rag and solvent will help avoid unpleasant consequences.
How to disassemble a small grinder
First thing remove the disk and protective casing from the angle grinder. Next, we proceed according to the scheme - step by step and carefully.
Step-by-step electrical diagnostics
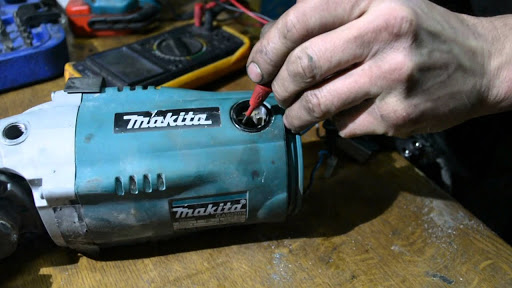
It is important to have basic multimeter skills and have this device with you. An indicator screwdriver can partially replace it. Blocks that break in an angle grinder:
- Power cord. The arm of the grinder will need to be disassembled. We check if there is voltage at the switch terminals.
- Start button. More often it becomes clogged with dust. We remove the button, set the multimeter to ring and check the contacts by pressing it. If a malfunction is detected, we replace it completely.
- Electrical starting and control units. If the angle grinder is equipped with a soft start or speed control, these elements can also fail. The first is checked using an ammeter, measuring the current surge with and without the element. The malfunction of the second is immediately noticeable by the nature of the tool’s operation.
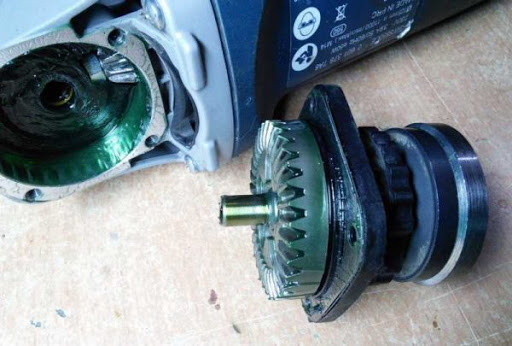
- Starter. To check, measure the resistance on its windings, having previously disconnected it from the power circuit.The value of the element is approximately 1 ohm, the faulty one is from 10 to 100 or more. In addition, carbon deposits may be present on the inside of the housing. The short circuit of the starter turns is detected on a special stand. If it breaks, it is either rewound or replaced with a new one.
- Anchor. You can simply check for a broken winding using a multimeter. To do this, the resistance is measured in a circle on the adjacent collector plates on the rotor shaft. It should be the same and located within 1 Ohm. The interturn closure of the armature is checked on the stand. In any case, if it breaks, it will be easier to buy a new one than to rewind it yourself.
- Carbon brushes. This is a consumable item for an angle grinder, so in some cases there is a technical window for checking it. It is easy to examine them for abrasion: the thickness must be at least 8 millimeters. Otherwise, they must be replaced.
It is not difficult to eliminate all malfunctions - just act carefully and strictly according to the instructions.
Step-by-step mechanical inspection
In this case diagnosis is much easier. You don't need any special skills or tools for this. Malfunctions are of the following types:
- Recession of the locking button. To do this, check its rod and spring. Lubricate elements and replace damaged ones.
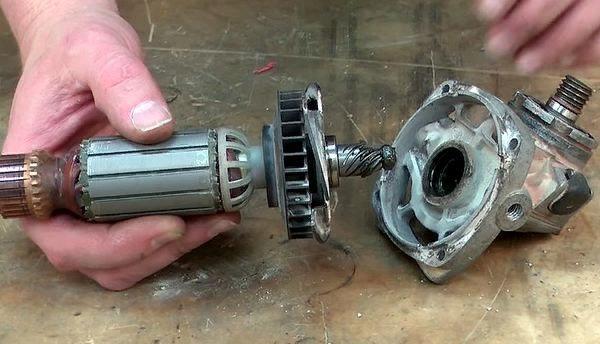
- Gear wear. For diagnostics, the gearbox is disassembled and the condition of the teeth themselves is checked. If they are worn out, replace them with new ones.
- Rotor bearing failure. At the same time, the grinder will vibrate. The gearbox will need to be disassembled to perform reinstallation.
Most often, gears and bearings fail. Both of these elements require replacement if they break.
Preventive actions
To avoid breakdowns and expensive repairs, you need to monitor the condition of the angle grinder.There must be enough lubrication in the gearbox. In this case you need to use special materials, and not the cheapest ones. Do not overload the tool with work for which it is not designed, and do not turn it on for a long time.
Taking good care of your instrument will help maintain its performance for years to come.
It is important to follow the regimes. Dust ingress also greatly harms the instrument. If all these rules are followed and handled carefully, the grinder will last a long time and will not cause problems.
As a rule, it is easy to identify most malfunctions of an angle grinder on your own. A minor breakdown can be repaired independently; a major one requires the hand of a master to replace the element and some investments. Important determine in advance the cost and feasibility of this procedure. This will help you decide whether to repair the tool or buy a new angle grinder.