How to place an ax on an ax handle
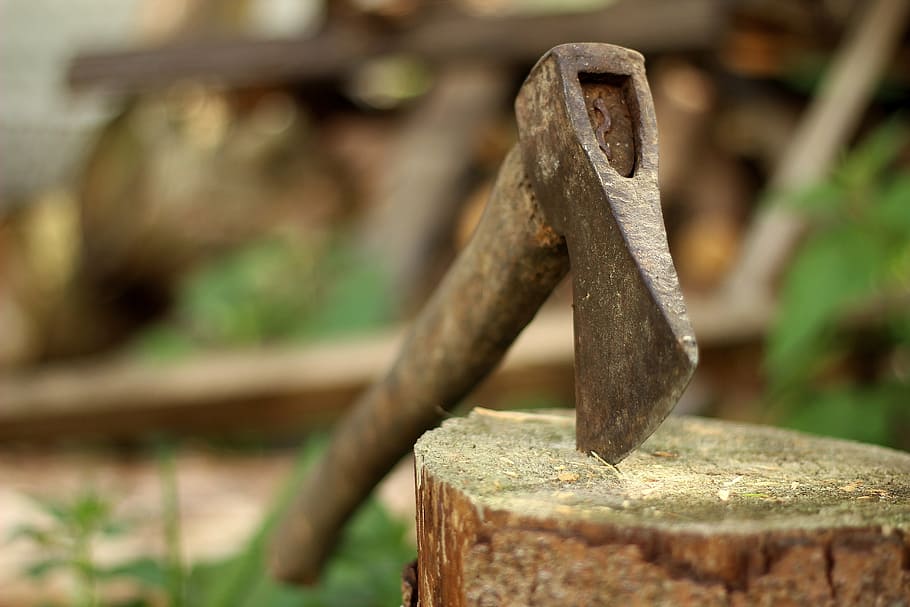
Experienced users of hand tools know that the iron blade of an ax becomes loose on the ax handle over time. It is inconvenient and unsafe to use it in this state. A flying metal part can injure the hewer himself or people near him. To prevent this from happening, we will learn how to properly place it on the ax handle and secure it with wedges.
The content of the article
How to properly place an ax on an ax handle forever
Loosening of the blade occurs due to loss of moisture from the wood. Gradually drying out, it narrows, and the ax no longer fits as tightly as it was originally intended. Although the wedges remain in place and do not even move.
To choose the right ax handle on the market, you need to trace the contours of the blade attachment on a thick sheet of paper. Then they are simply cut out with scissors and sent for purchase. When inspecting wooden products, the template is applied to their end part. You need to choose the one that closely follows the drawn contours.
After purchasing an ax handle, place it on a radiator or in direct sunlight. It will dry completely in a few days.
Step by step guide
Next, we follow the instructions, observing safety precautions and caution so as not to get hurt. We do not throw away the template cut out of paper. It will also be needed for marking.
Preparing the chopping tool
Since the ax handle is usually sold in a larger size than necessary, it is hewn. This is done with a sharp knife or a small saw, depending on which tool is more convenient for you.
Place it on the table and measure the parameters. Use a pencil to mark at what depth the ax will be set and where the wedges will be inserted. The size of the holes is always smaller so that the blade fits tightly.
Making cuts
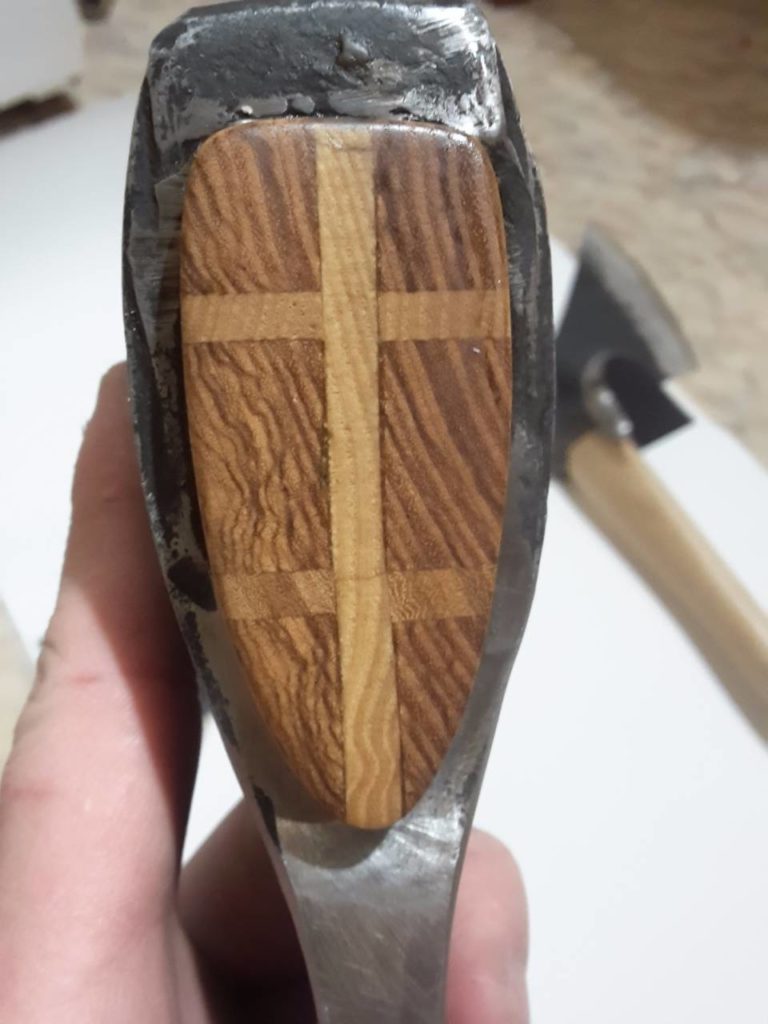
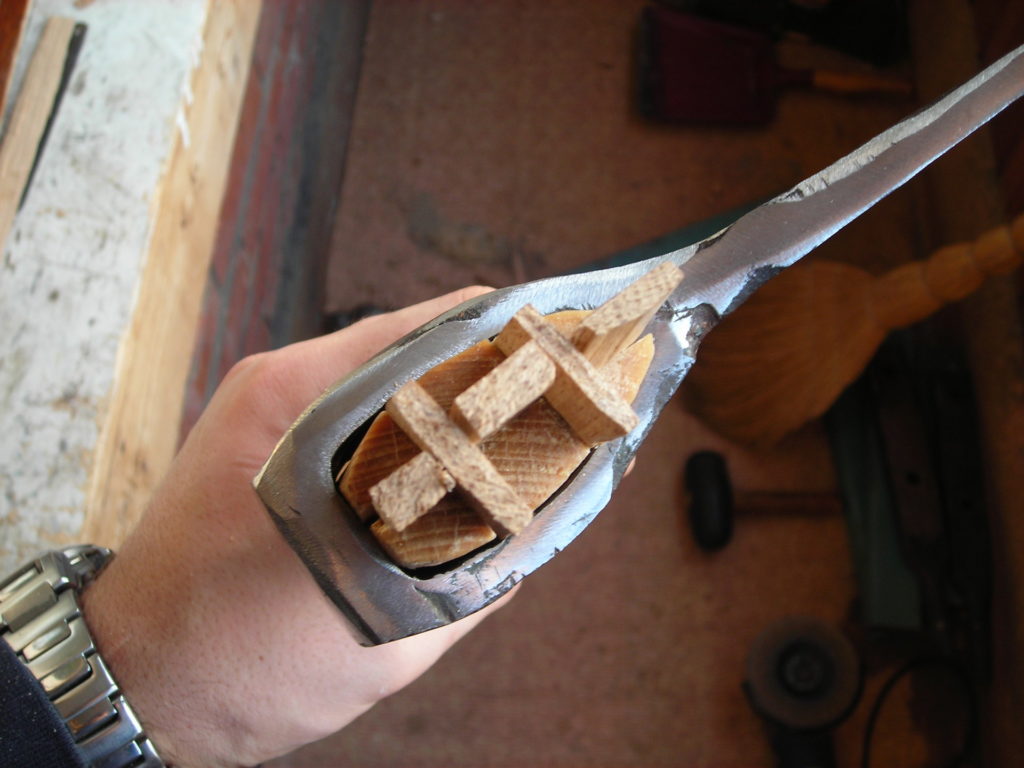
These are vertical grooves into which wood or metal spacers will later be inserted to securely hold the blade in place. They are located at the top of the axe. It is enough to place one along the end of the wooden part.
Please note that they must fit tightly into the holes without loosening. However, you shouldn’t make them too small either, as this can cause a crack in the ax handle.
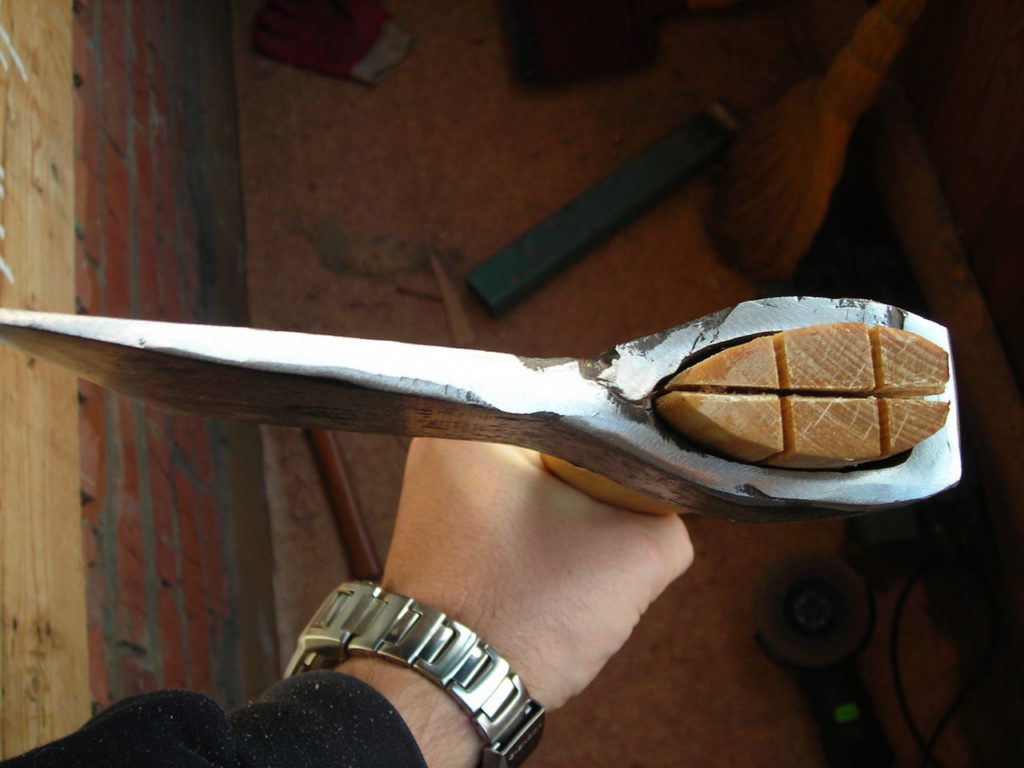
We make wedges
In hardware stores it is easy to find ready-made wooden spacers that are perfect for our task. But making small details yourself is also not difficult. The material used is dried birch or metal, such as hard tin. As experienced specialists note, even shovels are suitable as a material for cutting wedges.
Let's score
Having prepared everything necessary, we proceed to install them in the grooves. This is a simple process that even a beginner can handle:
- First, we align the metal and wooden parts, laying them in the same plane.
- We seat the blade using a blunt object. Don't damage the wood!
- We tightly and gradually put the ax on the wooden handle.
- If necessary, remove excess with a knife with a sharpened edge.
- Having reached the ax to the designated level, we begin wedging.
- We drive a wooden or metal wedge tightly into the cut: it should not be freely removed back.
- Residues protruding above the surface are cut off.
The process is painstaking, but does not pose serious problems. Especially for an experienced master.
Final events
Afterwards, a metal wedge is driven in if the master decides to consolidate the result. It necessarily covers the wooden one, protecting it from above. Then all that remains is to sharpen the ax and start chopping.
Many people also ask which side to put the blade on. As a rule, when all the components fall into the hands of a master, such questions disappear by themselves. The wide side of the blade is placed towards the ax handle, and the narrow side towards the wedges.