How to make a scanner
 For You can choose one of several ways to obtain a digital version of a paper document. Most devices are multifunctional. For this task, you can use either a complex device that combines scanner and printer options—MFP—or a regular smartphone with a video camera with a resolution of 2 megapixels or more.
The content of the article
How to set up a scanner on a printer?
The connected printer with a built-in scanning module must be used correctly. To do this, you need to set the appropriate settings in Windows OS. The Scanner Wizard will help you with this. To receive the file you must:
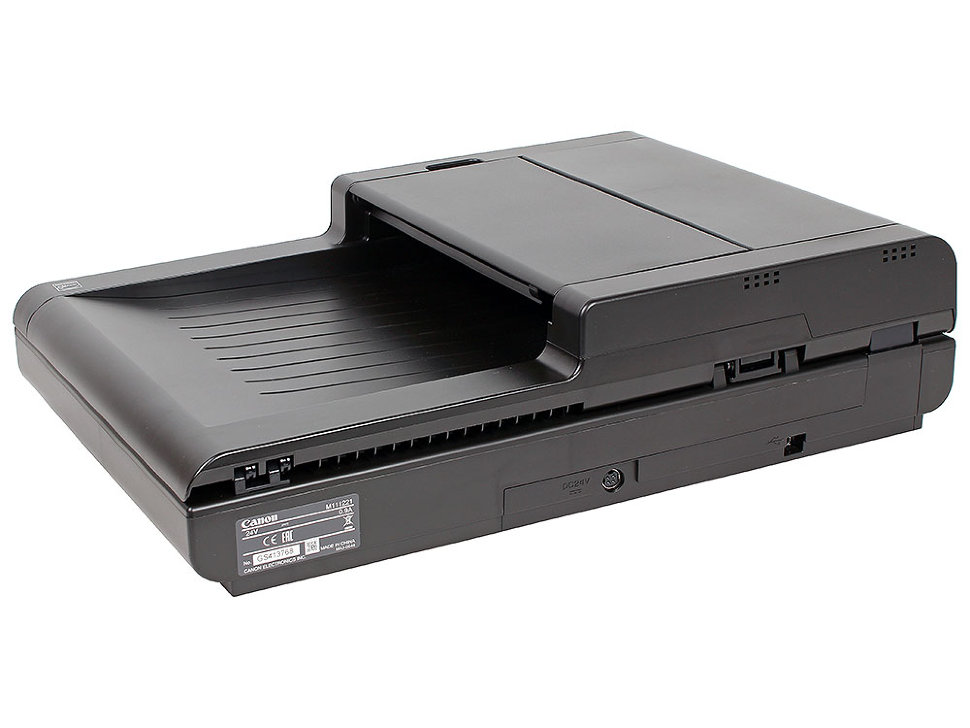
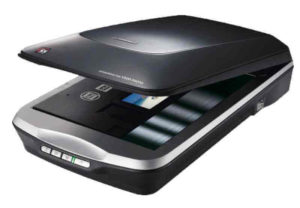
- Turn on the MFP and lift the scanner lid.
- Place the sheet on the glass, with the printed side facing down towards the glass surface.
- Cover the paper with a protective cover to obtain a clear image.
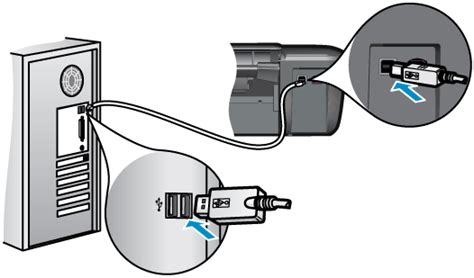
- Open Control Panel, select Hardware and Sound.
- In the list that appears, click “Devices and Printers.”
- Select the icon of the connected MFP by right-clicking. From the drop-down list, click on the “Start scanning” line.
- Set the required parameters for scanning and select the "Preview" button.
- After this, the scanner quickly reads the image and displays the basic version on the screen. If the quality is unclear, change the DPI settings to a higher value and click Preview again. To create a digitized copy of the paper version, click on the “Scan” button.
Save the finished picture on your computer or print it in the required quantity.
Which ones exist? scanner apps to smartphones
REFERENCE! All modern phones are equipped with a camera module that can be used to convert paper information into digital.
Enough for this point the lens at a sheet of paper and process the file using a special application. Let's look at the most popular programs for Andriod and WindiwsPhone: CamScanner, Microsoft Office Lens, Scanbot.
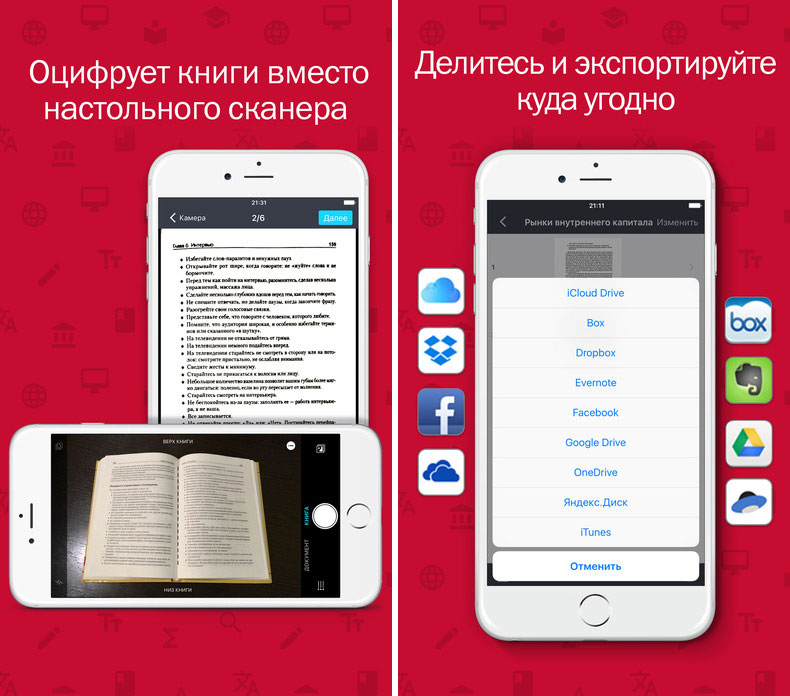 CamScanner includes convenient options. You can make a scan from paper in 2 ways: add a photo from your smartphone’s memory, or take a photo from your camera. Additional functionality allows you to display a virtual grid and level during scanning. To ensure the best image quality there is a built-in button to activate the LED flash to constantly illuminate the slide. Single copies of documentation can be obtained in digital form; batch mode is also available. Additional settings provide the ability to obtain a file form of documents intended for identification and presentations.
IMPORTANT! The built-in editor corrects low-light issues, and manual adjustments can be made if necessary.
The received data is saved as a photograph or in PDF book format. They can be placed both on the phone and in cloud storage with a starting volume of 200 MB.
Microsoft Office Lens generates data in a similar way. The document boundaries are determined automatically.
Support for 4 modes has been implemented: for documentation, presentations, business cards and photos. Finished graphics are recorded with the usual extension, also PDF, or added to OneNote.Docx or PowerPoint can be sent to the One Drive proprietary cloud. Large font can be recognized as text.
Scanbot has a convenient user interface. The free version options provide processing of 4 types of filters: 2 color and black and white. The scan is saved as PDF or JPG. The resulting scanning result can be replicated via Google account, or save to: Google Drive, OneDrive, DropBox, Yandex Disk, Evernote, Todolist, OneNote, etc.
From the proposed list, you can select the most suitable application based on the type of documentation, convenient way to store data in the smartphone’s memory or in cloud services.