How to connect a scanner to a laptop
 A scanner allows you to convert paper information into digital information. However, to receive the desired file on a laptop, the scanning device must be connected and synchronized using special software. Let's consider how to correctly perform this procedure and what wires and programs need to be used for this.
The content of the article
How to connect a scanner to a netbook
First you need to prepare the required equipment:
- Laptop. It will need to be turned on in advance or ensure that the battery has a sufficient charge level.
- USB or other compatible cable for transferring information from the scanner to the memory module in the computer. The type of cord can be found in the instructions for the device. In some cases, you may need a special cable with a USB adapter. They are usually supplied with a scanning device.
- Wire for connecting the scan tool to the electrical network.
- Disk or flash storage media with recorded drivers. They can be downloaded from the manufacturer’s official website by selecting the operating system.
The connection process is not complicated, the main thing is to follow the list of actions presented below:
- Remove the scanner from the box and place it on a stable surface. It is recommended to provide in advance a place on the desktop or a separate shelf with a free space height of approximately 25 cm.This will allow you to comfortably use the device while scanning papers.
- Unpack the CD and the necessary wires for connection.
- Turn on your laptop or compact netbook and wait until the OS loads completely.
- Connect the power cable with one side to the scanner, and then to the outlet.
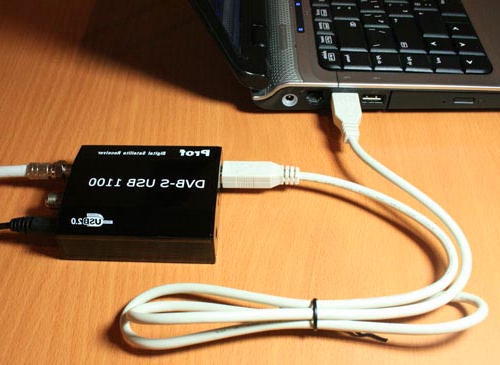
- Align the devices by attaching the corresponding cable to the USB connectors of each.
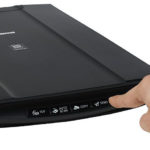
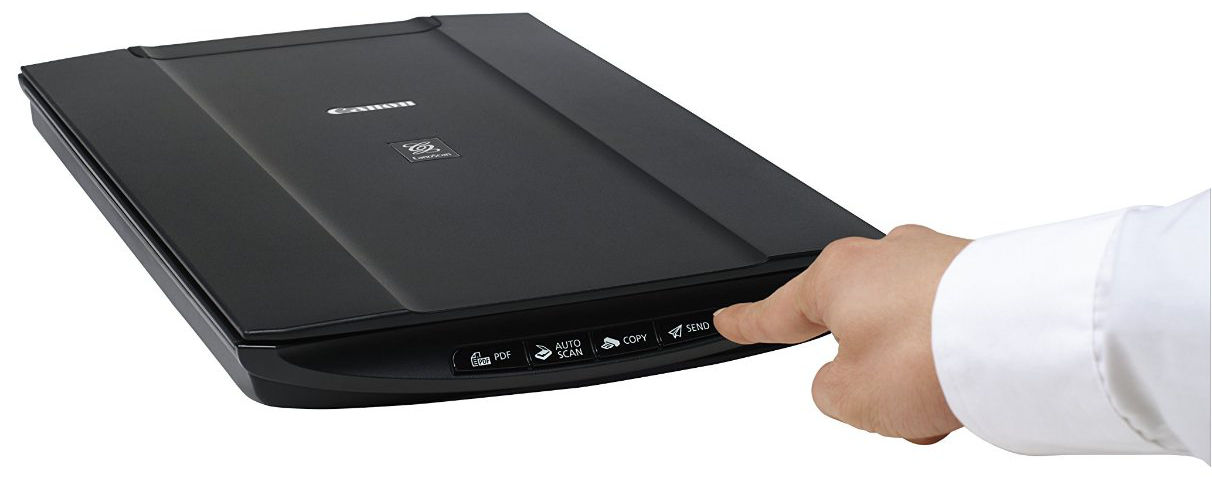
- Turn on the scan tool using the button located on the front panel. It is usually indicated by an icon in the form of a circle and a dash. After this, the laptop will automatically begin searching for a suitable driver. However, in the list of already installed software there are usually no such technically compatible files.
- Insert CD media into the drive or download the driver from the manufacturer's website. Run the installer. When using the disk, a welcome window will automatically open where you need to agree to the rules of the license agreement and continue the installation. If the file is downloaded via the Internet, you will need to open it by double-clicking and repeat the steps described above.
IMPORTANT! On the official website - you should select a driver for a specific scanner model. Individual software is developed for each product. It is not universal.
Another option for obtaining the required driver is to use the operating system functions. In this case, you will need to open the “Device Manager” and select the equipment that is marked with an exclamation mark. You should right-click on the name of the connected scanning device or the corresponding key on the laptop touchpad. Next, simply select “Update drivers”.After specifying the “Automatic installation” option, the netbook will independently begin searching for the program.
How to properly configure a scanner on a netbook?
 Correct operation of the scanner allows you to save time on processing digital data. Therefore, to configure proper operation, you must additionally specify several parameters in the OS. For this
First you need to open the "Control Panel". Then open the "Devices and Printers" heading. It will take some time to wait for the completion of the stage of creating a list of used and active peripheral office devices. After that, you should move the cursor over the scanner icon and press the right button of the computer mouse. From the list that opens, you will need to select “Use this device automatically.”
REFERENCE! The scanner operating parameters should be configured based on the tasks and type of documentation or photographs.
In the installed utility from the manufacturer, you can independently select the type of files to be scanned:
- Images;
- text;
- graphic plus text information.
The user can also select the dpi parameter. For black and white documents with easily readable medium size font of approximately 10-12 Times New Roman, 200 dpi is sufficient. For smaller and less readable types of documentation, 400 or more dpi is better. For images, 600 dpi will be optimal.
REFERENCE! The speed of processing paper data depends on the selected type of clarity. So for regular text, it’s optimal to set the settings to medium picture quality.

