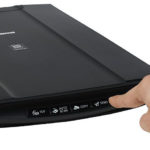
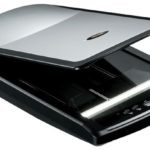
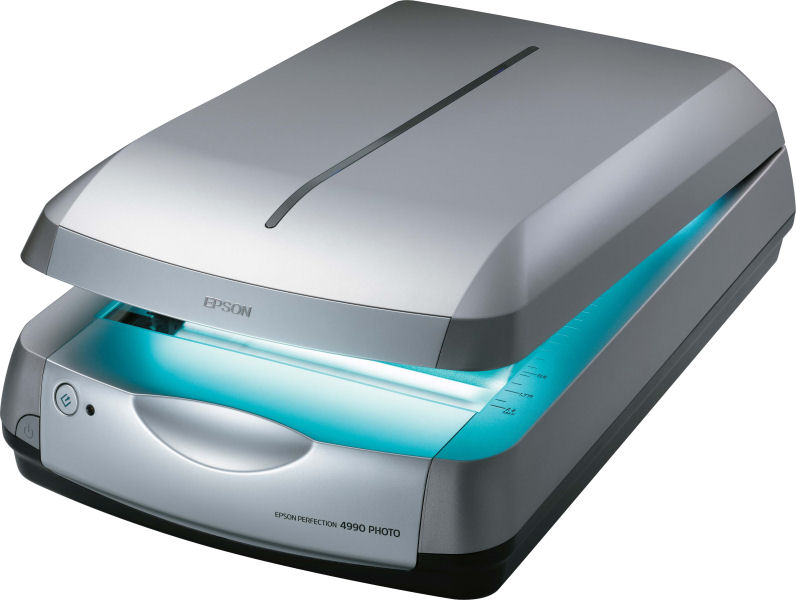
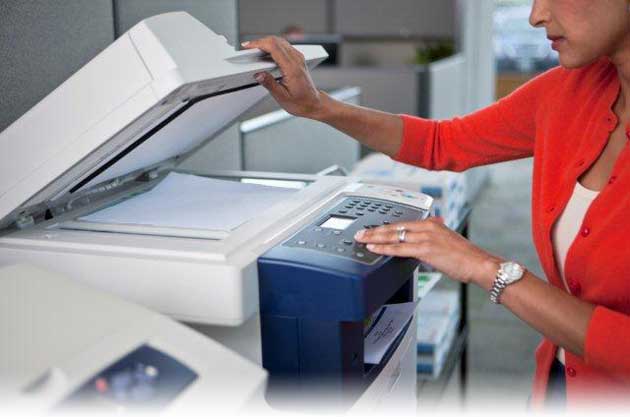
How to connect a scanner to a computer
 To create copies of documents, photographs and any notes on paper, you need a scanner. With its help, the contents of paper media are analyzed and their digital image is reproduced and the file is saved on a computer. To install the equipment, you must not only properly connect the device to the computer, but also configure it for operation. The equipment is necessary for the full operation of most organizations, and more and more people are purchasing devices for personal use.
The content of the article
Connecting the scanner to a computer
For high-quality operation of the device, it is necessary to correctly connect and install drivers. Modern equipment is equipped with everything necessary for an ordinary person to cope with this without specific skills and knowledge.
First, you should prepare a convenient place for the device near the computer. For future convenience and comfort in work, it is necessary to take into account the dimensions of the device and the length of the connecting wire. Once the scanner is in place, you can begin connecting.
Important! Before you start connecting the device, you must carefully read the instructions for use and operation of the equipment.
What will it take?
After studying the operating instructions for the device, you need to prepare all the necessary cables and make sure that there are no external mechanical damage to them. The connecting wires should not be strained when connecting, as this increases the likelihood of the connection breaking. The equipment itself also needs to be inspected for damage or cracks. Usually a disk with the necessary drivers and software is included with the scanner. The disk does not need to be removed far; it will make it easier to install files through the drive. Modern computer models are not all equipped with disk drives, so disks are not needed for such equipment. For such cases, drivers can be downloaded from special sites. It is advisable to take advantage of the offer to download and install drivers from the scanner manufacturer's website.
Reference! If the cable that connects the computer and the scanner is too long, then for convenience it should be carefully wound and secured with a rope or cord. This will help you avoid tripping over it and thereby extend its service life.
What problems may arise
It may happen that the connection was carried out according to the rules, but the scanner still does not work. There can be many reasons for the problem. One possible reason could be that the drivers have not been installed. The scanner may not work if the cables are poorly and loosely connected to the computer, or the control lever is simply not turned on. Scanning may not occur or the image may be of very poor quality. To determine the true problem, sequential steps must be taken to check the equipment.
Troubleshooting
The first step is to make sure that the equipment is connected to a power source and turned on.The fact that the device is connected to power is indicated by the lighting indicator, which is located at the bottom of the case. Then you need to check whether the cables are connected correctly. If one of them is poorly connected, this may be the cause of the problem. Many models of modern scanners are equipped with special levers that lock the equipment during transportation. This fact should be indicated in the operating instructions, so you should re-read it carefully again. Sometimes you can normalize the scanner's operation by simply restarting your computer or laptop.
When the problem is related to the drivers, you can try installing them again. If this does not help, and it is impossible to figure it out on your own, you need to contact a specialist. It even happens that you get defective products. If you are unlucky and you come across such a product, then the scanner must be returned to the store.
Attention! It should be added that if you cannot independently identify the cause of a problem with the operation of the scanner, you should contact a specialist, and under no circumstances try to disassemble the device. In this case, the product warranty will be void.
How to connect a scanner to a computer: step by step
- After studying the instructions, you can begin connecting the device. First you need to disconnect your computer from the network.
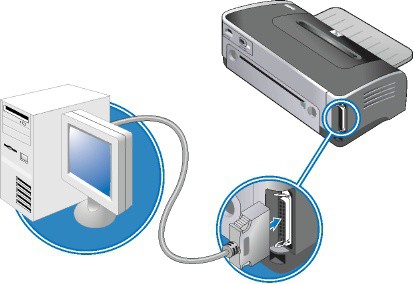
- Connect the scanning device with a cable to the corresponding port on your computer or laptop.
- Turn on your computer or laptop and wait until the equipment boots up completely.
- The loading field on the screen will display a system message indicating that a new device has been detected.
- Insert the disc into the drive and load the drivers.You can not use the disk, but download it from a special website from an Internet resource.
- Use the installation wizard to install the software.
- Scan any document or image to check the operation of the device.
- If you need to connect several computers to one scanner, you will have to use a network switch.
If you need to connect several computers to one scanner, you will have to use a network switch. This way you can connect any office equipment: printer, fax or telephone. Drivers must be installed on all types of equipment. Only in this case is the uninterrupted operation of the equipment possible. Otherwise, scanning or faxing of documentation will not proceed correctly or will not function at all.
Depending on Windows
After installing the device on a computer running Windows 8 or 8.1, a problem may arise that is completely solvable. A frame with the message “Unable to connect the scanner” may appear on your computer monitor. This system does not install drivers by default without a digital signature. The system has only one boot mode. To solve this problem, you should perform the following sequential actions:
- Go to the side menu and find the “Options” item.
- The next item is “Changing computer settings”.
- Go to “Update and Recovery”, and then to “Recovery”.
- To get to the menu for selecting boot options, you need to restart the computer while holding down the “Shift” key.
- In the menu that appears, select “Diagnostics”, then “Boot Options”.
- A list of options will appear from which to select “Enable mandatory driver signature verification” and restart the computer.
- After the reboot, the “Boot Options” menu will appear, select item number 7. This is done using the key with the same number.
- Now you should restore the previously deleted software.
- Test the operation of the device by printing any document.
After all the steps have been completed, the scanner will start working. In order for equipment to work smoothly for a long time, it must be handled carefully. The scanner should not be dropped, hit, or installed in a room with high humidity or heavy dust. If you follow the basic rules, the device will serve for a long time and with high quality.