Windows XP does not see the network printer
 A printer is essential at work and at home. Sometimes problems arise: the printer does not connect - the computer does not see it, or, conversely, it connects but does not print.
The content of the article
Why doesn't my Windows XP computer see my network printer?
The lack of connection may be due to several reasons, by eliminating which you can restore normal operation:
- malfunction of the connected device or the cables through which it is connected;
- incompatibility of the connected printer software with the operating system;
- broken port;
- possible damage to the PC by malicious files.
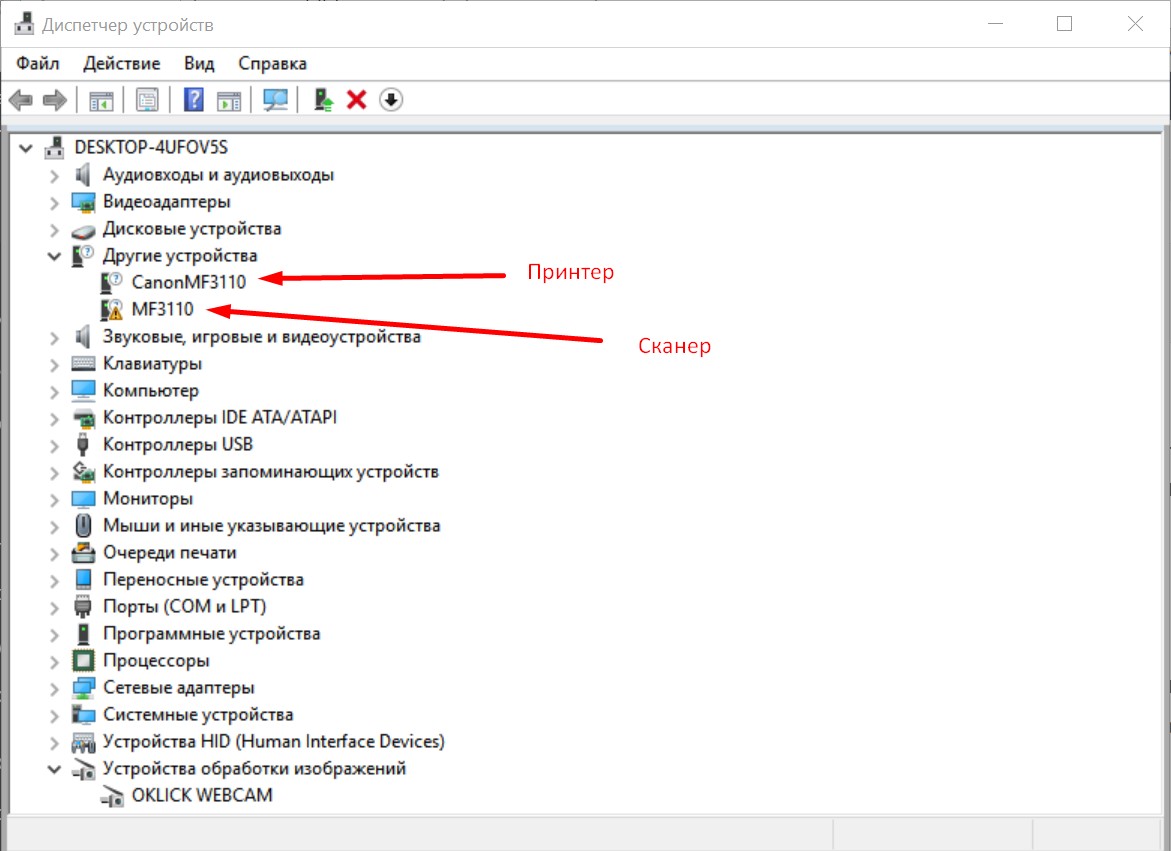
The first thing you need to do is scan your PC for viruses and malicious files and programs. If everything is in order, proceed to the next step. Next, you need to check the relevance of the drivers installed by the system. To do this, you need to find the connected equipment in Device Manager, right-click and select check for drivers. If an outdated version is installed, the computer will automatically find it on the network and install a new version.
It is necessary to check the cable through which the printer is supposed to be connected to the computer. If it's USB, you can try connecting other devices through it. If it doesn’t work, then that’s where the problem lies.
Another common cause of the problem may be the lack of current operating system updates, since the old version simply does not recognize new connected devices.
ATTENTION! It is also possible that other printing devices and software were previously connected to the computer, the utilities of which remained in the system and conflict with the new software. The built-in firewall may block installed drivers, since they most likely do not have a Microsoft digital signature.
What to do if your Windows XP computer does not recognize the printer
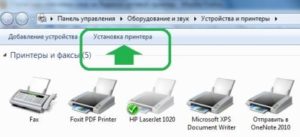
After you have established the problem, you need to try connecting the printing device through the Control Panel. This is done as follows: “Printers and equipment” - “Installation”.
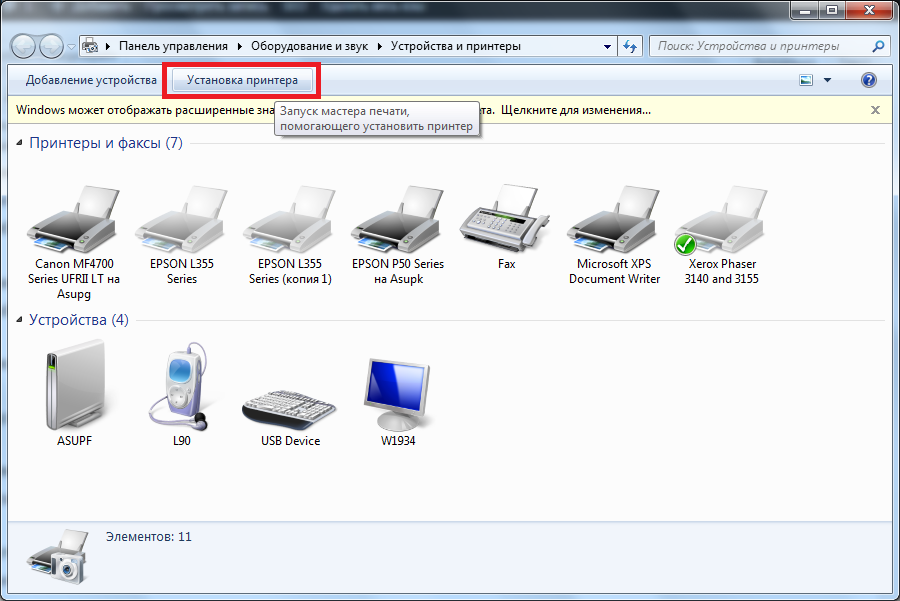
After opening “Installation”, you must skip the first page. In the next window, check the box next to the line “Local printer connected to this computer” and uncheck “Automatic detection”. Then everything is simple: create a port, select the port type. The IP address of the connected device is indicated, the port type is filled in automatically.
After this, if the operation was successful, the user will be asked to select drivers for the device or install them from disk.
If you cannot establish a connection, the problem may not lie in the printer itself or its settings. Most likely, the problem is hidden in the computer's network settings. Eliminating them is much easier; you can use the standard utility built into the operating system.
If, when connecting devices to another computer, the USB cable works normally, then it is blocked in the BIOS on the desired PC. The solution to this problem is to simply unlock it.

