Windows 7 does not see network printer
 A very common problem is when the system does not see the network printer. The drivers may be missing or the device may not be configured. Certain steps need to be taken to resolve the problem.
The content of the article
Why doesn't Windows 7 see a network printer?
In most cases the reasons are as follows:
- There are no drivers or they are outdated. They can be installed from the disk that comes with the kit or downloaded from the Internet.
- Not configured. The device must be configured through the “Printers and Faxes” section.
- Breakdowns. In such cases, it is better to contact the service center.
- There are restrictions on the router. Here, too, it is better to ask specialists for help.
In addition to the reasons listed above, do not forget that one of the devices may be broken. For example, the connector on the computer does not work or the contacts on the device wire are stuck. In case of breakdowns, you will have to ask for the help of a specialist, because it is very difficult to carry out repairs on your own.
How to fix the problem
The reason why the printer is not visible may appear if the computer does not have the necessary drivers or there are problems with the network connection. We do the following:
- If we have just configured the device, print a test page.
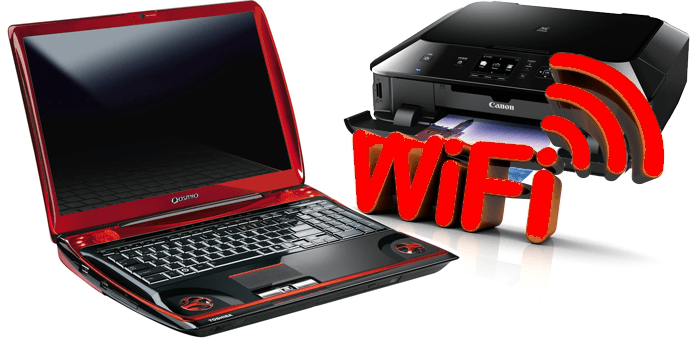
- Drivers should be installed. They are necessary even if it is wireless and works via Bluetooth. If there is no disk with drivers, the latter can be downloaded on the Internet. We launch the installation program, after which a window appears where we just need to click Next and Install.
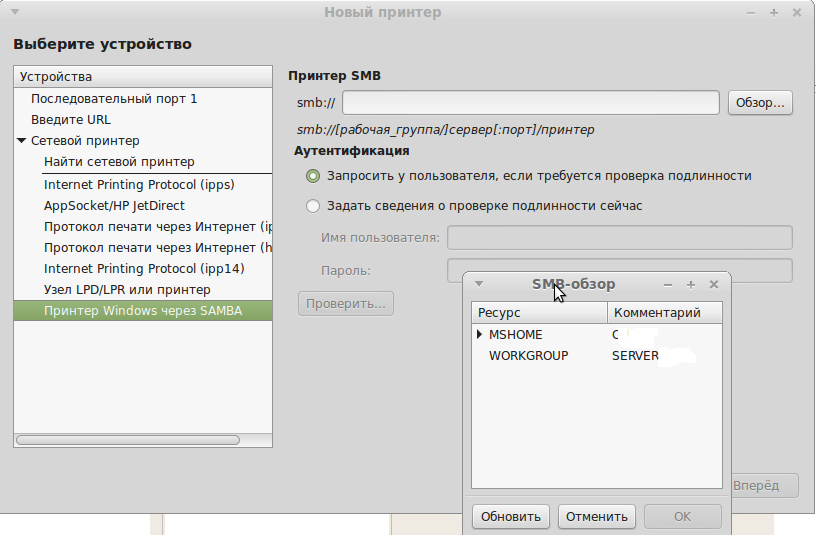
- Try manually entering the device's network address. During the setup process, we indicate that the required equipment is not in the list. We are looking for the option Add a device via TCP/IP. In the next step, we indicate the address of the equipment ourselves. The required address can be found in the verification protocol.
- You may need to restart your router.
- If the equipment still does not work, make sure that there are no access rights restrictions on the router. To do this, read the instructions that come with the kit.
Setting up on Windows 7: step by step
To configure the printer via Windows 7, do the following:
- Click the Start button.
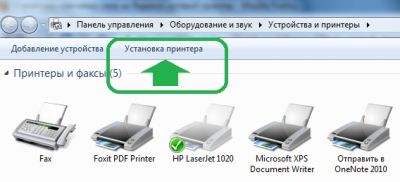
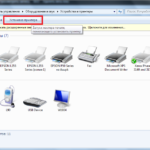
- Go to the “Devices and Printers” section (under the control panel).
- A window will appear where you need to select “Install a printer.”
- Displays a window called “Select the type of printer to install.” Click "Add a local printer".
- In the new window, you must select Use an existing port. We need to install a USB connector.
- Now we select drivers. If we don’t have the ones we need, select the Install from disk section. Explorer opens, where we need to find the drivers. They can also be downloaded online (for free).
- Now enter the device name.
- Now the installation begins. At the end, a window will appear where you can configure shared access to the device. To do this, select Allow sharing.
- After completing the necessary actions, we are asked to select the default device. We do it at our own discretion.
- The last step is to print a test page.
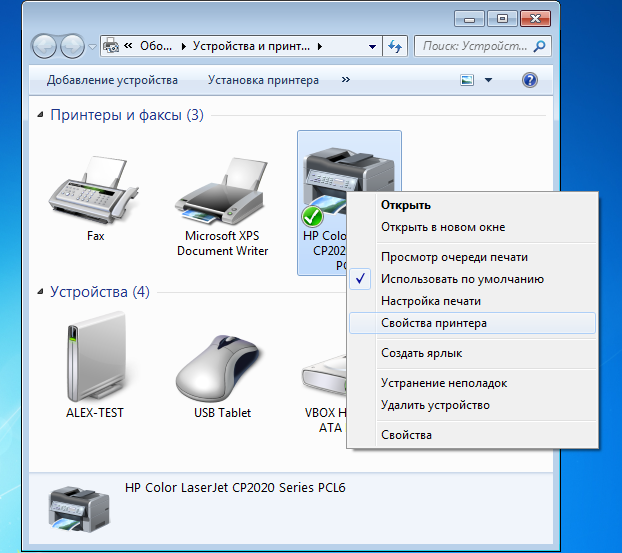
- Now if we go to the “Printers and Faxes” section, we can see our device in the list.
This printer can also be set up on other computers that are connected to the network. To do this we use a network connection.
If the problem is not serious, you can do everything yourself. But if one of the parts breaks, you will have to contact an expert.

![kak-dostat-kartridg[1]](https://master.htgetrid.com/wp-content/uploads/2019/02/kak-dostat-kartridg1.jpg)