Envelope templates for printing on a printer
 Although most correspondence now occurs in electronic format, it is still necessary to send a card by mail, as well as congratulate a colleague on their anniversary. For these cases, you either need to have a couple of envelopes in stock, or practice appliqué and fold them from paper. And then also decorate them. Although such a “fake” is made with soul, it does not always look neat and appropriate. It is much easier to create an envelope template on your computer in Word and print it on a color printer. All that remains is to fold the blank along the lines and glue it. In the same way, you can print postal envelopes and not waste your time and money at the post office.
The content of the article
Envelope templates for printing: what are they?
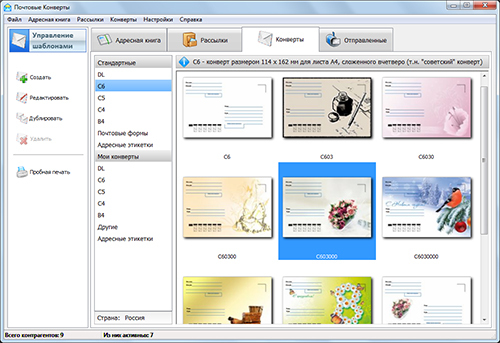
Using the template, you can make envelopes for all occasions. You can create blanks yourself directly in the program; we will describe how to do this below. And also use online resources. Some sites offer ready-made templates; you just need to download and print them.
Reference! By the way, large companies that conduct active business correspondence use envelopes and layouts of their own making, and do not buy them at the post office. The secretary prints them out and glues them together; you can also add a company logo for solidity.
Template options:
- Envelopes for money - This is a narrow oblong version, needed only to place a bill. It is not suitable for shipping because... it contains only a picture or a few congratulatory words, there is no column for writing the address. Also, most often envelopes for money are folded and not glued. For printing, it is better to choose thick paper, and if it is glossy on one side, then the envelope will be indistinguishable from a store-bought one.
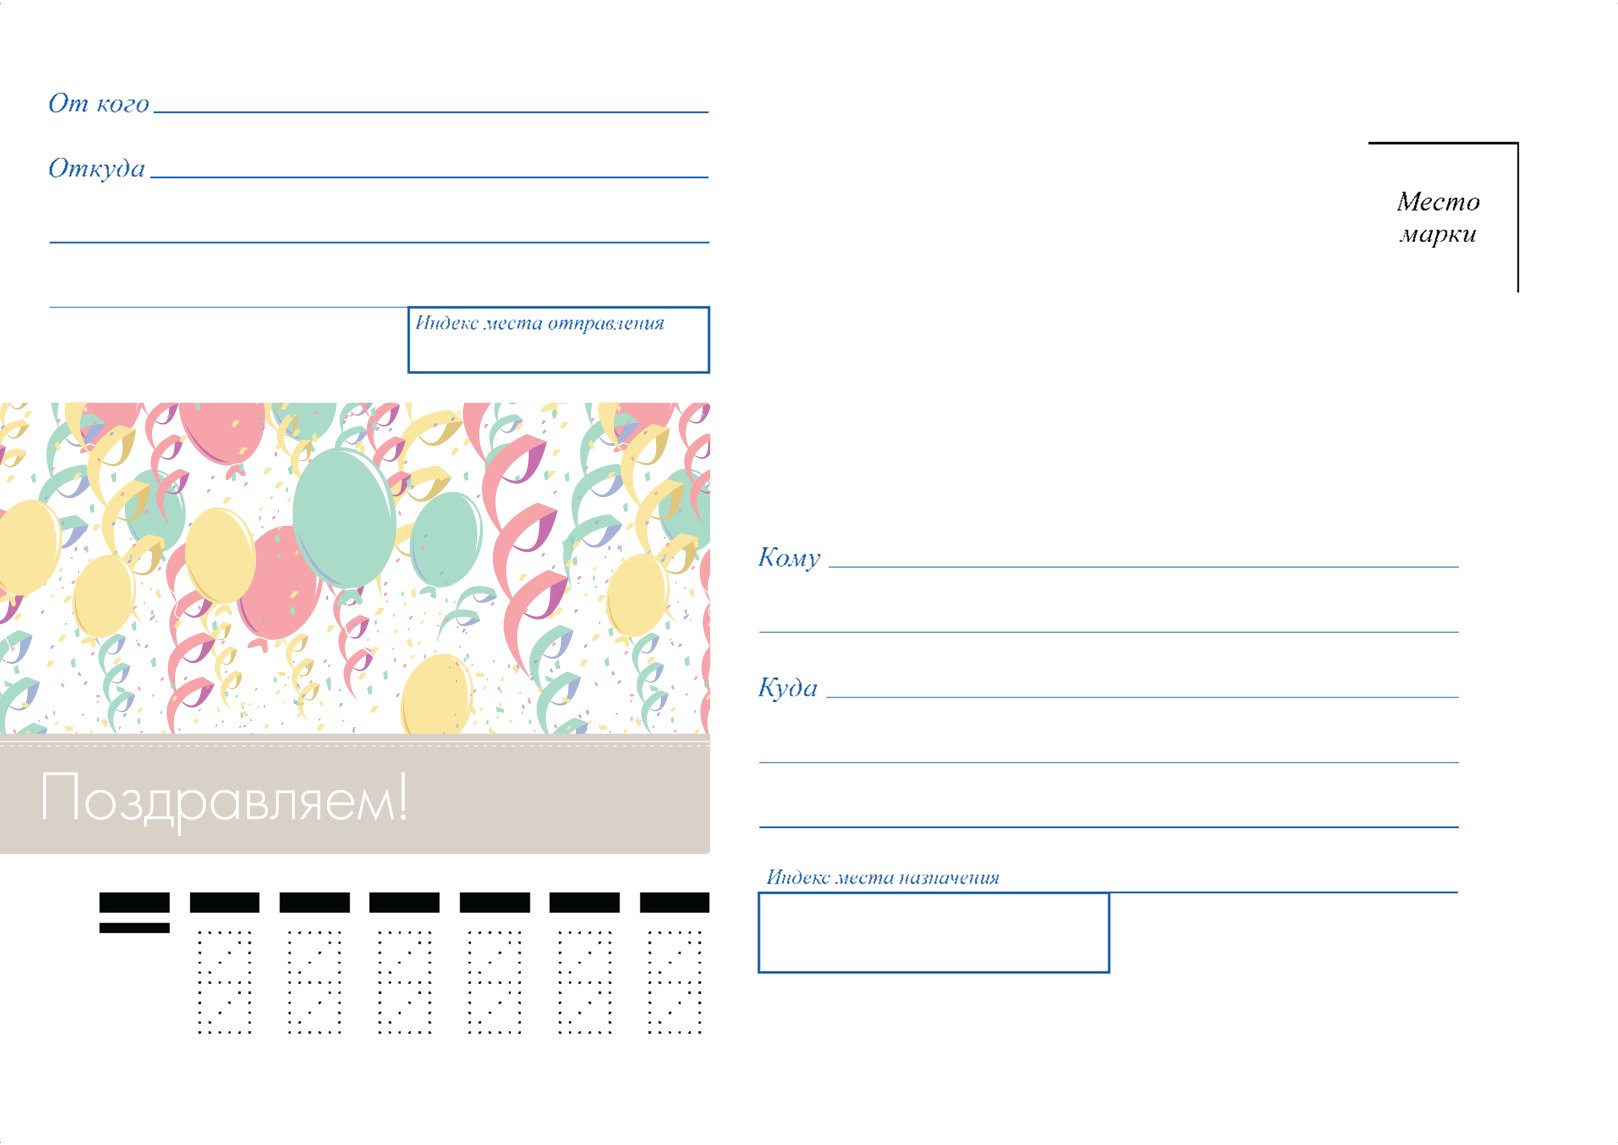
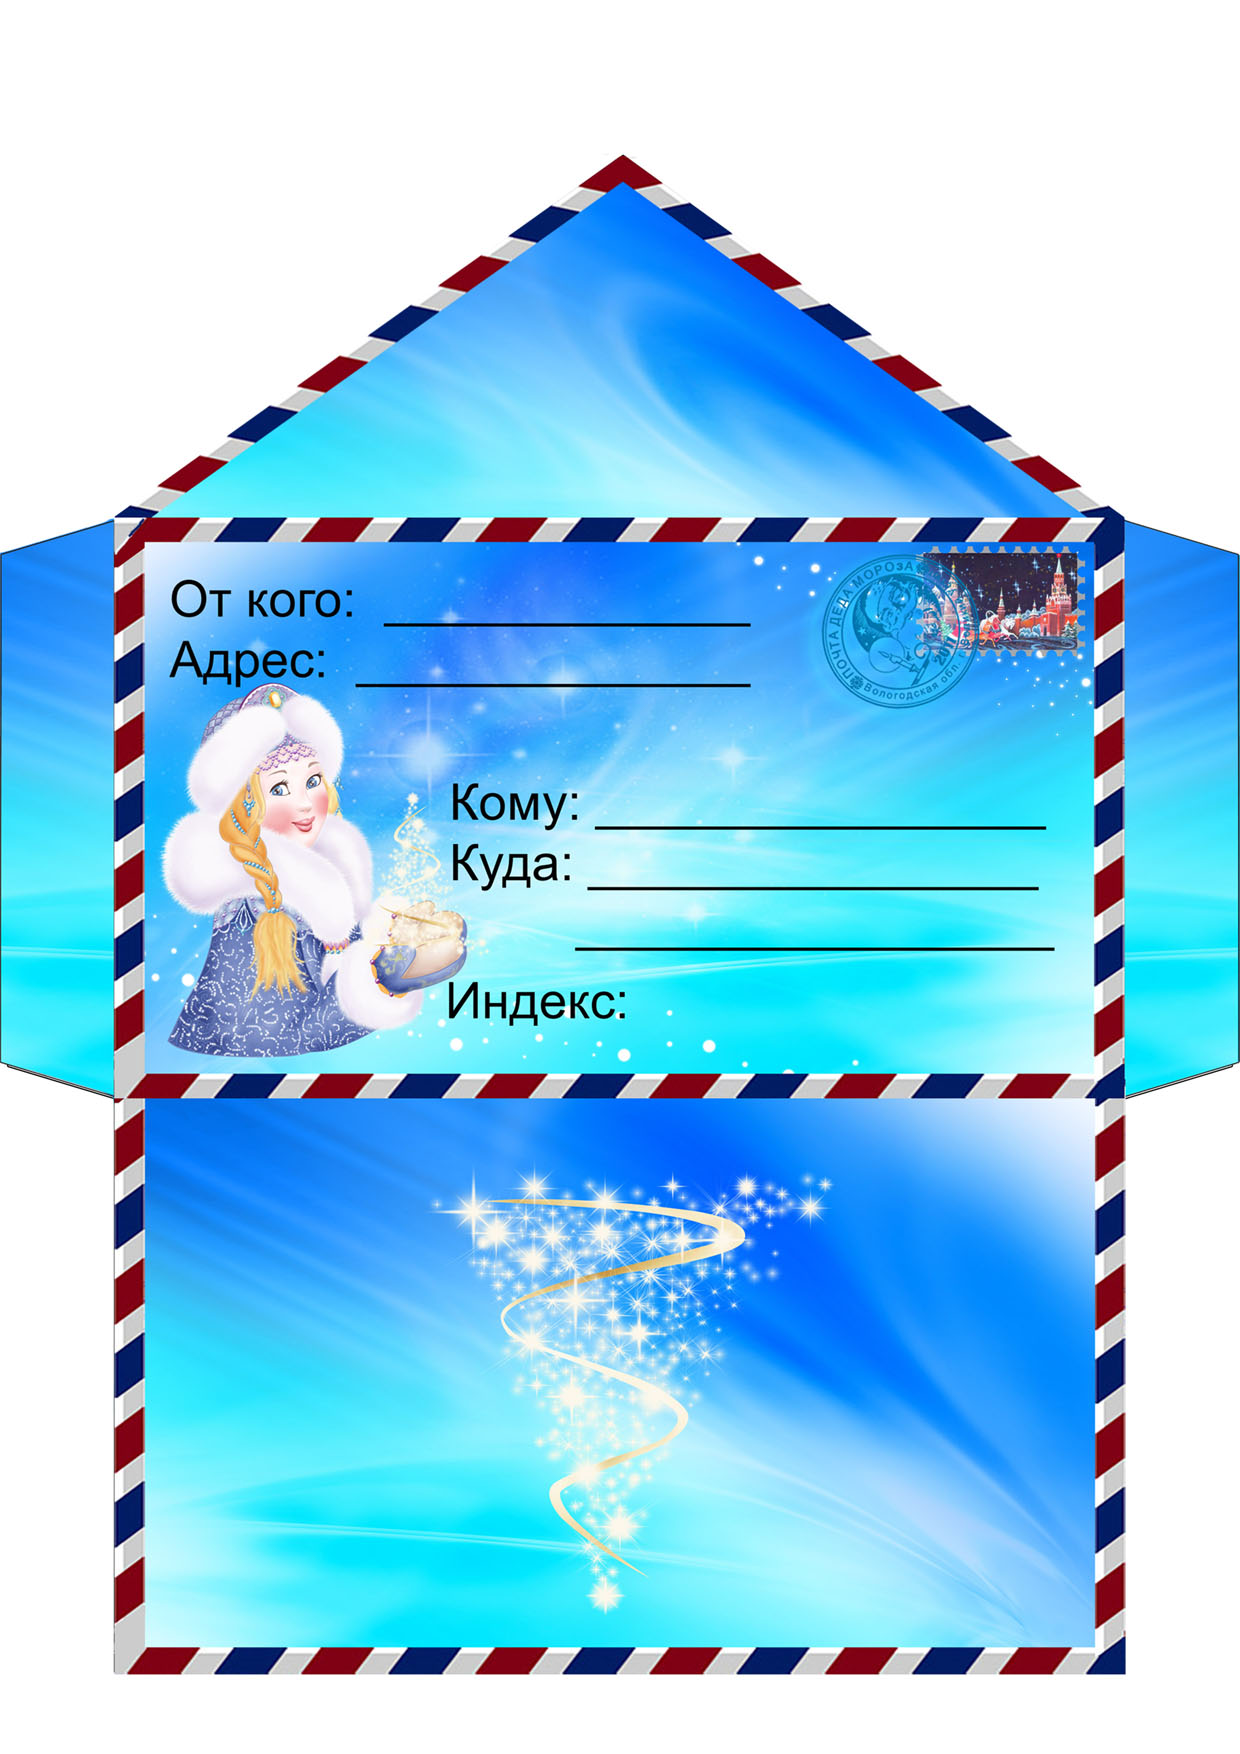
- Vintage and floral patterns – such blanks can be used for congratulatory letters and cards for any holiday; they differ only in the design. You can print the addressee on them and mail the letter in such a customized envelope.
- Wedding template – options made in this way are intended only for greeting cards or inserting banknotes at a wedding. The edges can be carved, and the picture on the front side can support the holiday theme.
- Template for business correspondence – these options are intended only for sending letters; the addressee is written on them and the company logo is inserted. It is also necessary to take into account that the post office will require stamps if necessary, so you need to leave room for them.
- Envelope template for small items – blanks allow you to write on the front side what exactly is inside and this makes organizing storage easier. Storage options are printed from thicker paper and are slightly larger in size than standard ones.
Postal envelope sizes
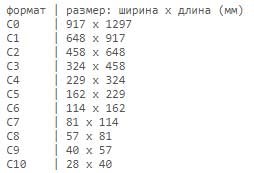
When making a postal envelope template that you want to send by mail, you need to take into account that in addition to postage stamps, the post office only accepts a certain size.
Regulated sizes by mail: C0, C1, C2, C3, C4, C5, C6, C7, C8, C9, C10, DL.
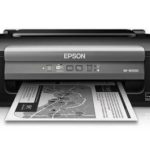
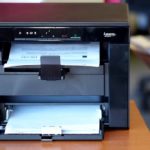
How to print an envelope on a printer: step by step
In order to print the envelope you need to create a template. Having done it once, you will need to find the template in the documents and simply click print, if necessary you can change the recipient’s data. Since the main difficulty is creating an envelope for business mail correspondence, we will analyze the creation step by step using this example.
Step 1. Creating template parameters. Open the Word program. In the top menu, find the “Mailouts” tab and click on it. Next, click the “Create” tab and select the “Envelopes” button. Next, a new window will open where you need to fill in the parameters that your company has. To find them out, simply measure the previous copy with a ruler. In the window, click the “Options” button, a new tab opens, here you need to select the desired format. Here you can edit the place where the address is written: change the font or size.
Step 2. Setting up printing options. In the same window, go to the second tab “Print Settings” and adjust the printing position on the paper. Next, click the “OK” button.
Step 3. Fill in the return address. In the top menu, open the “File” tab, then look for the “Options” command, click on it. A new window should open. Here we find the “Advanced” command, go down a little to the right to the very bottom and write it in the field for the return address. Click on the “OK” button. All the address is saved and it will be automatically inserted into each template.
Step 4. Editing the return address. We return to the window with “Envelopes”. Now you can see the changes here: a window with a return address has appeared. At the bottom we click the “Add” button, but you can edit the font or align the margins.
Step 5. Add the recipient's address.In the same tab we set a new address, this is the place where you want to send the letter. You can click the "Preview" button to ensure that the final result meets the requirements. Also at this stage, if necessary, addresses can be edited manually. Now the template is ready and can be sent to print.
Step 6. Saving the template. Before closing the program, you must save the document. To do this, click the “Save As” button and select “save as template” as a document and click “Save”. It is important to delete the recipient's address before saving; it is much easier to print a new one when opening it than to make changes to the saved document.
By completing just a few steps, you will receive a beautiful envelope that you will not be ashamed to send to your business partner. Using this principle, you can also make a holiday template. Only in addition can you place a picture on it that suits the occasion. But most often, templates from the Internet are used to print greeting envelopes.