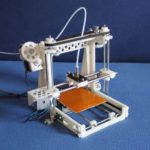
DIY printer
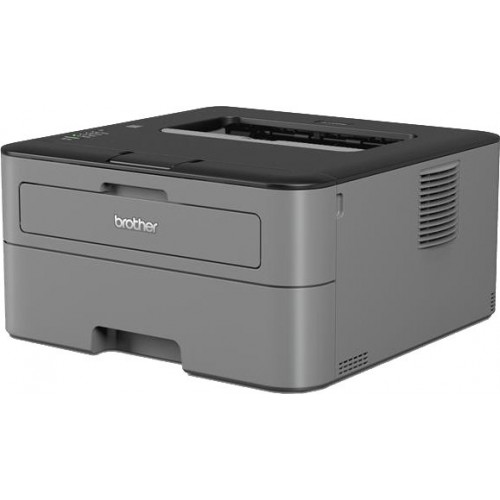
 To transfer information from a computer database into a printed format on paper, there are various printers. Nowadays, thanks to the development of technology, models of inkjet, laser, LED and even 3D printers have been created. In stores you can find a huge range of devices in different price categories. If you wish, you can choose a model with a favorable combination of price and feature set.
The content of the article
Is it possible to make a printer yourself?
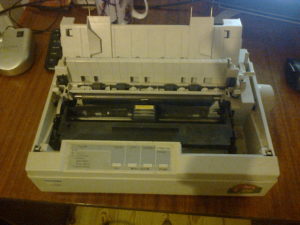
If you have free time and desire, you can create equipment with your own hands. To do this, read the information about the principle of operation of the equipment. Of course, many parts may differ from the original versions, but it is possible to assemble a printer that performs the basic task of printing files.
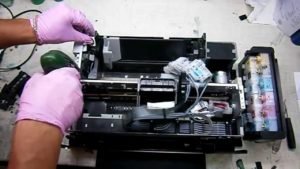
If desired, you can do any work. To do this, you will need a step-by-step plan, the availability of source materials and tools with which you will do the work. If you already have a ready-made plan and design diagram, you can start assembling it. However, in the case of the first attempt to assemble the printer with your own hands, you will need to look for the necessary information, prepare a diagram of the location of the electrical circuit and microcircuits for the full operation of the system. This is a rather complex process, which will require knowledge of computer technology and appropriate education in this field of human knowledge.
Important! Perform the work carefully, observing safety requirements, since the assembly process involves electrical circuits and elements connected to a current source. When working, use personal protective equipment.
What can a printer be made from?
 If you decide to design and create a printer yourself, you will need to purchase the following set of tools and materials:
- Parts for the frame, metal beams and sheets, crosses, bolts, clamps.
- A set of chips and boards for the operation of the system.
- Power supply with motor.
- Drivers for installation on a computer.
- Guide rails and carriage for moving the print head.
- Special work table with heating element.
- Set of wires for connection.
- A set of consumables and tools: insulating tape, adhesive tape, a tube system for plastic supply channels, a soldering iron, polymer plastic.
If desired, you can select additional tools for convenience, as well as replace materials with improved properties and quality. We have considered only the primary set for the regular version of the equipment with a basic set of functionality.
Overview instructions
For the first model, it is recommended to use a ready-made product plan. Once you have prepared the necessary parts (they can be ordered online), you can begin assembly. The process consists of the following main steps:
- Assemble the frame of the product on which all the main structural elements will be attached.
- Install a power supply with stepper motors.
- After this, install guide rails with carriages in three axes to advance the printing nozzle and form the part.
- Connect the drivers inside the main body of the printer.
- According to the electrical circuit diagram, connect all the parts using wires, install microcircuits and sensors.
- Load the plastic into the special compartment, and after connecting the device, perform a test print.
For more detailed information, please contact the workshop or consult a specialist. They will tell you the features of the equipment and advise on possible assembly options.