The printer smudges the paper when printing
 A printer, like any other office equipment, is a rather complex device that requires careful handling. Among the problems that printer owners encounter, one of the most common is a malfunction in which the device begins to print dirty, staining the paper with stripes and dots of different sizes. This type of printing looks unsightly and is only suitable for rough use. Why does the printer stain paper and what to do in this case?
The content of the article
Cartridge problems
When a printer begins to print dirty at the edges or in the middle, the problem may not be with the device itself, but with the cartridge with which it is equipped. Problems with the cartridge can be indicated by dots and stripes on prints, a general dirty background, and other traces of excess toner on the paper. Depending on the nature of the “contamination,” one can assume the presence of one or another malfunction. Of course, the printer can be taken to a service center as soon as problems are discovered, in which case specialists will independently identify and fix the problem, but some problems can be repaired independently if you have minimal skills. Among the most common problems with the cartridge, office equipment experts identify:
- Cleaning blade wear
- Debris getting on the surface of the blade or a layer of dyes sticking to it
- Overflowing the bunker by “working off”
- Contaminated shafts
- Poor quality toner
- Drum wear
- Malfunction of the charging shaft, loss of contact with it
- Cartridge seal failure when replacing toner
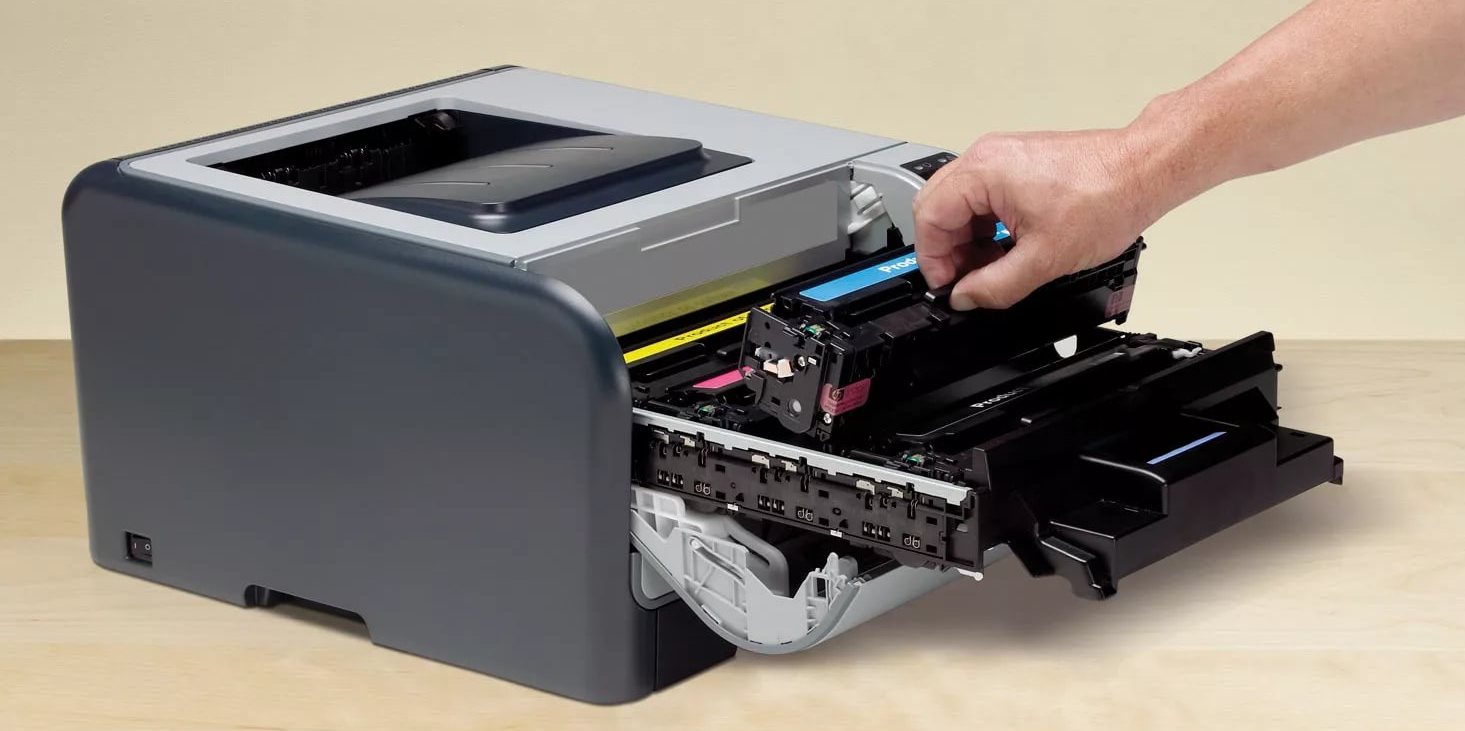
In order to correct these problems, it is necessary to partially disassemble the device by removing the cartridge and cleaning its blade or replacing it with a new one. After the blade is replaced, the remaining waste must be removed, the reservoir must be cleaned, and the cartridge must be refilled with toner. When refilling, all manipulations should be carried out as carefully as possible so as not to break the seal of the cartridge, because breaking it can also lead to the appearance of “dirt” during printing.
Important! If the user does not have sufficient skills in working with such equipment, and has no idea how to dismantle the cartridge or replace the blade, he is not recommended to carry out these procedures on his own, since incorrectly performed actions can lead to more serious damage to the device, aggravating situation and increasing the costs of future repairs.
A muddy tone on printouts may indicate a problem with the charging roller or optics. However, exactly the same “symptom” in the operation of printing devices appears when their cartridges are filled with low-quality toner. First of all, you should replace the toner with a higher quality one and run the device in test mode. If the “dirt” does not disappear, it is worth checking the photo roller, and if there is severe or uneven wear, replace it with a new one.
It also happens that the printer begins to duplicate the image printed on the medium. This may indicate a problem with the charging shaft, or that this shaft has poor contact with the photo shaft.
Important! An experienced technician can easily restore the broken contact, however, most users prefer to replace the charging shaft with a new one.
Poorly printed, thin vertical lines on the printout are a clear sign that a small layer of toner has built up on the metering blade and is preventing it from working. The blade must be replaced, but if it is not possible to replace it, you can try to clean the plaque manually.
When replacing certain cartridge parts, it is very important to use original spare parts. In most cases, they cost more than their “left-handed” analogues, but only they are ideally adjusted to work with each specific model, while cheap analogues can lead to an increase in the wear rate of other parts, which will negatively affect the further operation of the device.
Printer problems
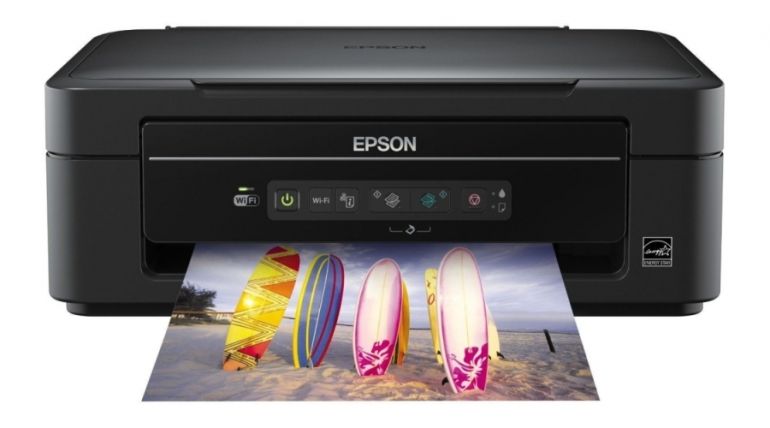 If none of the above helped restore normal operation of the device, then the problem probably lies within the device itself. In order to make sure that the problem is in the printer, experienced users use the so-called “stop test”. There are two ways to organize such a test:
- Start printing by opening the covers
- Disconnect the device from the power supply at the moment when the paper is under the photodrum, but does not fall into the fixing unit.
Next, you should look at the blank sheet, and if its cleanliness remains the same, then the “marks” on all prints appear precisely in the fixing unit. Experts attribute the following to the main reasons why a printer begins to smear on paper:
- Poor condition of thermal film
- Detachment of the “shirt” of the rubber shaft
- Incorrect settings
- Electronics problems
Unlike problems with low-quality toner, the above malfunctions sometimes entail, in addition to poor-quality printing, increased toner consumption, so experts categorically do not recommend delaying their correction.
How to fix problems?
 There should not be any visual defects such as burnt toner or traces of mechanical damage on the surface of a working thermal film. If a small amount of carbon deposits is present, you can clean it manually.
Important! Insufficient heating of the thermal film can also affect the quality of printing. Occurrence
This may be due to a malfunction of the sensor, which is responsible for the temperature regime during printing.
On such sensors in many devices, carbon deposits form over time, which must be periodically cleaned.
As for the problems with the “jacket” of the rubber rollers, in order to find out for sure its presence or absence, you will have to disassemble almost half of the device. Worn rollers with peeling coating must be replaced.
Often the reason for poor-quality and dirty printing lies not inside the mechanical parts of the device, but in incorrect settings that the user has set independently. A classic example in this case would be the paper thickness parameters specified to the device. If the paper in the tray is thin, and the device is set to work with thick media, this can often lead to excess toner consumption and the appearance of an unpleasant dirty background on printed materials.
If we talk about problems with electronics, then in most cases it is virtually impossible to cope with them on your own, in which case it is better to contact specialists from service centers, or send the device for repair under warranty, if there is one.
To summarize all of the above, it is worth noting that in order to prevent the printer from staining paper, it is worth:
- Set the device to optimal settings for the current media
- Follow the basic operating rules specified by the manufacturer
- Carry out preventive maintenance work in a timely and regular manner
- When replacing cartridges yourself, act carefully and use only high-quality materials
If you follow these simple rules, the printer will last a long time and will not stain the paper when printing.


