After refilling the cartridge, the printer prints in stripes
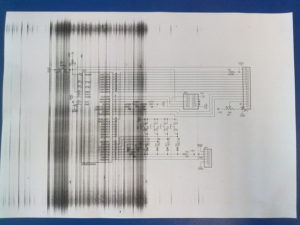 During operation of the printer, certain malfunctions may occur due to various reasons. Sometimes the printer starts printing in stripes. Why does this happen and what should I do to restore normal functioning of the device?
The content of the article
Inkjet printer prints in stripes: reasons
There are many reasons that lead to streaking when printing. First, let's look at the most likely causes of such defects during operation of an inkjet printer:
- low ink level;
- ink drying;
- violation of the integrity of the cartridge;
- technical failure of the print head;
- contamination of encoder elements.

IMPORTANT! More complex faults also occur. But it is impossible to identify and correct them without special knowledge and tools. To eliminate such malfunctions, you will have to take the device to a service center.
What to do if your inkjet printer prints in streaks
Let's take a closer look at the causes, ways to diagnose and eliminate them.
If the printer is equipped with a continuous ink supply system (CISS), then you can check its level simply by looking at the refill containers. There is another way. Almost every modern device has a sensor that allows you to determine the approximate filling level of the container. You can check this indicator in the software provided by the manufacturer along with the printer. And to solve this problem, you just need to refill the containers or replace the cartridge.
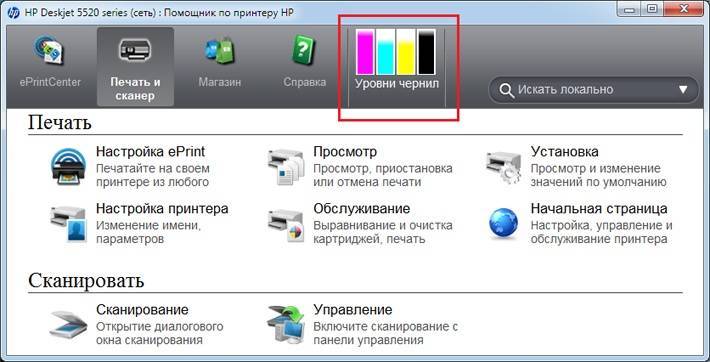
If everything is in order with the ink level, then you should check the technical condition of the cartridge. To check the integrity of the cartridge body, you need to remove it from the printer, carefully inspect it and shake it a little. This should be done over previously spread paper so as not to stain surrounding objects. If defects are found in the housing, the element must be replaced.
Then you should check the integrity of the CISS loop. Perhaps a crack formed somewhere or it was pinched during installation. Unfortunately, it is not always possible to fully check the cable without disassembling the printer, and replacing it is also a very difficult task, which is best left to specialists.
After checking the integrity of the CISS loop, make sure the condition of the filters for the air holes. During a long break in operation or after prolonged use, the filters become clogged and stop allowing air to pass through normally. When they become unusable, they should simply be replaced with new ones.
Another common cause is contamination of the encoder tape. This is a translucent plastic film that runs along the movable carriage. For cleaning, use a soft cloth soaked in detergent. After cleaning, you must wait 30 minutes to allow the encoder strip to dry.
Perhaps the most unpleasant failure will be contamination of the print head. But manufacturers have provided a simple cleaning method. In the printer software, there is a “Maintenance” tab - in it you can start cleaning the nozzles. True, not every inkjet printer has such a function.
If software cleaning does not help or is absent altogether, then you should manually clean the nozzles with a special cleaning agent.
IMPORTANT! Do not use water or other cleaning agents. Due to the inappropriate density of the liquid, it will leak or clog the nozzles even more. Only specialized liquids should be used.
If, after carrying out all possible manipulations, the device continues to produce sheets with stripes, then you should take it to a service center.
Why do streaks appear when printing on a laser printer?
Banding when printing on a laser device is a common problem. The main reasons for the appearance of such defects:
- low ink level;
- damaged integrity of the cartridge body;
- technical malfunction of the photodrum;
- damage to the magnetic shaft or small objects falling on it;
- overflow of the excess toner bin;
- poor installation of the dosing blade;
- poor contact of the magnetic shaft with the photodrum.
There are many more reasons for poor-quality printing on a laser printer. But they are much less common and fixing them yourself is very problematic.
How to eliminate stripes when printing on a laser printer
To diagnose the cause of poor printing, it is worth analyzing the specifics of the streaks that appear - this will allow you to accurately determine the cause of the malfunction.
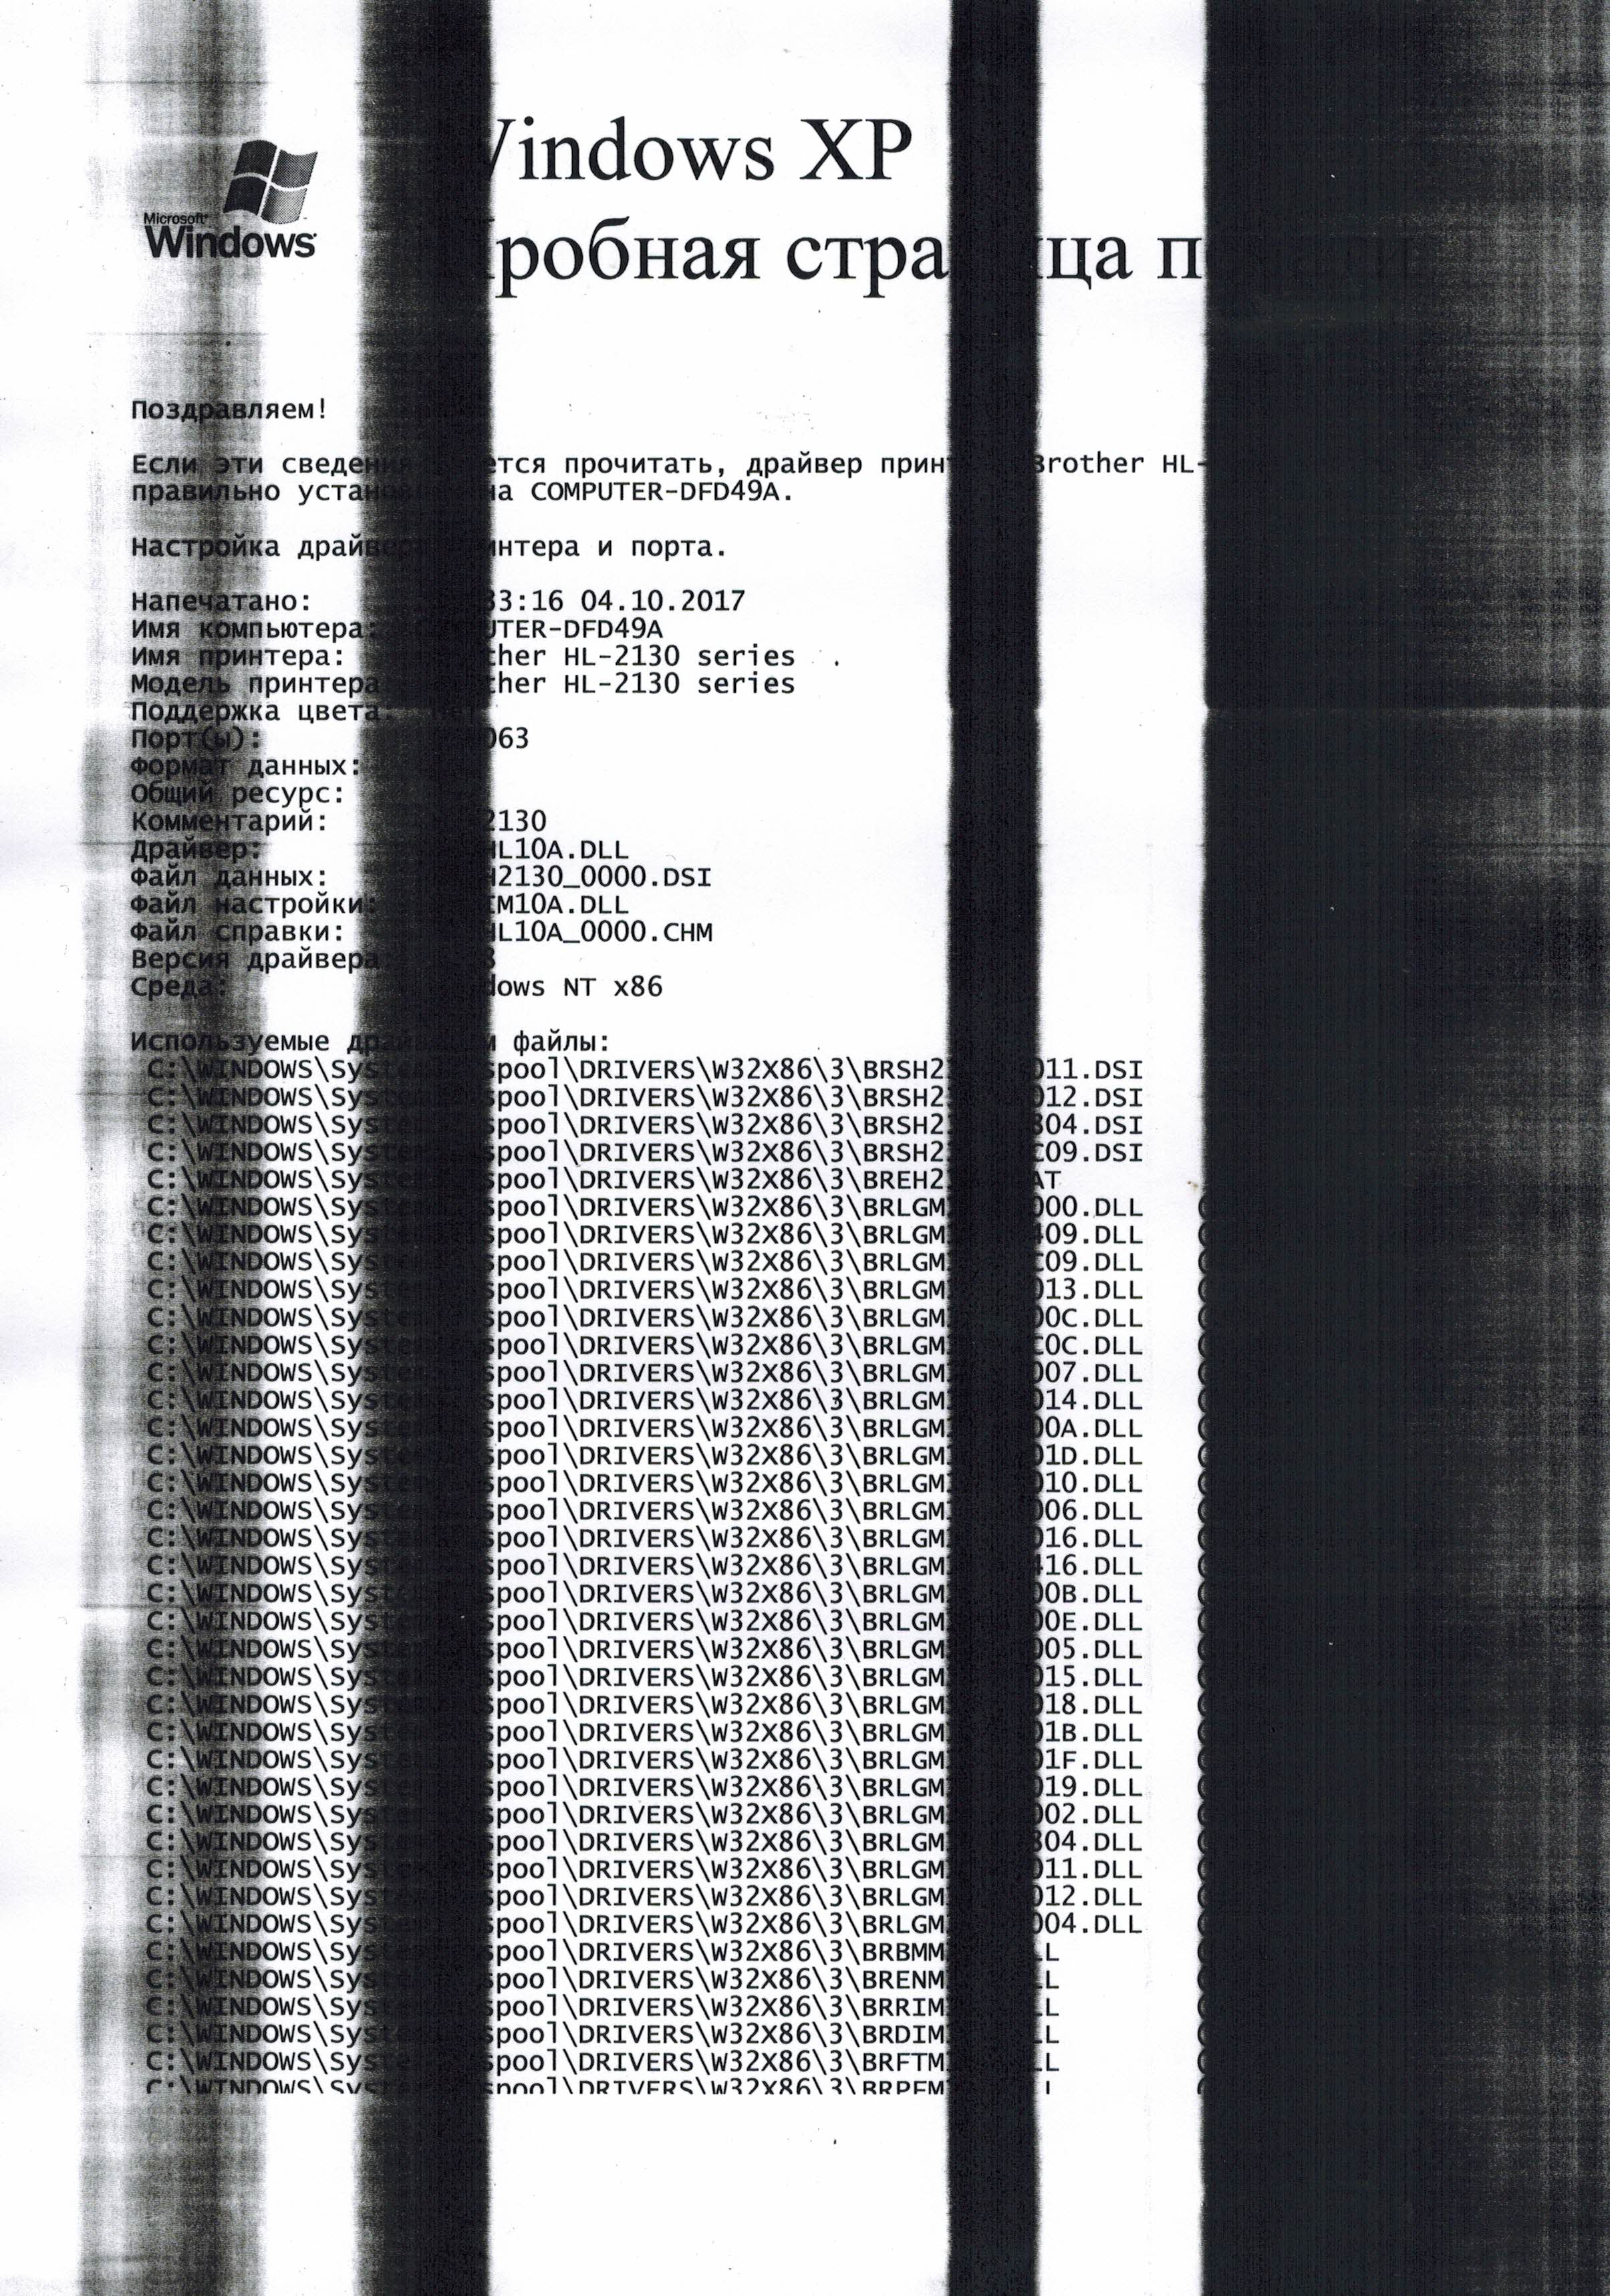
A stripe in the middle of the sheet indicates low toner levels - which means it’s time to replenish it or replace the cartridge. If the toner level is within the acceptable level, then the defect is in the supply system.In this case, you must contact the service center.
The streaks, which look like small dots, appear for two reasons. The excess toner container is full or the toner dispensing blade is not secured correctly. In 9 out of 10 cases, the problem will be in the container, so you should check that first. If the container is not full, check the blade and adjust it if necessary.
There are two reasons for the appearance of frequent, poorly printed stripes - either the toner is running low, or debris is stuck to the magnetic roller. To solve the problem, the toner supply needs to be replenished and the magnetic roller cleaned.
Dark stripes located along the edges indicate the failure of the photodrum. This is also often due to normal wear and tear. And unfortunately the part will also have to be replaced.
If there are black, winding stripes running across the entire sheet, most likely a low-quality toner was used for refilling. If you have recently refilled a cartridge, you need to clean it and refill it with good toner. But sometimes it is possible that the optical system or magnetic shaft is simply dirty. Then you just need to carefully clean them.
You can fix most printing problems yourself. But you shouldn’t get carried away with this process. Printer parts are very sensitive to damage and careless actions can completely damage the device.


