The printer does not print after refilling the cartridge
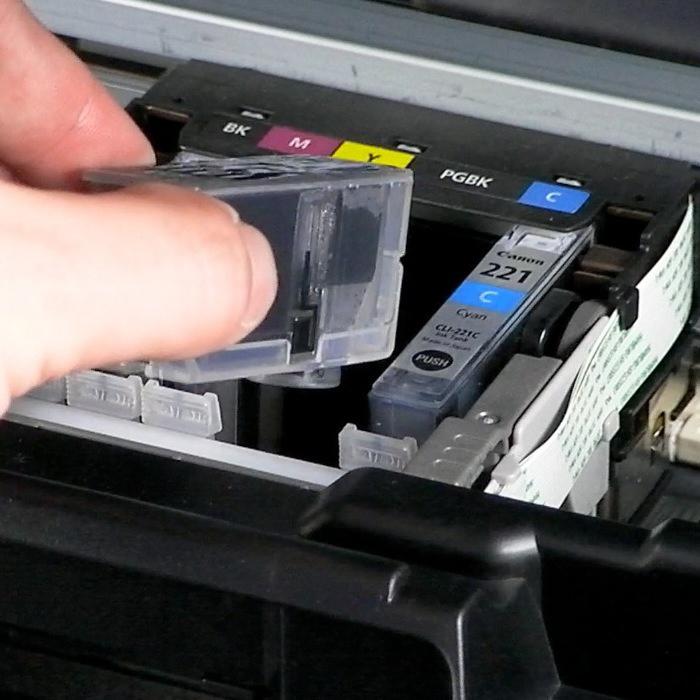
 One of the main elements for the operation of the printer is the cartridge. The ink or polymer powder it contains (depending on the model) is applied to a paper medium under the influence of temperature, forming a print. Manufacturers are trying to block the possibility of using “non-native” consumables and components, so it is recommended to buy a new original cartridge each time.
However, this costs a lot of money, so many users resort to refilling. Sometimes, after installing a refilled cartridge, problems may arise; the system displays a warning about problems when printing. We will look at possible causes of this problem and ways to resolve it in our article.
The content of the article
Why does the inkjet printer not print after refilling the cartridge?
Before you begin to restore normal operation, you should identify the cause and assess the level of complexity of the problem. Most often, when working with the inkjet version, the following malfunctions may occur:
- The use of paint from another manufacturer may not be supported by the equipment.In this case, the printer does not recognize the cartridge.
- Mechanical damage to the housing and sensors as a result of refueling.
- Some modern models use special recognition chips. If used again, they may become invalid.
- Incorrect installation of the element in the special compartment.
- Covering the print heads with special tape. Sometimes users forget to remove it before use.
Some reasons may be hidden not in mechanical damage, but in software and operating system failures. In this case, it is recommended to contact a specialized service center.
Attention! Manufacturers often warn that the use of components from other manufacturers is a reason for denial of warranty service.
What to do if the printer does not work after refilling the cartridge
If you encounter this situation, try to determine the source and fix the problem yourself. You should not immediately disassemble the equipment and replace parts. This may cause damage and deteriorate the condition of the equipment. Also, you should not change system settings if you do not have experience in this area.
Full restoration of functioning is a complex process consisting of several interrelated stages. If you are unable to find the cause of the problem, use the step-by-step instructions described below.
Software diagnostics
If a normal reboot and checking that the cartridge is installed correctly does not help restore printing, try troubleshooting the software. To do this, follow these steps on your computer:
- Connect the printing equipment to a power source and connect it using a wire to the computer.
- When connecting for the first time, download the software and drivers using the installation disc.
- Go to the system settings and set the value to “Default” to print documents on the selected printer.
- Also clear the print queue if necessary. To do this, you will need to open Print Manager.
- If the Print Pause button was enabled, disable this feature.
Important! For smooth operation, it is recommended to periodically update software components and drivers.
Troubleshooting a head cartridge
When using a cartridge in an inkjet printer, problems with the print head may occur. The following types of malfunctions are distinguished:
- Nozzle clogged with dried paint. This can occur if the container is left outdoors for a long time.
- Erasing the working surface and damaging the chip designed to recognize the cartridge by the device.
- The resource for reinstalling the sensor has been exhausted.
Depending on your specific situation, your recovery plan will vary. First, remove dried ink by automatically or manually cleaning the nozzles. After this, make sure the chips are working normally. If possible, replace them. Place the container in the printer body and try printing a test sheet.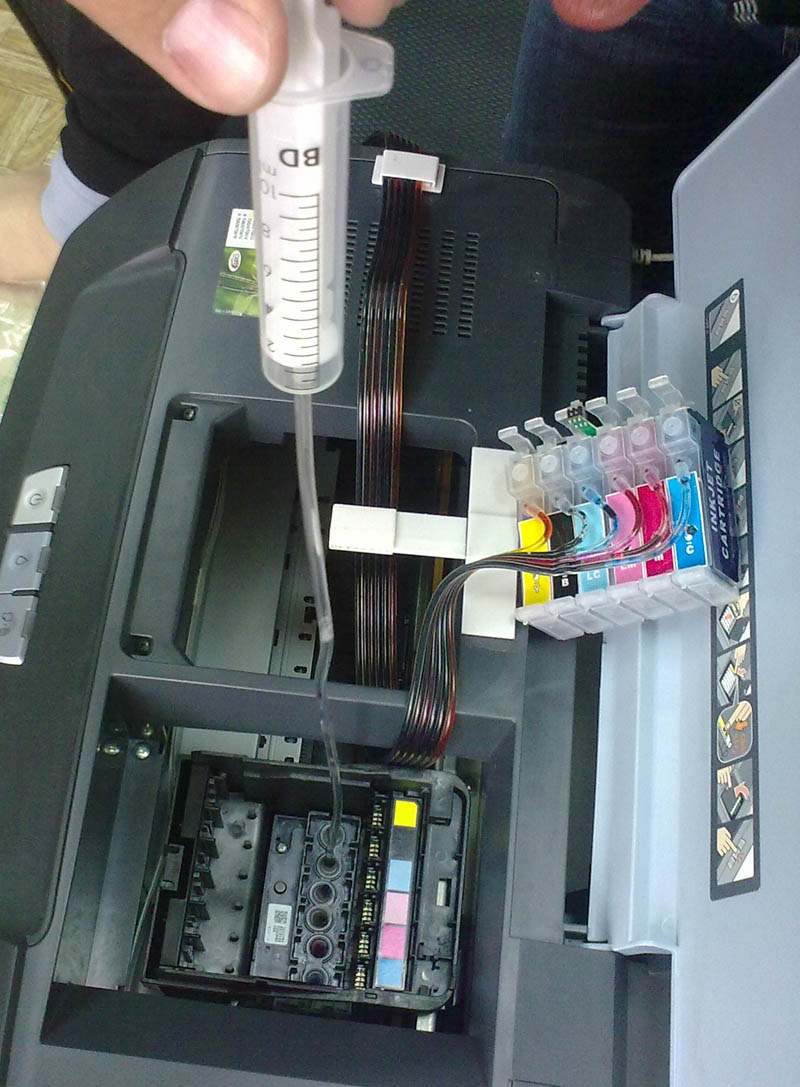
Solving the problem for a device with a stationary print head
If the device you are using has a stationary print head, then the troubleshooting process will differ from the previous option. Since in this case the head is built inside the printer body and there is no way to remove it, replacing the cartridge will not bring results.
In this case, complete disassembly of the internal elements will be required. If you do not have experience in repairing this equipment, it would be better to contact a special service center.
If the laser printer does not work after refilling the cartridge
Laser types of devices use special elements with coloring polymer powder (toner). If, after refilling it, you have a problem when printing documents, try the following:
- Open the cover covering the internal elements of the device.
- Disassemble the cartridge body and remove any remaining powder from the inner chamber.
- After this, clean the drum, removing adhered powder from the surface.
- Pour new resin material into the hole. After refueling, brand it or close it with a special plug.
- Then put everything back in place to continue printing documents.
The above recommendations may help if the printer is not functioning properly.