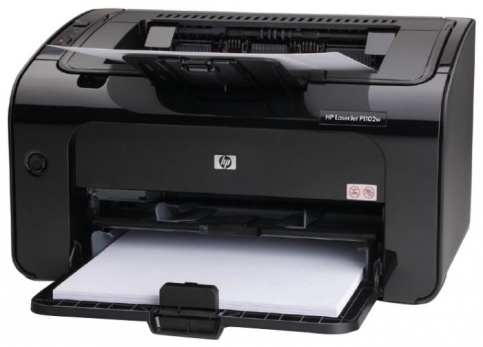
The computer does not see the printer
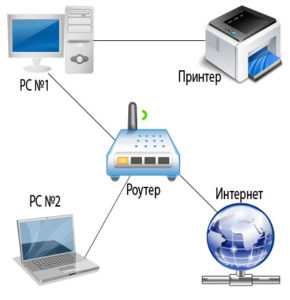 A computer is a complex mechanism that works with information and performs many functions simultaneously. However, to carry out all processes and ensure fast and consistent work, special devices that connect to the computer have been developed. They are divided into equipment for input and output of information. It happens that the printer does not see either Word or the laptop. The situation when word is to blame is somewhat more complicated.
The content of the article
Most common reasons
In order for everything to work properly and without interference, you need to connect the equipment correctly and then configure it. Sometimes at this stage problems of various kinds may arise (from damaged wires to complex failures in the program). To solve them, you need to read the instructions or find information on the Internet. Today we will share instructions for connecting the printer, talk about possible problems and ways to fix them at home.
If there is no connection, do not immediately disassemble the case or contact a service center. Perhaps the reason why the computer does not see the printer can be solved quite simply. All malfunctions are divided into mechanical damage and failures in the system software. The most common of them are the following options:
- Disconnecting wires from the power source or computer. Damage to the cable due to frequent bending.
- Breakage of equipment casing and damage to boards and microcircuits.
- Incorrect connection of wires to connectors.
- Incompatibility of equipment in the absence of software and drivers.
- Incorrect settings for access and output of printed files.
- Viral damage to the system by malware.
Try to inspect the equipment yourself to identify the source of the problem. For example, the cord may not be fully inserted, it is simply visible only up close. If you find it difficult to do this, click on diagnostics to automatically search for errors in the system.
IMPORTANT: Periodically inspect the housing and perform preventative cleaning of the equipment to prevent malfunctions.
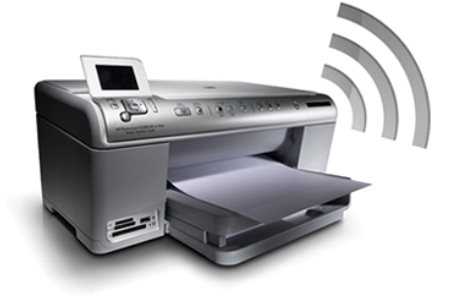
Why can't my computer see the printer via wifi?
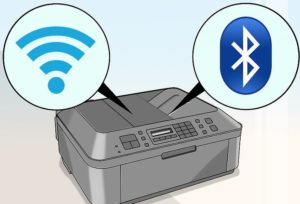 There are two main types of printer pairing commonly used. Recently, the wireless option of pairing equipment has become the most popular. If your printer uses this method, but the computer does not see it, the most likely problem is the following:
- The device is unplugged or disabled using the button on the control panel.
- The Wi-Fi system is turned off on the computer itself in the settings menu.
- The printer does not support this feature. Some models are not equipped with such a system.
- A failure occurred in the settings, as a result of which the list of paired equipment was deleted.
Check the correct connection according to the points presented above and correct any deficiencies. After this, the system should recognize the new connected equipment, in which case a dialog box will appear with a choice of possible options for further actions.If this does not happen, try connecting the device using a proven method via a wired connection.
Why can't I see it via USB?
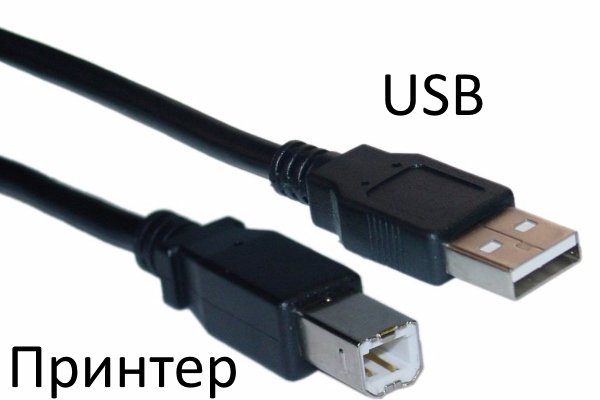
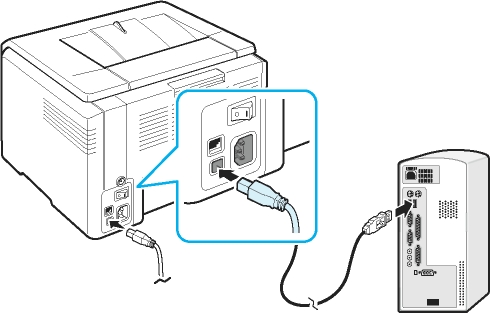 A wired connection appeared earlier; its essence lies in the use of special cables and connectors to connect various equipment. This method is the most reliable, since everything depends only on the condition of the wire. Therefore, network interference will not cause the printer to malfunction. However, despite the advantages, even with this option problems may arise:
- Wires coming away from the connector. This situation is especially relevant during a long period of operation, when the sockets move away from the main body.
- Damage to the wires both outside (visible break) and inside under the braid (can only be detected with a multimeter).
- Mismatch between socket and cable connectors. In this situation, suitable adapters can be used.
- There is a problem with the settings for recognizing connected equipment.
This type of problem can also be solved independently; it is enough to replace the failed elements to restore operation.
IMPORTANT: Try connecting a flash drive or other equipment to the connectors to check. If the device works, then the connector is not damaged. In this case, you need to look for a problem in the wiring or printer.
How to connect the printer correctly?
If this is your first time connecting equipment, you need to familiarize yourself with the sequence of actions performed. To do this, you can use the step-by-step plan and instructions for connecting the equipment. But since the algorithm will change slightly when using different operating systems, it is worth understanding each case separately.For convenience, we offer a description of the printer connection diagram when working with the latest versions of Windows.
 In Windows 7. Let's start in order with the earlier version. In Windows 7, the basic algorithm of actions and a step-by-step description of the manipulations will be considered. In the future, it will be used as the basis for two other versions of the software with minor changes. Get started:
- Connect all items to the power source.
- Use a wired connection using a USB cable. Plug it into the corresponding connectors on the panel.
- Go to the “start” menu on the desktop, in the search bar enter the name of the brand of your printer under which it is recorded in the system.
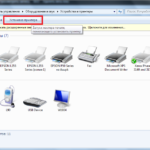
- Click on its display; if this item is missing, go to the “devices and printers” menu.
- Right-click and select “add new...”. Select the desired option from the list provided.
In Windows 8. In this version, the interface has been slightly changed, so the path to the desired section will be different. Follow the basic plan for Windows 7, but after launching the Start menu, follow other instructions:
- Go to the "hardware and sound" section.
- Next, select the “devices and printers” line.
- Click on the "add" button.
- After this, an installation dialog box will open.
On Windows 10. In the modern version, the installation path will be even easier. Despite the updated interface, it is still easy to navigate. You just need to go to Start, then to “Settings”. From this section, go to “devices”. From the “printers and scanners” tab, select the equipment model you are interested in, click on the button labeled “add”. After this, the installation will complete. Now you can use the printer and print documents.
What to do if the computer does not see the device?
 If, after performing all connection steps correctly, the computer does not recognize the device, the problem may be due to incorrect configuration. But to be completely sure, perform the following manipulations:
- Check that all wires are present and connected to the correct connectors. Buy adapters if necessary.
- Turn on the equipment by pressing the appropriate start buttons.
- Check the system settings to ensure the printer is functioning normally. Select the operating mode, pairing method, print format...
- Go to the main menu, then to “devices and printers”. View basic information about the model.
- If necessary, update the software and reinstall the drivers.
- Download the Microsoft fix it app to automatically fix problems.
- Restart your computer by completely unplugging it and then plugging your device back in. When turned on again, modern printers automatically search for problems and fix them.
This way, you can accurately diagnose the problem and solve it, with all systems involved. For a thorough analysis, you should contact a service center. In general, there is a dispatcher to find errors. If devices are not displayed, or only the printer has stopped displaying, the problem is in the computer.
IMPORTANT: Keep the warranty card; using it, they will be able to provide you with free assistance in fixing the problem or replace the equipment. However, do not carry out repairs yourself, otherwise the warranty will be void.
There are usually no difficulties when working with printers. They have a clear display and operating method.If you have any questions, read the instructions that come with the purchased equipment. It will also be useful to use some tips:
- Periodically clean the printer to remove accumulated dirt and dust. Refill cartridges and replenish paper supplies in a timely manner.
- Carry out preventive diagnostics of all systems.
- Work only with a connected antivirus to ensure the security of the data you use.
- Avoid mechanical and thermal effects on the case, this can lead to damage to the structure and malfunction of the microcircuits.
- Try to periodically replace outdated parts. During long-term use, it is necessary to completely replace the equipment.

