How to remove a cartridge from a printer
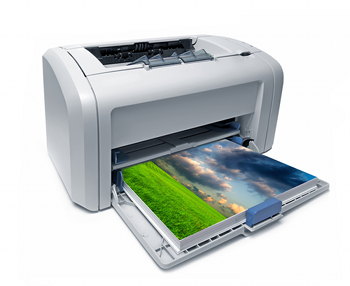
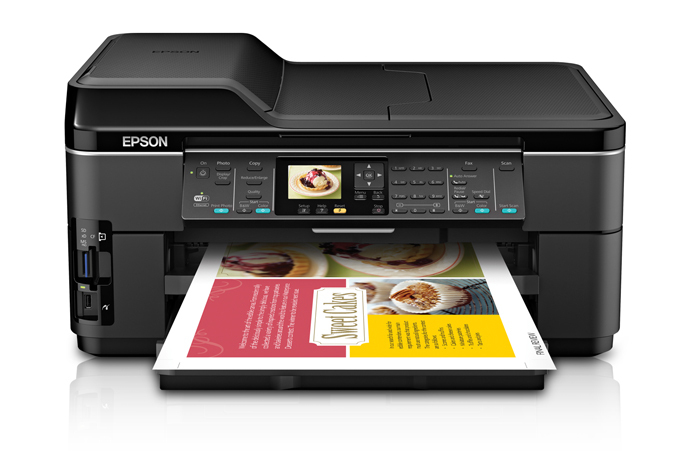
 Nowadays, printers are used to print documents and files. These are special peripheral devices that connect to a computer and convert information from an electronic format in a database to paper. The process of operation of any printer consists of sequential execution of a certain cycle. It consists of several main stages:
- Connecting equipment to a power source and recognition by a computer program.
- Setting the print format and the quality of the resulting display.
- Loading the cartridge and paper, starting work.
- Sequential printing of document pages.
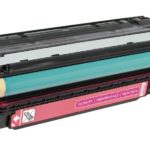
This happens every time you use the program. As can be seen from the described manipulation plan, one of the main elements for carrying out the work is the cartridge. For normal printing, you need to monitor its condition, the amount of ink... After it is completely used up, you need to refill it or completely replace it with a new element.
The content of the article
How to remove the cartridge?
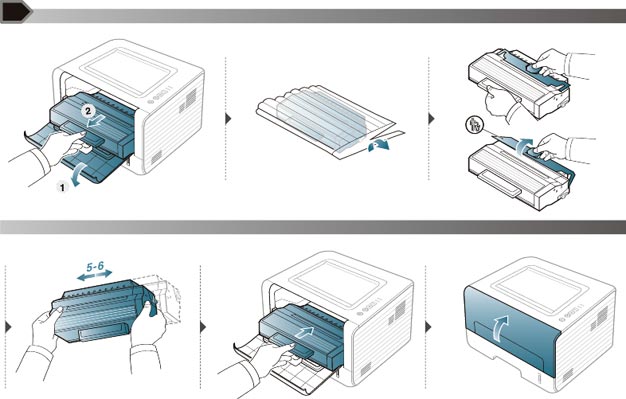
Before you begin installing the new element inside the printer body, you must remove the old cartridge. This is quite easy to do, especially if you have experience working with technology. However, if you are performing the manipulation for the first time, it is better to use the step-by-step instructions and carefully remove the cartridge from the printer body. To do this, follow the instructions:
- Prepare your work area, remove excess jewelry from your hands and roll up your sleeves for convenience and to prevent paint from getting in.
- Carefully lift the printer cover and look inside the case. During operation, some parts may become very hot; be careful when touching parts.
- Find the cartridge; in some models it can be held in place by special clamps. Gently pull them away without sudden movements so as not to break them.
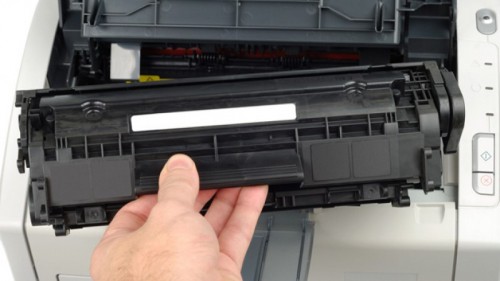
- After releasing the clamps, pull the special handles or recesses on the cartridge. If it gets stuck, you should contact a service center for help. Sudden and strong movements can damage the equipment.
When you open the case, the cartridges may continue to move for some time without applying ink; you should not stop them yourself. Wait a while until the movement stops, then remove them.
IMPORTANT: Different versions of the equipment have their own characteristics when installing removable parts; for convenience, you should read the instructions and watch training videos.
You must remove the cartridge very carefully, since it contains many small parts, damage to which can adversely affect print quality.
How not to get dirty with paint?
 An important point when replacing a cartridge is the presence of remaining ink in it. The problem is that the coloring composition located inside the element can stain human skin and surrounding objects. In order to protect yourself and the elements of your home interior, use the following tips:
- Prepare your work area, place sheets of paper on the surface. Remove unnecessary items from the table.
- Put on an old apron or cover your body with a towel.Be sure to put gloves on your hands; you can use old knitted ones that you haven’t used for a long time.
- Also stock up on rags or napkins to quickly remove paint that gets on your skin or clothes. Keep some solvent on hand to remove the paint when it dries.
IMPORTANT: Do not shake or invert the cartridge to check the remaining ink levels, as this may cause ink to leak.
Of course, different types of paint or polymer powder (toner) have different effects and require special precautions. In some cases, it will be useful to use personal protective equipment: rubber gloves, respirators, safety glasses.
How to refill a cartridge?
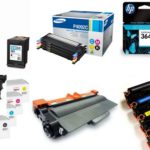
After you have removed the old element, you can replace it with a new one, but to save money you can use refilling at home. This is easy enough even for a beginner, but some questions may arise the first time you try. A step-by-step plan for performing the manipulation will help you answer them:
- Prepare paint and a syringe to inject it into the cartridge body.
- Using the plunger, fill the syringe container to the top line. Do not fill to the limit, otherwise the paint may spill out.
- After this, find the hole on the outer casing and insert the syringe needle into it. Begin to carefully and smoothly pour the ink into the container, filling it.
- The final step is to seal any existing holes in the cartridge to prevent ink loss.
 If you use laser printer toner, the process will be slightly different:
- Prepare personal protective equipment, as polymer powder is highly toxic.
- Remove the element from the printer body and inspect its walls. There should be a hole on the top cover. If it is missing, you need to burn a small hole in the wall.
- After this, use a special funnel to pour the powder into the free chamber.
- Then cover the hole with a plug or duct tape.
- In some cases, it is necessary to apply a special chip to the cartridge (included in the kit) so that the computer and printer software can recognize it
This option is suitable when using universal equipment and suitable coloring material for refilling. Some manufacturers limit the ability to work with non-native elements; it is worth considering this before trying to insert a refilled cartridge. Information can be found on the cartridge body or in the printer manual.
IMPORTANT: Do not leave the printer for a long time without a cartridge, this can lead to malfunctions and deterioration in print quality.
Therefore, it is recommended to quickly replace or refill the paint in order to quickly restore the operation of the equipment.
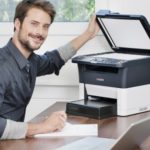
How to insert the cartridge correctly?
After refueling, the easiest step remains; now you need to insert everything into its original place. To accomplish this, do the following:
- Disconnect the needle and syringe and rinse them thoroughly until the dye is completely removed.
- Place the cartridges on a flat surface with the holes facing up to allow the paint inside to settle.
- Now determine the previous location on the moving carriage. Turn off the printer to prevent the print heads from moving and interfering with the main process.
- Pre-open the holes by removing the tape or tape covering them to allow paint to enter the nozzles.
- Without sudden movements, insert the element into the device until a characteristic click appears, indicating correct installation. Don't push with force.
- If there are retaining clips, move them slightly to ensure that all components are installed neatly.
 This way you can definitely refill the cartridge or install new equipment if necessary. This will significantly save your money and time.
To improve performance and increase productivity, read additional information about your equipment and use these tips:
- Diagnose and troubleshoot operational problems.
- Periodically clean the structural elements from dust, dirt and foreign elements.
- When refilling cartridges, do not mix different compounds, this will damage the printing machines.
- If the equipment does not support foreign parts, try not to use them.