How to insert paper into the printer
 Beginner users of office equipment often have questions about loading paper into the printer. In order for the device to operate quickly and efficiently, you need to know some nuances. Read further in the article about common printer paper sizes and where and how to insert it for smooth operation of the device.
The content of the article
Where to insert paper in the printer
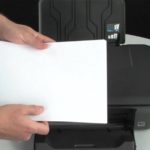
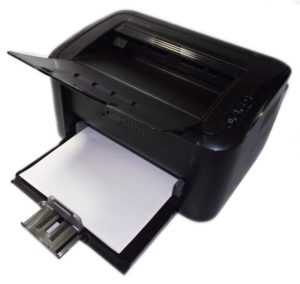
The paper is inserted into a special tray, which, depending on the device model, can be located either at the top or in the front. For rear-loading printers, lift the input tray to the locked position. Next, pull out the width guide as far as possible and begin threading. When front loading, pull out the input tray using the handle, if equipped. You should know that the tray settings are fully adjustable depending on the length and width of the sheet. After all, if the format is set incorrectly, it will wrinkle and ultimately the printer will jam it and stop.
ATTENTION! In most cases, printing problems occur when the tray is not adjusted correctly. Therefore, special importance should be given to this issue.
First of all, you must use paper that is suitable for the printing device and printing purpose. It is advisable to study in detail the instructions supplied with the device or find them on the manufacturer’s official website. We list the most common formats:
A4 format.This is the standard size for all copier models. It is used for printing documents, reporting forms, magazines, and letters. This type is characterized by ease of use, accessibility and low price.
A3 format. Used for printing newspapers, charts, demonstration tables and other materials on special technical devices. This is the optimal size, allowing you to work with complex projects on one sheet. However, it is less convenient than the A4 format.
REFERENCE! It is not advisable to use writing paper for printing.
How to insert paper correctly
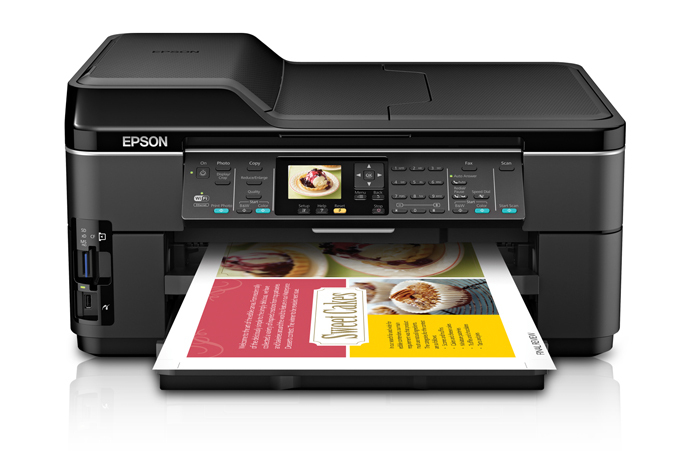
 Before starting work, carefully read the available instructions for the device. Next, we describe the process using an HP printer as an example:
- First, open the front cover. In most cases, it folds back easily.
- Pull out the width guide as far as possible.
- Extend the paper tray if it exceeds its length.
- Next, you should set the tray settings for the specific dimensions of the material.
- In this case, the sheets or stack are loaded with the short edge first.
- We adjust the fixing device: it should be installed as tightly as possible. There are two retaining pieces at the edges and one is used to secure the start of the stack.
- If the A5 format is taken, then it is launched into a single feed, and then the width is adjusted.
- If several A5 sheets will be printed, they must be placed in the lower tray.
- Then the clamps are moved all the way, which avoids distortions and sheet jams.
- Slide the input tray back into the printer.
IMPORTANT! To make sure that the device works correctly, it is better to use the test print function.
You should be aware that using the printer on an uneven or unstable surface will cause the media to skew and cause various setup problems. Also pay attention to the following nuances in the work:
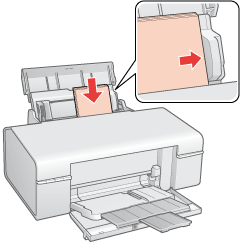
- Load paper into the top tray with the short edge facing down.
- The leaves should be shaken or leafed a little so that they do not stick to each other.
- The sheets collected in a stack are trimmed by hitting it on the table surface.
- In the computer settings, you need to select the type of material used. For example, it could be photo paper.
Use the paper tray carefully, as it can quickly and unnoticed be moved, thereby disrupting the progress of your work.
It will take very little time to learn how to properly load paper into the printer. In the future, this will help to avoid problems with product damage or operational failures. We hope that this article will be useful and help you avoid annoying mistakes.