How to print from a computer screen to a printer
 In addition to text documents, many users can print pictures and photographs previously saved on their computer. But what if you need to print an image of the screen itself or the data displayed on it? Almost every device has a function such as taking a screenshot, as well as printing the image displayed on the monitor.
The content of the article
How to print from the monitor screen using the “Print Images” application
If you need to print a page from a website or an image opened in a separate tab, just go to the desired tab and right-click to open all possible functions. In the window that appears, you must select the “Print” function.
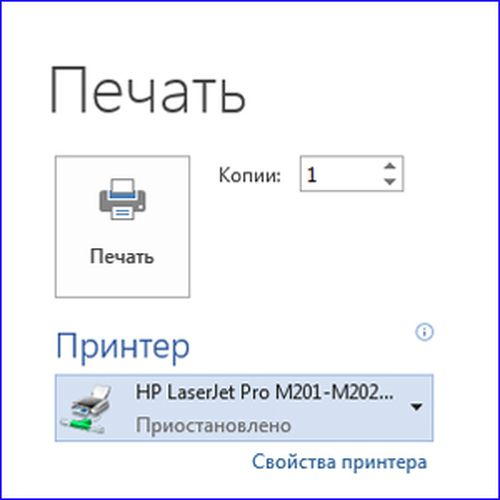
If you use hotkeys, you can significantly simplify the process by holding down the combination consisting of Cntrl + P. In the menu that opens, you can select the printer, as well as set the required margins, scale, indents, page orientation, their number and number of copies.
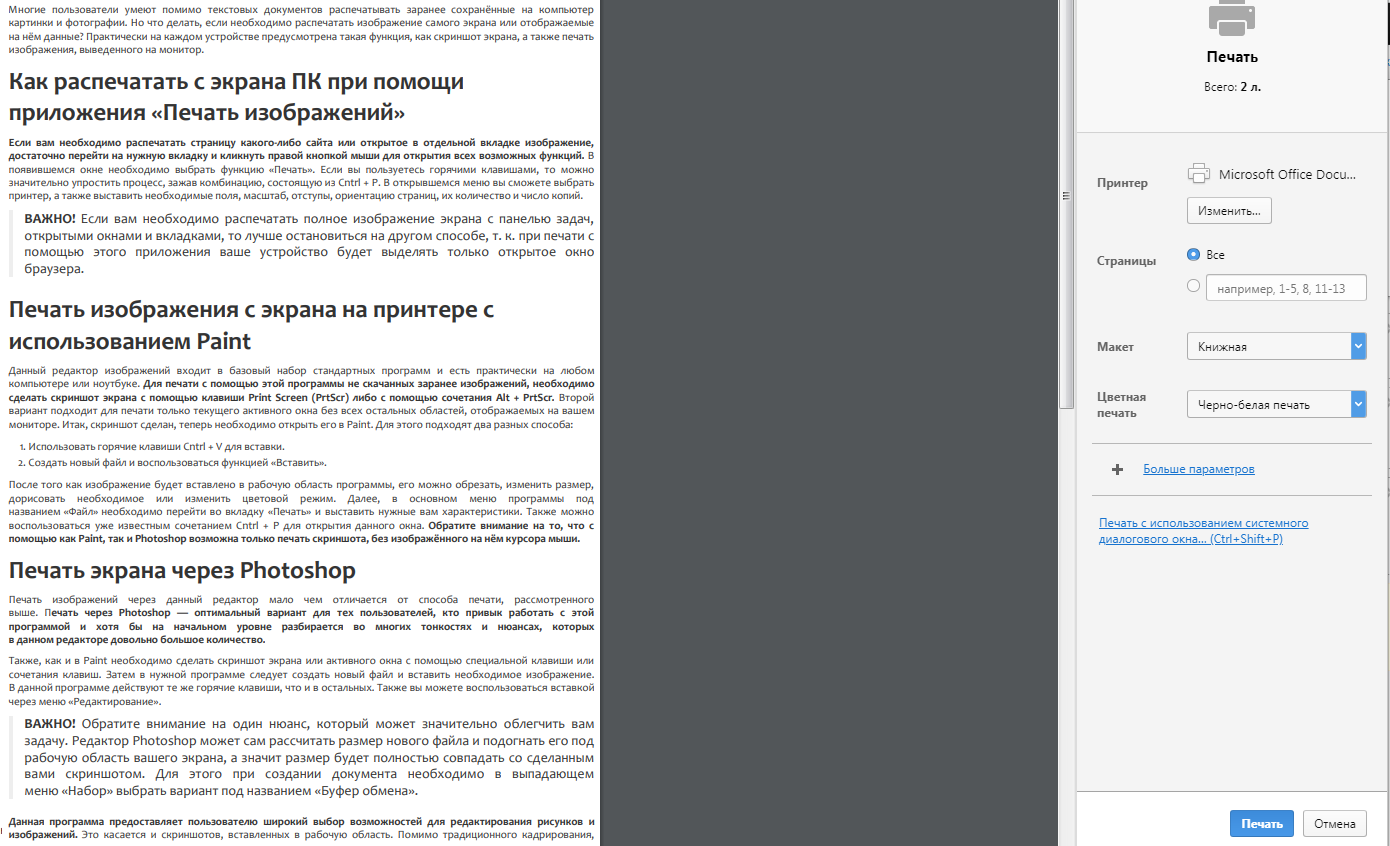
IMPORTANT! If you need to print a full screen image with the taskbar, open windows and tabs, then it is better to choose another method, because...When printing using this app, your device will only highlight the open browser window.
Printing a Screen Image to a Printer Using Paint
This image editor is included in the basic set of standard programs and is available on almost any computer or laptop. To print images that have not been downloaded in advance using this program, you need to take a screenshot of the screen using the Print Screen (PrtScr) key or using the Alt + PrtScr combination. The second option is suitable for printing only the current active window without all other areas displayed on your monitor. So, the screenshot has been taken, now you need to open it in Paint. There are two different ways to do this:
- Use hotkeys Cntrl + V to paste.
- Create a new file and use the “Insert” function.
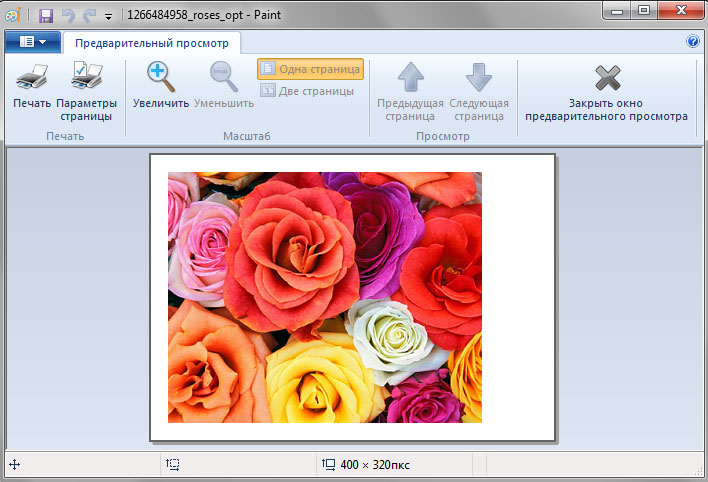
After the image is inserted into the working area of the program, you can crop it, change the size, add what you need, or change the color mode. Next, in the main menu of the program called “File”, you need to go to the “Print” tab and set the characteristics you need. You can also use the already known combination Cntrl + P to open this window. Please note that using both Paint and Photoshop, you can only print a screenshot without the mouse cursor depicted on it.
Screen Printing via Photoshop
Printing images through this editor is not much different from the printing method discussed above. Printing through Photoshop is the best option for those users who are used to working with this program and at least at an elementary level understand many of the subtleties and nuances, of which there are quite a lot in this editor.
Just like in Paint, you need to take a screenshot of the screen or active window using a special key or keyboard shortcut. Then in the desired program you should create a new file and insert the required image. This program has the same hotkeys as the others. You can also use paste through the Edit menu.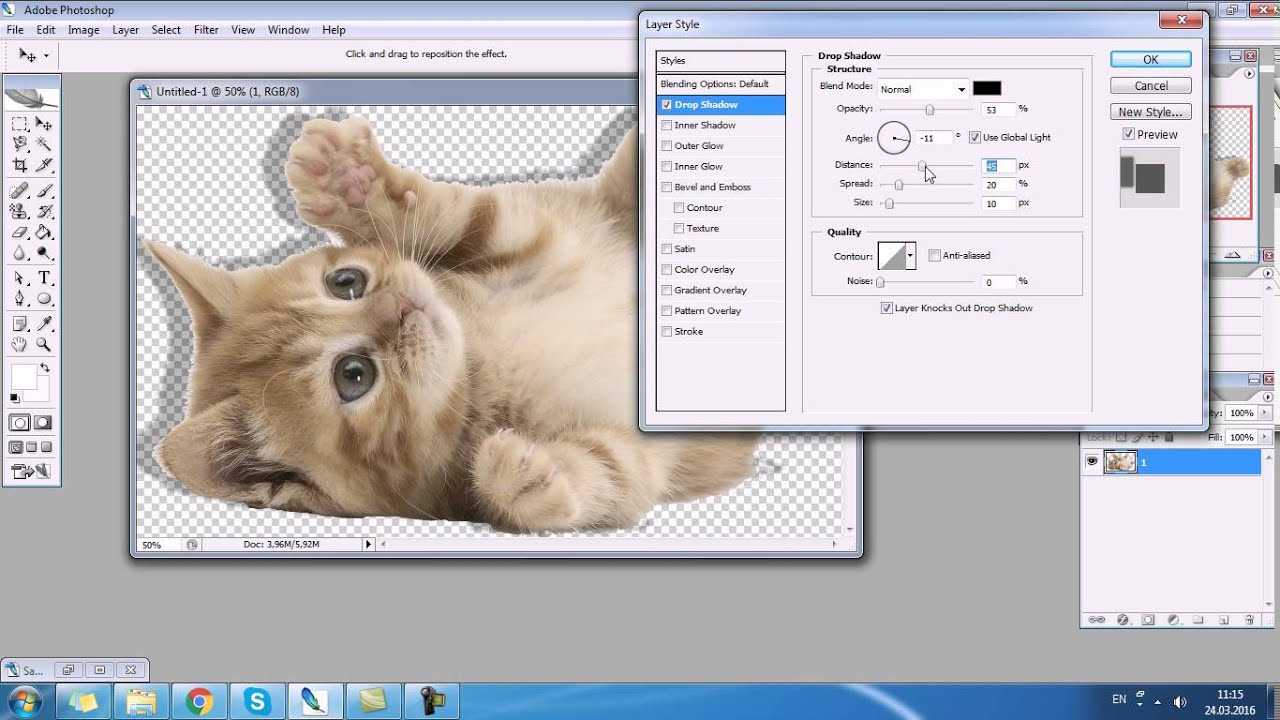
IMPORTANT! Pay attention to one nuance that can make your task much easier. The Photoshop editor can itself calculate the size of the new file and fit it to the working area of your screen, which means the size will completely match the screenshot you took. To do this, when creating a document, you need to select the option called “Clipboard” in the “Set” drop-down menu.
This program provides the user with a wide range of options for editing drawings and images. This also applies to screenshots inserted into the work area. In addition to traditional cropping, changing sizes and color settings, you can stretch or narrow the picture, change the angle of tilt or rotation, display in the desired direction or cut out everything except the area you need, no matter what shape it may be.
After all the manipulations are done, all that remains is to print the image, which is also possible in this program. Use the keyboard shortcut Cntrl + P or open the print window through the main menu.
Screen printing using PickPick
This program is an indispensable assistant if you need to take a screenshot on which the mouse cursor will be displayed. You need to download it in advance, because it is not included in the standard software package.
If this is relevant to you, after installing the program, in the “Capture” menu, activate the copy mouse pointer function. The program settings themselves will be available after you click on the program icon located on the control panel with the right mouse button. Before this, do not forget to select the Russian interface language and make sure that the program is installed correctly on your device.
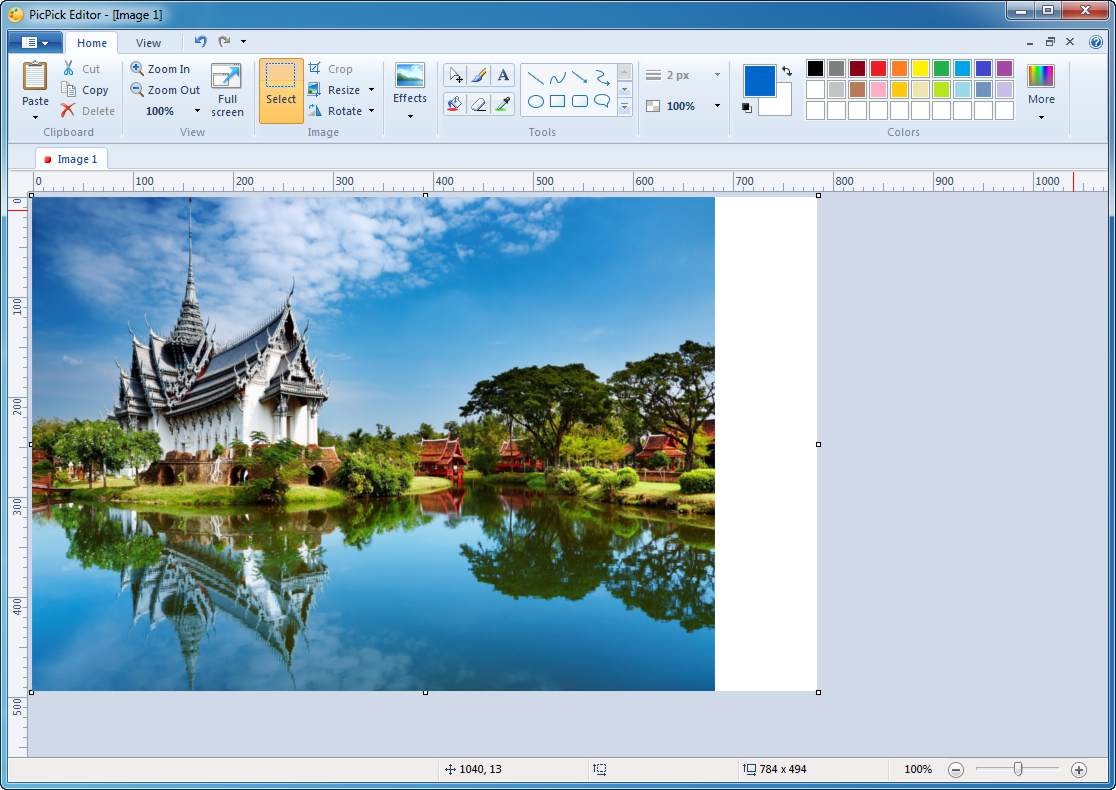
Now, after pressing the Print Screen button, the program will automatically open the image editing window. After editing, you can either print the image immediately or save it to your device for later printing.
Also, the PickPick program allows the user to independently configure hot keys, selecting them individually depending on what is more familiar or convenient for you. Instead of the PrtScr key, you can choose any other one. These settings will only apply within this program and will not in any way affect the operation of other applications that you are used to using for everyday work.
If you need a certain image or screenshot more than once, but you, like many, sometimes forget to save work files, the function of auto-saving the image to your device will be an indispensable assistant. You can activate automatic saving in the “save” menu. This setting will continue to work the next time you use the program.

