How to print a test page on a printer
 After purchasing a new printer, it is very important to check whether all elements of the working system are in working order. This is why you need a test page. How to do this more correctly, read on...
The content of the article
How to print a test page
This can be done in several ways - with the help of a computer and without its participation. To test the operation of the printer in the first way, follow this algorithm:
- Click “Start” and in the taskbar on the right, select “Control Panel”;
- Select “Printers”, in the pop-up window, use the right mouse button to click on the required device. Next, in the pop-up context menu, select the “Properties” section;
- In the "General" section, click "Test Print".
IMPORTANT! If you are using the printer for the first time or after a long break in use, you must wait about 30 seconds. This time is needed to ensure that complete information about the operation of the system is collected. The parameters of such a page do not need to be configured; they are provided by default.
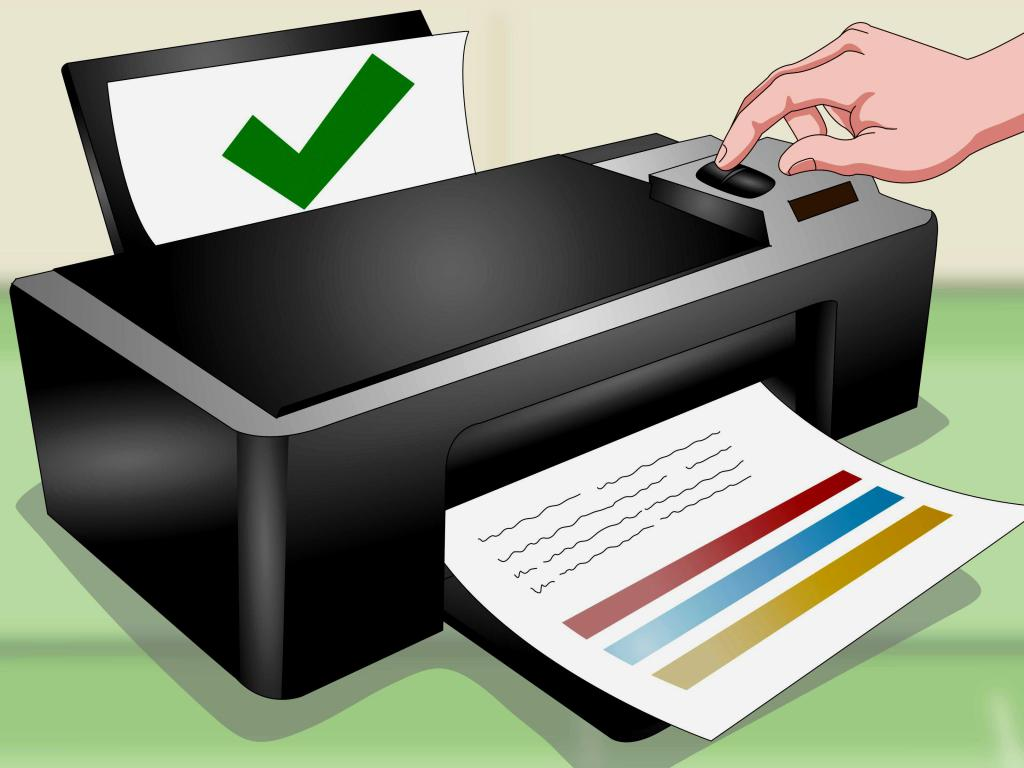
You can check the quality and operation of the device without connecting to a PC. The first step is to load paper into the sheet feed tray. Then you need to press the power button and hold it in this position for 5-10 seconds.
On some models, such a button shows a piece of paper or the corresponding word is written.Also, in models without a display, you must press the “Stop” button; the image on it looks like a triangle in a circle. For devices with a control screen, the following sequence of actions is suitable: “Installation”, “Maintenance”, “Checking the nozzle”, “Start” and “Print”.
Why do you need to print a test page?
 This operation of any device of this type has several functions:
- Confirmation of the fact that the device is working;
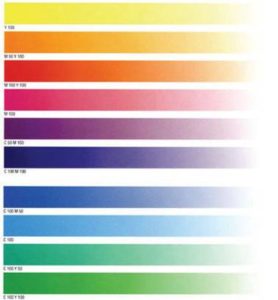
- Checking the quality of the print, the correct alignment of the color scheme, the absence of paint drips, distortions and irregularities;
- Checking basic settings and setting the necessary parameters.
IMPORTANT! After a test print, the system will ask whether to save the proposed print option. If you are satisfied with the brightness and saturation of the print, click “OK”; if not, go to “Settings”.
What to do if the test page comes out with defects?
 There are several root causes behind this situation. First you need to figure out the source of the problem. As a rule, when releasing a test page, two problems may arise: the device prints a sheet with poor quality images and text, or does not print at all, and does not respond to your commands in any way. There are several solutions to such situations:
- The problem may be due to outdated drivers. To restore the printer operation, you must download and install the updated version of the software components. If the work is not restored and you need to expand rights, do this - disable UAC. Utilities such as Process Explorer and Procmon from Sysinternals will act as assistants.
- Failure to output a test page may occur due to technical reasons, such as lack of paper in the sheet feed tray, paper jam, or a cartridge that is not installed correctly in the slot. You can find out if a similar problem has occurred using the display (the red light on the device will light up) or by connecting the device to the computer and reading the driver data.
- The problem may also arise in the device itself. To study printing, use the stop test. To do this, during the printing process, you need to turn off the printer power from the network and look at the sheet, part of which is still in the device. This way you will determine whether there is a problem in the component parts of the unit.
IMPORTANT! Practice shows that any problem of this type that arises can be solved independently by adhering to the above instructions.
If the appearance of the test page does not return to normal, contact an office equipment repair company. Do not try to disassemble the device yourself, leave it to a professional!
Now you know how important a test page is for further work. The main thing is to print it correctly and correctly troubleshoot any problems that arise!


