How to Clean a Laser Printer Cartridge Drum
 To ensure normal operation of any equipment, it is necessary to periodically inspect it and eliminate possible malfunctions. Nowadays, due to the large amount of information presented in printed form, printers are actively used. With their constant use, various problems and deterioration in print quality may occur.
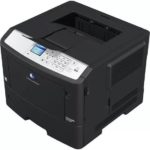
One of the main elements is the cartridge, thanks to which the print is applied to paper. In our article we will talk about ways to clean it to restore the normal functioning of the equipment.
The content of the article
How to get a laser printer cartridge?
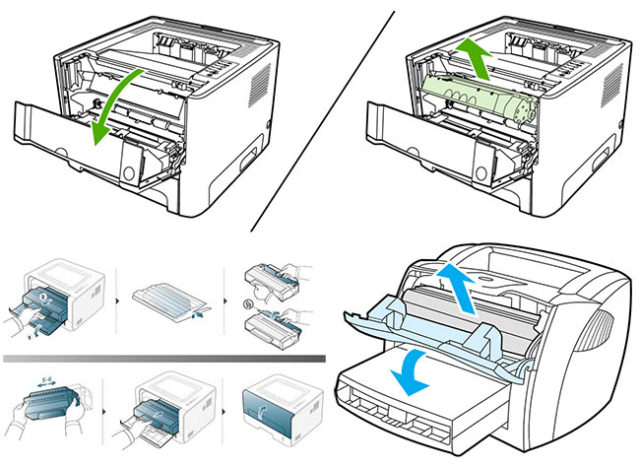
Before you begin cleaning the inside of the cartridge, you must correctly remove it from the printer body. This is quite simple to do, follow the steps according to plan:
- Connect your computer and printer to the network and ensure they are paired.
- Under normal conditions, printing should occur without any visible problems.
- Pause document printing by clicking on the appropriate button in the settings menu.
- Lift the outer cover on the equipment body, then look inside. There you can find the required element.
- If there are special clamps for fixation, carefully bend them. Do not make sudden movements, this may cause parts to break.
- Next, find handles or special edges that you can use to pull out the cartridge.
- Pull them and remove the element from the housing.
IMPORTANT: When the laser is operating, structural parts can become very hot; be careful when touching the elements, wait a little until the equipment cools down completely.
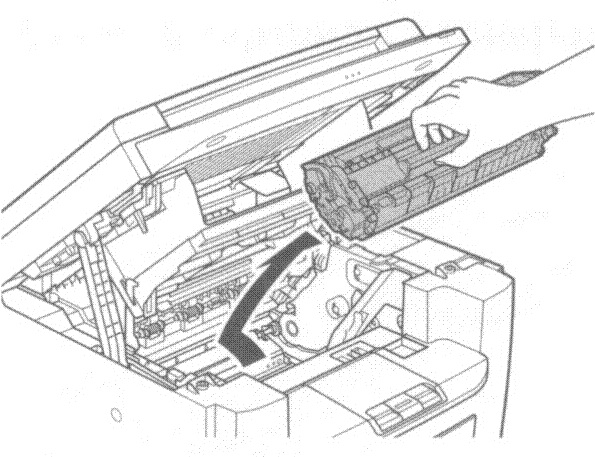
How to clean the cartridge drum?
 After successfully completing the steps described above, you can begin the main step of cleaning the drum. To do this, prepare your workplace by removing unnecessary items and covering the table with sheets of paper or bags. You will also need: lint-free rags, dry wipes, cotton swabs... Let's get to work:
- Lift the protective cover covering the drum. This part looks like a shiny shaft (it comes in different colors).
- Once you have gained access, begin to gently wipe the part without effort. To do this, pull out the shaft, but for quick cleaning you can do without this.
- Simply rotate the roller in the direction of its working stroke. Gradually remove foreign objects, toner residues, dust...
- To clean the smallest parts, use cotton swabs and sweep away dirt.
- Additionally, treat the surface with a soft cloth to avoid scratching the surface.
IMPORTANT: Do not use wet wipes or rags soaked in water. This will damage the light element and disable the equipment.
Why is such cleaning necessary?
 The process of cleaning printer parts must be carried out periodically for preventive purposes. This manipulation allows you to prevent deterioration in quality and correct shortcomings in the operation of the printer. During operation, the following elements may accumulate on the drum:
- Residue of polymer powder when using low-quality materials.
- Particles of dust and dirt caught during work.
- Foreign objects from paper or structural parts.
All of them can negatively affect the printing of the document; darkening and streaks of ink will appear during printing. Therefore, it is worth periodically cleaning the parts; if necessary, contact a service center.