How to reset the printer
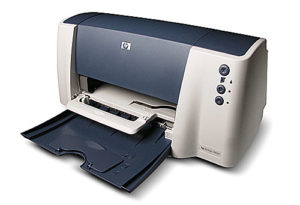
The printer is one of the important devices not only in offices, but also in the apartments of ordinary users. It is important to learn how to fix minor problems that may arise so as not to contact the service center every time. Read further about the process of resetting the device: how to do it correctly and what information the counter shows.
The content of the article
What does it mean to reset the printer?
Users often encounter unexpected situations when the printer asks to install a new cartridge, although it is known for certain that there is enough ink in it. This can happen due to logical inconsistencies, short-term bugs during data transfer, and much more. In such situations, it is necessary to reset the cartridge. In various literature you can find other terms - “counter reset”, “ink level reset”. The session results in the complete removal of all data about the remaining percentage of paint from the device memory.
The zeroing function is launched only when there is ink in the cartridge and the user is sure of it. After all, starting without toner can negatively affect the operation of the print head.
REFERENCE! In some varieties, the counter is reset by installing a special utility using the software method.
How to reset the counter on a printer instructions
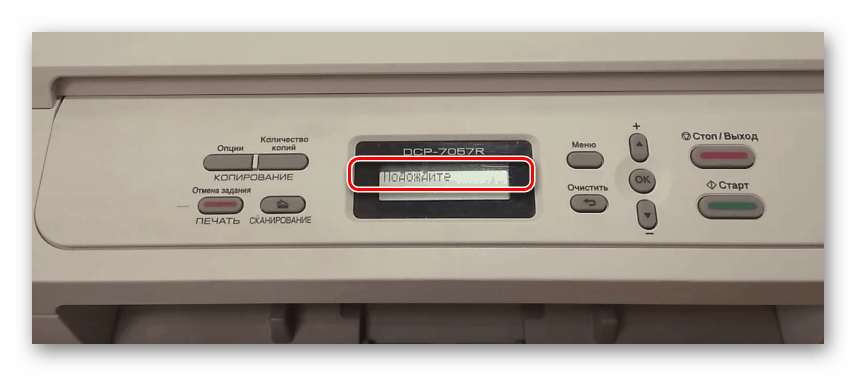 It is worth noting that the user manuals that come with the printer usually do not contain information about resetting the counter.The fact is that manufacturing companies are interested in buying new consumables, and not in repairing or refilling old ones. In modern models, recommendations for refilling are beginning to appear. The general principle is the same for all models. Follow a certain sequence of actions:
- First, remove the cartridge and paper
- Remove the toner from the machine. There should be a special lever on it
- Next, on the left side, find the reset sensor and press it with your finger. It can be easily removed through the input tray after removing all sheets
- Close the lid of the device• Pressing the reset sensor, wait until the engine boots
- After starting, smoothly release the button and after a few seconds press it again. Hold it until the engine stops completely
- After this procedure, the printer's ready-to-work signal should light up.
- All that remains is to replace the toner cartridge.
If, after these steps, the printer beeps and again displays an error about replacing the toner, then the procedure will have to be repeated again. Perhaps it was not possible to catch the right moment to reboot.
Each printer model has its own zeroing features. For example, the methods on Canon devices are striking in their diversity. We list the most popular methods:
- cover the chip on the contact pad of the cartridge with tape or any sticker
- through hardware properties, disable data exchange between devices
- In the device properties, check the box “disable ink level monitoring”
- hold down the cancel button (usually it has a bright red color) for 10 seconds and others
ATTENTION! Resetting may not work the first time. Follow the instructions, and in the future the work will proceed automatically.
What does the printer counter show?
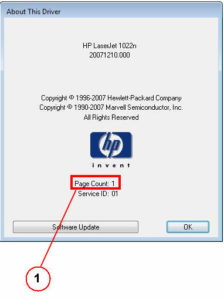 Modern printers have built-in special programs for assessing the consumption and reserve of ink pigment. The device reads the percentage of completion of each sheet and stores its microchip. Based on the data obtained, the approximate amount of liquid and powder composition used is calculated. When the limit is reached, the blocking is automatically activated, since the system sees that the container is empty and there is nothing to work with. During the reset process, the data from the chip is erased, and the printer is again ready for full operation. This helps to significantly save on the use of equipment.
IMPORTANT! Some models include a microcircuit that can be installed in place of the old one. Colored products have several such chips.
Each owner of this device should be able to reset the printer independently. Moreover, learning this procedure is not so difficult. We hope that the tips and instructions will help you figure this out.

