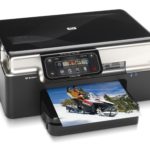
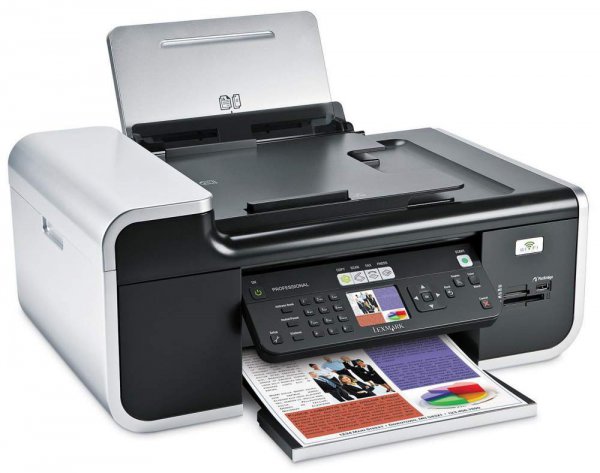
How to set up printer printing
 The design and operating principle of the printer are not the most complex. If you connect correctly and complete all program settings, you can quickly print any documents and files from the computer database. But first you need to connect everything correctly.
The content of the article
How to connect the printer
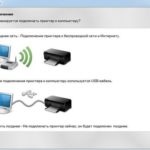
Before setting up the program files and system, you must correctly complete the steps to connect the equipment to the network and to the computer processor. To do this, do the following manipulations using the instructions below:
- Open the package of purchased equipment, check that everything you need is present: the main device, wires for connection, installation disk.
- Take out the wires to connect to the power source and computer.
- After this, insert the cord into the corresponding sockets on the printer and the rear panel of the central processor. Carefully inspect the case so as not to confuse various similar connectors with each other.
- Turn on the mains power and press the start button. Turn on your computer and go to your desktop.
- After this, a dialog box should light up with an inscription about the new connected equipment. Now you can proceed to the next stage: setting up the equipment.
Some manufacturers have their own connection features. If the kit does not include a cord, or it does not fit the connector, purchase all the necessary components and adapters.
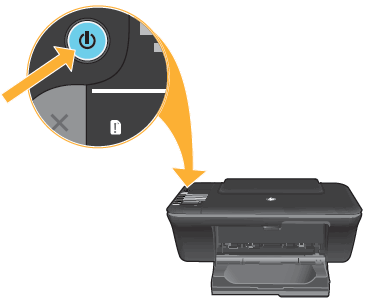
IMPORTANT! Turn on and test the printer by trying to print a few pages. If there are problems, try to eliminate them by doing everything again in order.
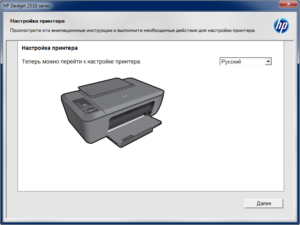
How to set up a printer to print: instructions
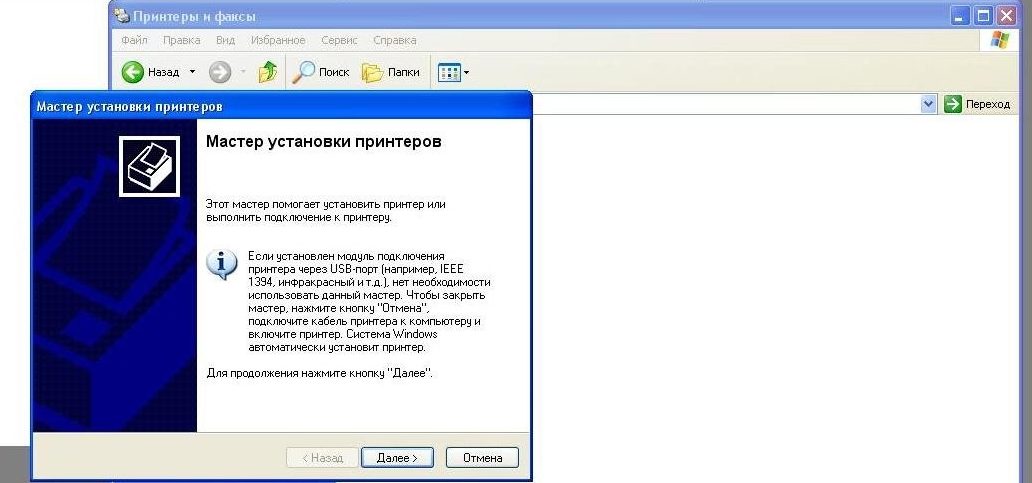
After completing all the steps described above and successfully connecting the equipment, the computer should recognize the equipment. If everything is done correctly, you should begin installing software and drivers to start the system. Use the following scheme:
- Run the special installation disk that comes with the printer through the PC drive.
- When the Setup Wizard dialog box appears, follow the prompts that appear on the screen.
- Click on the “Next” button and agree to the terms of the license agreement.
- Wait until the download completes and save the new hardware to the system.
- Restart your computer and try to start using the printer. After completing all the manipulations according to the instructions, you will be able to print any documents and images.
If there is no result, try installing the driver again or updating the PC software. If this does not help, look at the list of possible installation and configuration problems.
Problems when setting up a printer and their solutions
Sometimes, even if all steps are performed correctly, problems may arise during connection and configuration. Here is a list of the most common reasons for no connection and their solutions:
- If you don’t have an installation disk available, you can download the necessary program for a specific type of device via the Internet.
- If your computer is infected with a virus or malware, clean it and download an antivirus.
- You may be asked for a password for activation. It can be found on the printer body or in the documentation.
- There is a problem with the print settings. Check the basic parameters of the output image and calibrate the color gamut to improve the quality of the image and printed text.
In case of serious failures and malfunctions, contact the service center and specialists for a complete diagnosis and troubleshooting.