How to print an address on an envelope using a printer
 Despite the development of modern technologies and the availability of e-mail services, sending regular paper letters is still in demand. Moreover, there are letters that can only be sent in paper form. For example, sending documentation. It is possible to combine these two technologies and fill in the necessary information using a computer. This can be done using the standard Microsoft Word program and other utilities.
The content of the article
Set options for printing an address on an envelope
If you need to make an inscription on an envelope, you need to make the necessary settings for this before starting work. Once they have been completed and all the data has been entered, the project can be saved and used in the future if necessary.
ATTENTION! Using Microsoft Word to print the address on the envelope is a better option. This is due to the fact that the program has a large number of different additional features that other specialized programs do not have.
To make the required settings you must:
- Launch Microsoft Word. If it is not installed, you should first download it from the official website of the developer company and install it on your computer.
- Next, you need to find the “Mailouts” tab and go to it.
- Select “Create” and click “Envelopes”.
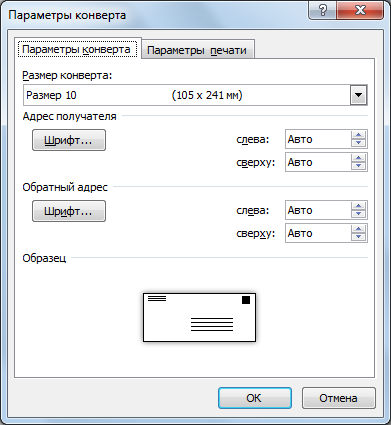
- In the window that appears, go to “Options” and then go to “Envelope Options”.
- In the fields where dimensions are indicated, you must indicate the required value. If there is no suitable size from the ones offered by the program, then you need to select the “Custom sizes” item. In the window that opens, enter the width and height values in the appropriate fields.
After completing these steps, you will need to configure your printing settings. To do this you need:
- place the envelope in the printer tray;
- launch “Print Settings”;
- from the options offered by the program, select the one that corresponds to the location of the envelope in the printer tray;
- to check the correctness of the entered parameters, you should print a test sample with a random address;
- If printing was carried out with errors, then you should return to the settings and adjust the specified print parameters - this should be done until the required option is obtained.
How to create and print an address on an envelope using a printer
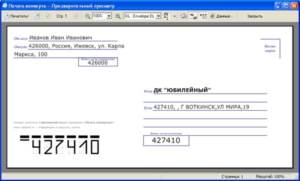
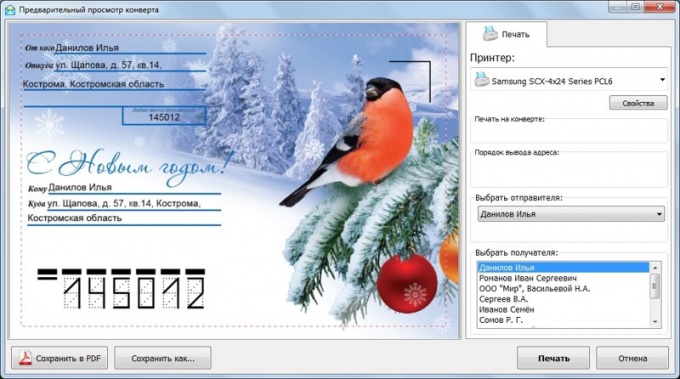
After all the necessary printing parameters have been made and saved, you need to correctly write the sender and recipient information on the envelope.
ATTENTION! We should not forget that the envelope has two fields for entering data. The first is the address and full name of the sender, the second is the recipient’s data. Both of these values must be filled in.
To enter information about the sender and recipient, you must complete the following steps:
- open Microsoft Word;
- go to the “File” tab;
- in the window that appears, go to “Options” and select “Advanced”;
- find the “Mail address” field, go to “General” in it and enter the recipient and sender information;
- after which you need to save the entered data by clicking on the “Ok” button.
ATTENTION! Microsoft Word remembers all the data entered into the address book. Thanks to this, you will not need to re-enter these values next time.
When filling out the data, there are several nuances to consider:
- If the letter will travel only within Russia, then all addresses must be in the Russian layout.
- When sending a letter abroad, it is advisable to print the data separately and then stick it on the envelope. In this case, all addresses must be additionally duplicated into Russian. This will avoid mistakes that a postal worker might make when reading the address.
If all setup steps were completed correctly and the data was entered correctly, then printing should not cause much trouble.