What can be done from an old printer
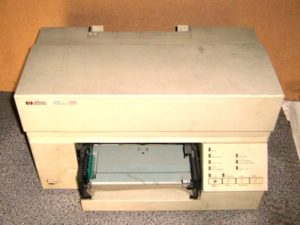 Most owners of faulty or outdated equipment are concerned about what to do with it. Of course, the simplest solution would be to send it for recycling, but with a little imagination, you can also create some interesting items for your home from it. In this article we will tell you how and what to make yourself from a used printer.
The content of the article
What can you make from an old printer body with your own hands?
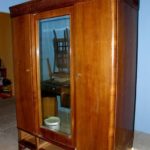
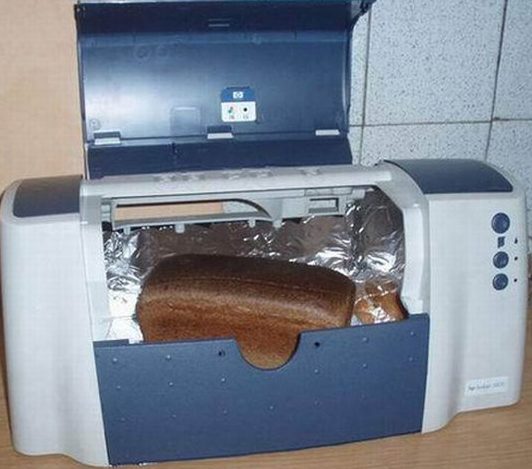
The body of the printing device can be converted into a bread bin, mini-bar or box. To do this, you will need to clean it of internal parts, and then cover it with bright material or decorate it with a variety of decorative elements. And the little thing to decorate your interior is ready.
How to reuse parts from an old printer
To create interesting and useful devices, you can also use parts from a printer. Let's consider several options:
Keychain
If you are good with electronics, then make a shocker keychain. To do this, you will need a board, which is one of the parts of the printing device.
IMPORTANT! It should be remembered that this undertaking can be dangerous and without confidence in your abilities it is better not to undertake it.
Wind generator
The printer is equipped with powerful motors that can be removed and used to create a wind generator. With its help, electricity is generated.
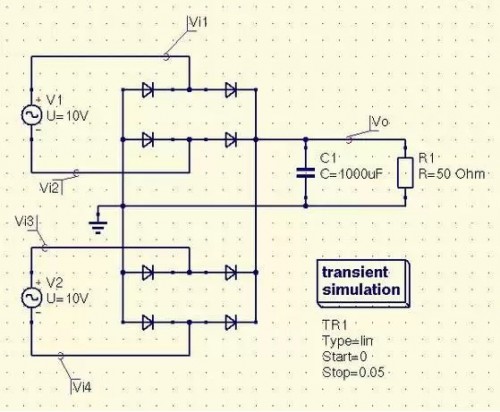
First you need to remove the stepper motor and then assemble the rectifier (you will need a pair of diodes). Make blades from PVC pipe and machine a bushing with slate to fit the shaft. Next, place the sleeve on the shaft and fix the blades, insert the engine into the pipe and secure it with bolts. Attach an aluminum weather vane to the pipe at the end.
This structure must be positioned vertically.
CNC machine
To make the machine you will need the following parts:
- dot matrix printer motors and body;
- self-tapping screws;
- bolts;
- bearings;
- duralumin corners;
- construction pin.
You must also have a complete set of tools to make this equipment.
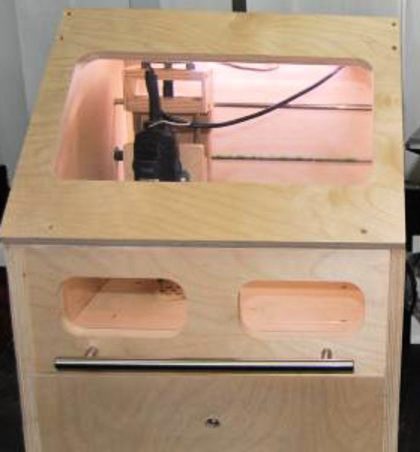
First you need to make a body for the machine from plywood, preparing two squares 37 by 37 cm for the sides, 9 by 34 cm for the front wall and 34 by 37 cm for the back wall. Then fasten them together using self-tapping screws.
Y axis Having made a 0.2 cm tongue and groove, use self-tapping screws to attach the duralumin corners to the sides at a distance of 30 mm from the bottom.
ATTENTION! The corners should be screwed from the central part.
Screw the bearing from below using bolts. Then drill a hole for the engine 5 cm from the bottom of the housing and drill a hole in the front wall with a diameter of 0.7 cm. The stroke screw will pass through this hole. A hole should also be drilled in the nut numbered M8.
X axis Remove the steel guides and carriages from the printing device body.
Z axis. Make it from plywood No. 6, gluing its elements. Use a 150 mm by 90 mm board as holders for this axis. Its upper and lower sides should measure 50 by 90 mm.
Make a holder for the machine, then make a hole at the bottom so that the Dremel can fit there.Next, fix the holder with the base of this axis. After completing all the parts, assemble the Z axis.