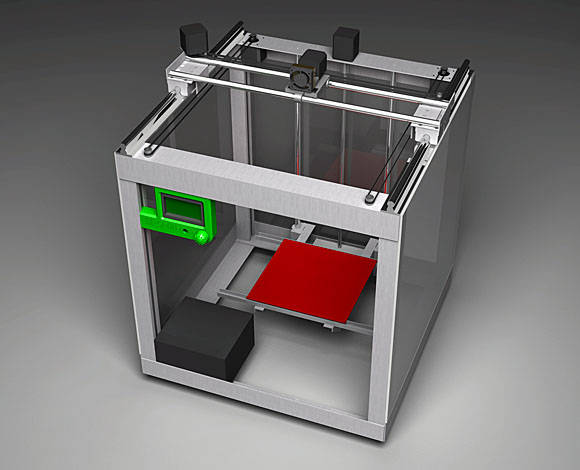
How to make a 3D printer yourself
 To print various documents, special equipment is required. The output of information from electronic format to printed form is provided by a printer. Nowadays, there is a huge selection of models - from budget versions to premium ones. The development of technology has improved the quality and speed of document printing. In addition, special printers have appeared that print three-dimensional elements. 3D printers, unlike conventional ones, have a more complex operating principle and design. However, even this will not prevent you from creating a similar version of the technique with your own hands. In our article we will look at the principle of operation and describe detailed instructions that allow you to assemble the equipment at home.
The content of the article
What you need to make your own 3D printer
If you decide to create this equipment yourself, first we recommend that you familiarize yourself with the principle of operation and learn the design of the printer. This way you can get an idea of the important parameters and select the best quality materials for manufacturing.
IMPORTANT! Homemade options can provide average print quality; for professional work you need to purchase high-quality equipment.
Before starting work, purchase all the necessary tools and materials.For convenience, use the list that lists the main components:
- The main part of the printer is the frame on which everything is mounted. It is better to order a one-piece case made of durable and strong metal.
- Materials for the table on which parts will be printed. Preference is given to metal parts, but wood and plywood can be used.
- Guide shafts for connecting all elements and parts.
- Special boards and drivers that ensure the operation of the entire system. Just in case, you need to buy spare parts so that in case of breakdown they can be quickly replaced.
- A device for regulating power and voltage in an electrical circuit.
- Several motors, transmission belts, bearings for interconnected work.
- A power source that provides energy to all structural elements.
- Buttons with a terminal, an extruder, and a cooler for blowing the resulting part onto the printer.
- A set of springs, nozzles, drills and table level adjusters.
If you purchase all the elements and assemble it yourself, the printer will cost much less than purchased equipment. You can order all the parts on the market or in a special online store. For example, you can find a complete assembly kit on AliExpress. If you want to build a good 3D printer and at the same time save your family budget, this is a great option.
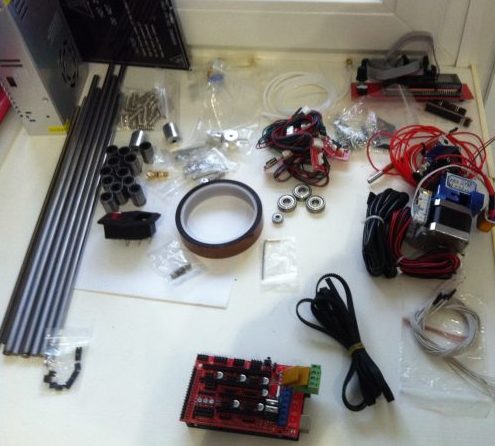
IMPORTANT! To represent the assembly diagram, you can find a disassembled kit of parts for any 3D printer model.
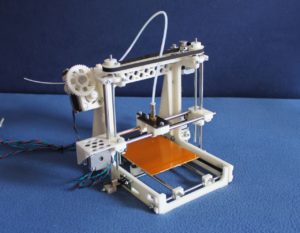
How to assemble a 3D printer yourself: drawings and step-by-step instructions
Once you have purchased the necessary equipment, you can begin the assembly process. First of all, you need to find an exact plan with drawings according to which the work will be carried out.If you are encountering this issue for the first time and do not have ready-made developments in this area, we suggest using a step-by-step equipment manufacturing plan. It consists of the following steps:
- Assembling the body and main printing table.
- Equipping the structure with electronics and motors to advance the carriage and printing press.
- Installing software and drivers to start the system.
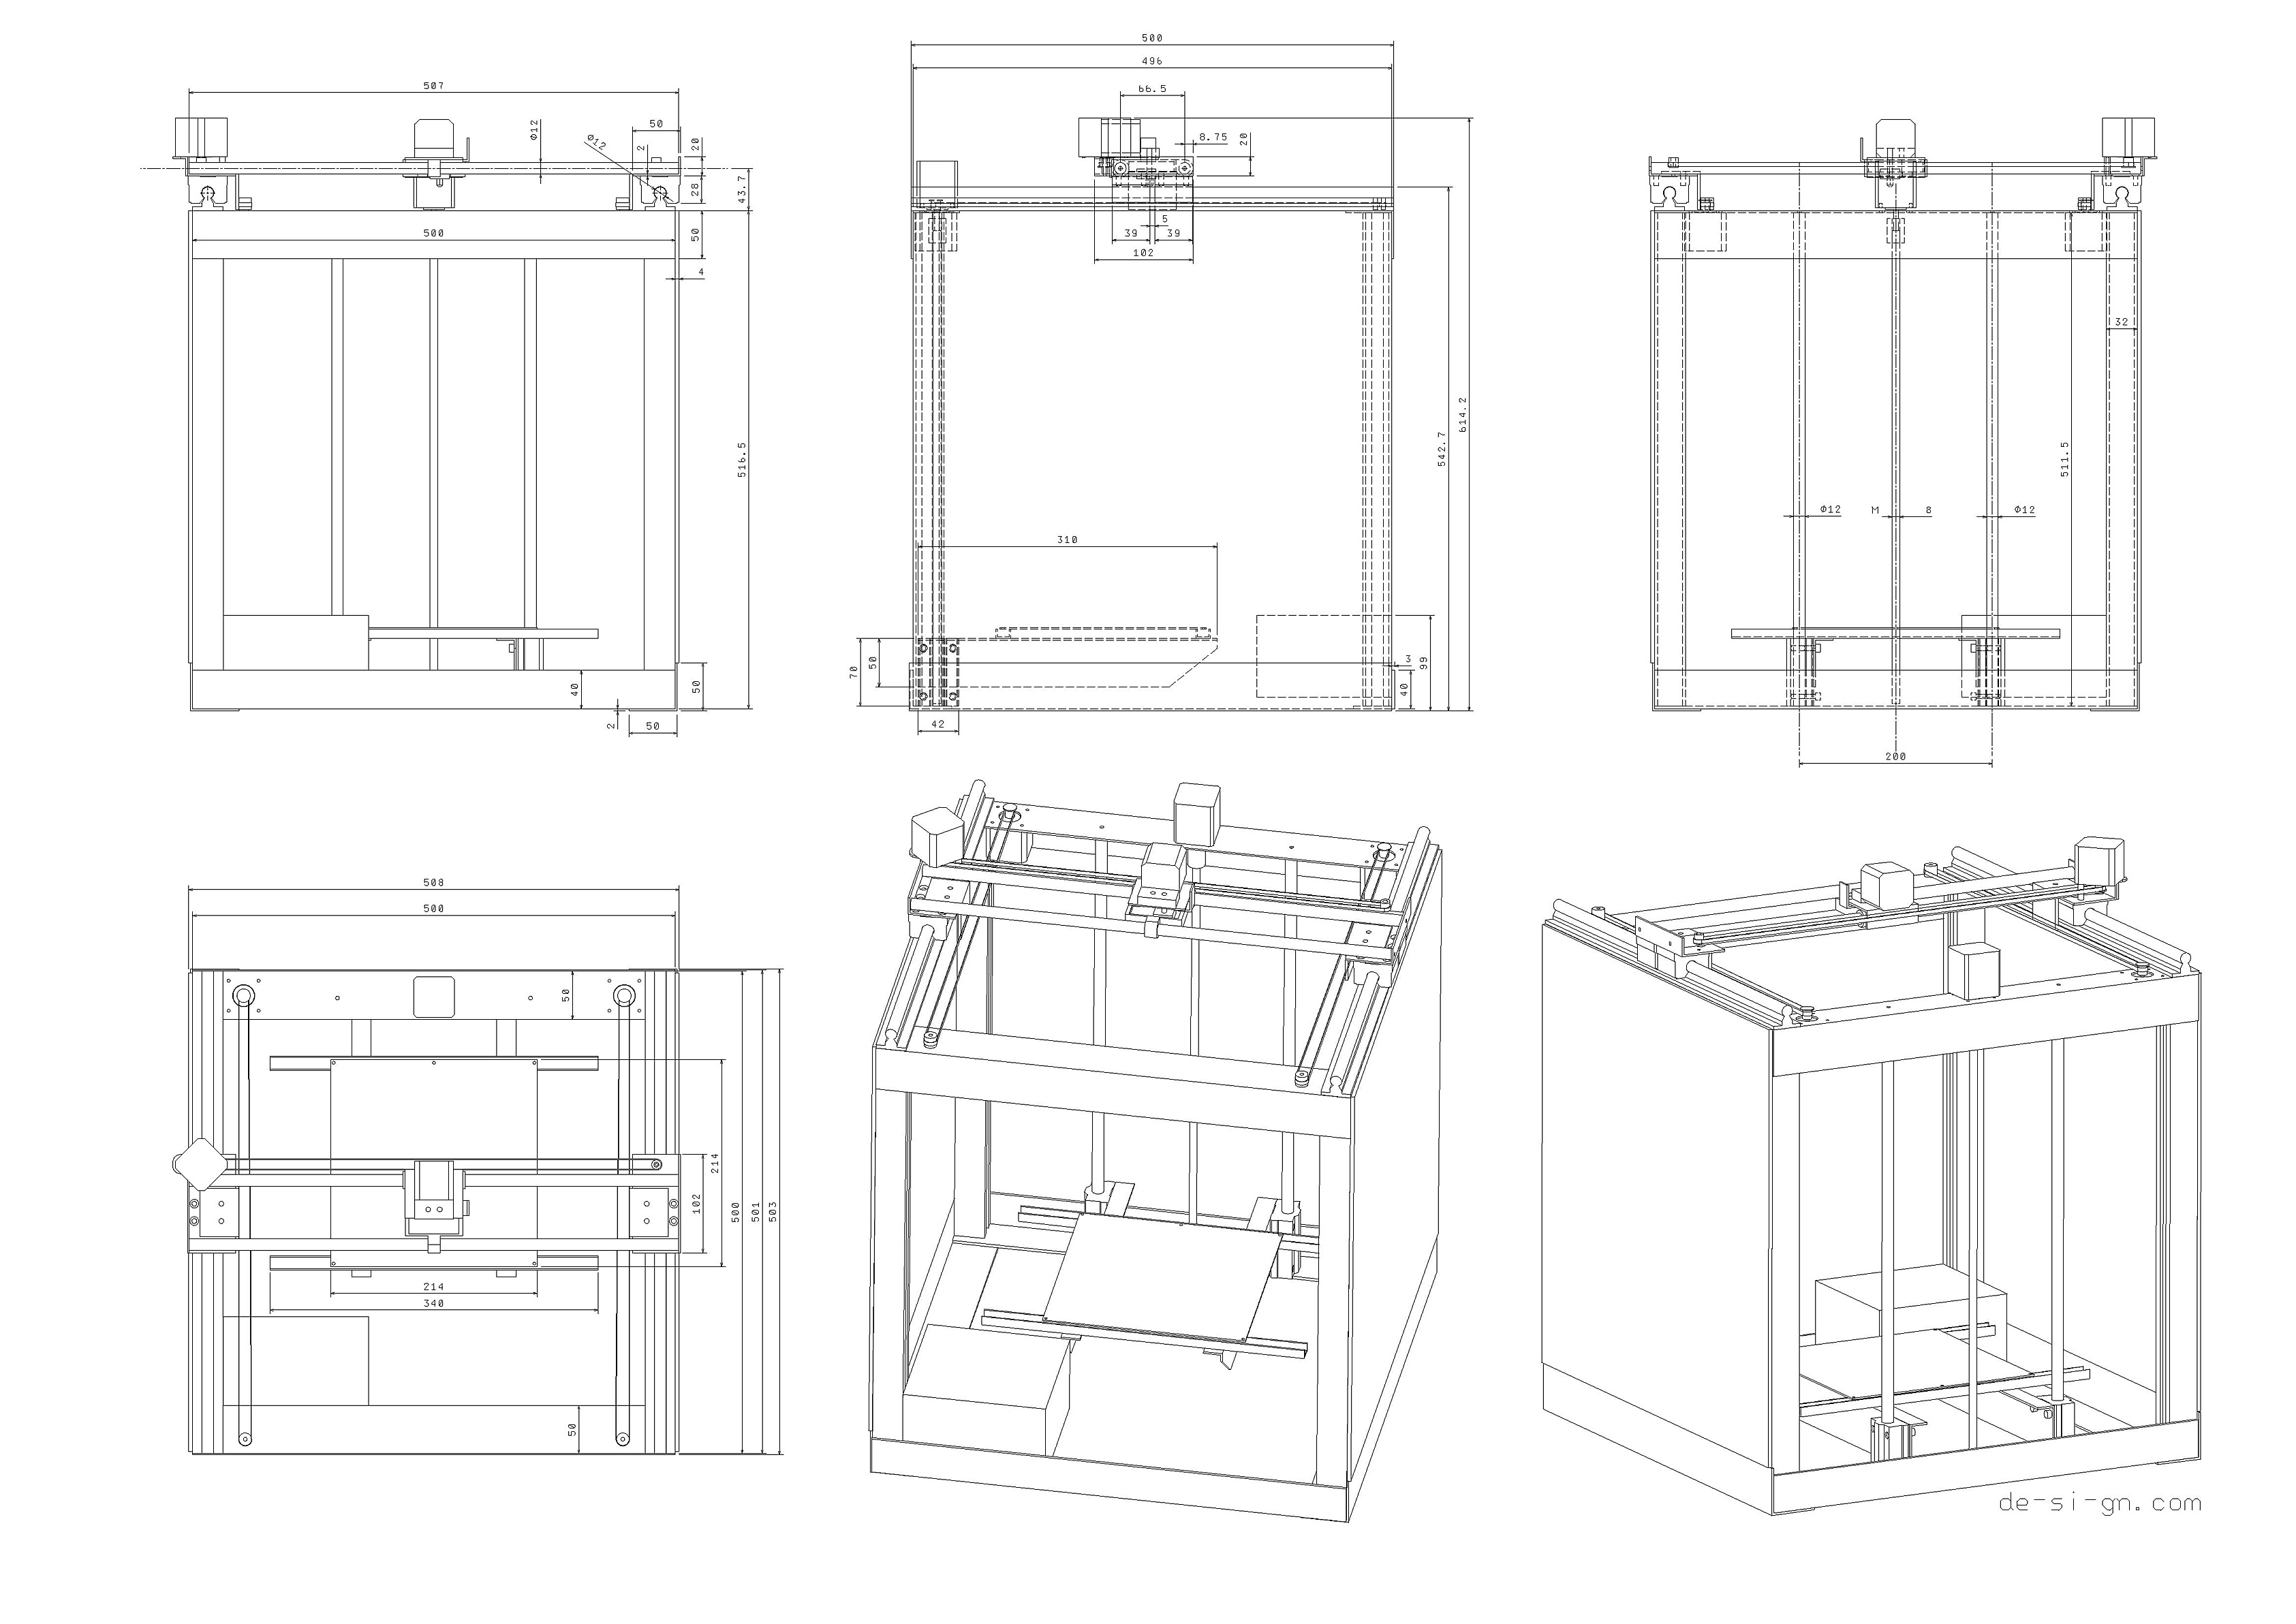
The first stage is the most difficult in the entire process. To complete it, you should carefully read the details of the process. It is not always possible to assemble complex equipment on the first try - the process is quite labor-intensive and requires experience in this field. If you doubt your capabilities, it would be best to purchase a ready-made device from a well-known manufacturer. In general, the process of creating a corpus is carried out according to the following plan:
- Assemble the side walls and housing cover. After this, install the bottom bar. Secure everything with bolts.
- On the rear panel, install brackets for the motors with the printing press.
- Attach the belts to the motors and attach them to the bracket. For engines, select special mounts with connectors.
- Tighten all elements with threaded bolts and nuts.
- Assemble and install the carriage with the heating element on the bottom panel.
- Do the same with the vertical carriage. Complete the design with engines.
- In order for the carriages to move along the axis, it is necessary to attach belts with teeth along which they will move.
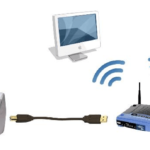
After this, set up the electronics and connect the resulting device to your computer, installing the appropriate software and drivers.
Assembling the printer: tips
To correctly complete all stages, you should consult with specialists and find out the nuances of manufacturing. Among the main points to pay attention to are:
- purchasing spare parts in case of breakdown;
- a rough understanding of the internal structure and appearance of the future product;
- before turning on the system, check the compliance of all elements and the presence of fuses to allow current to pass through;
- start working with simple designs, gradually increasing complexity.
Don't be afraid of the first unsuccessful attempts. Over time, you will be able to make equipment faster and better. Make changes to your device and improve its settings to improve your printing experience.